How to Use Potting Soil the Right Way: Tips for Healthier Plants
Potting soil is a lightweight growing mix you put in containers to support roots, hold moisture, and let extra water drain away. Choose a mix suited to your plant, use a pot with drainage holes, fill it without packing it down, and water until excess runs out.
Have you brought home a new plant only to find the potting mix bone-dry on top and soggy underneath? Or opened a bag that feels like a brick and wondered if it can still work?
I once hurried through a repotting job and poured dry mix straight into the container, then watered as if the mix had been damp already. Water ran down the sides, the middle stayed dry, and I had to start over; it’s a common mistake, not a dumb one.
I wrote this for anyone who wants a clear, practical answer without needing a horticulture dictionary or a shelf full of special products. You’ll learn how to pick a mix, fill a container, water it evenly, and keep it useful as your plant grows.
Getting the basics right can save you a limp plant, a messy leak, and the cost of replacing a whole pot of mix. Skipping them can leave roots short of air or water, even if you’re trying hard to help.
This takes about 16 minutes to read. You’ll come away knowing how to:
- Match potting mix to common houseplants, flowers, and vegetables.
- Prepare a bag of mix and fill a pot without smothering roots.
- Water and feed plants without leaving the mix soggy or depleted.
- Spot when potting soil needs a change, not another top-up.
How to Use Potting Soil for Healthy Container Plants
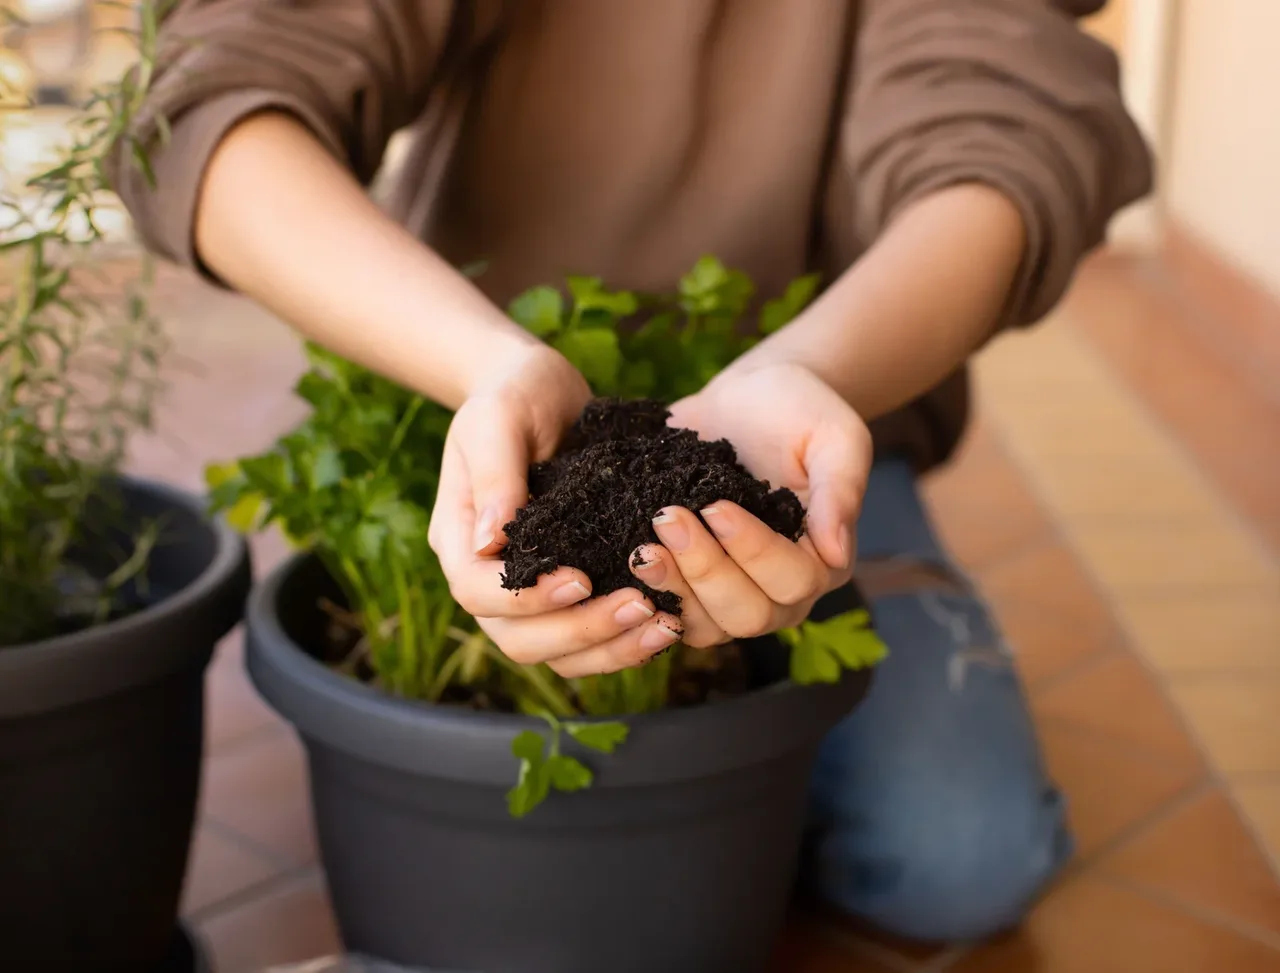
To use potting soil well, select a mix that suits the plant, check that the container drains, and add the mix around the roots without compressing it. Water slowly until the mix is evenly damp and excess water exits the drainage holes.
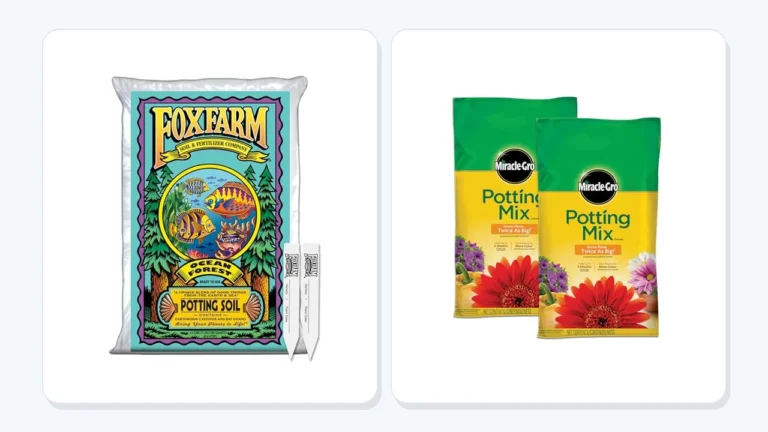
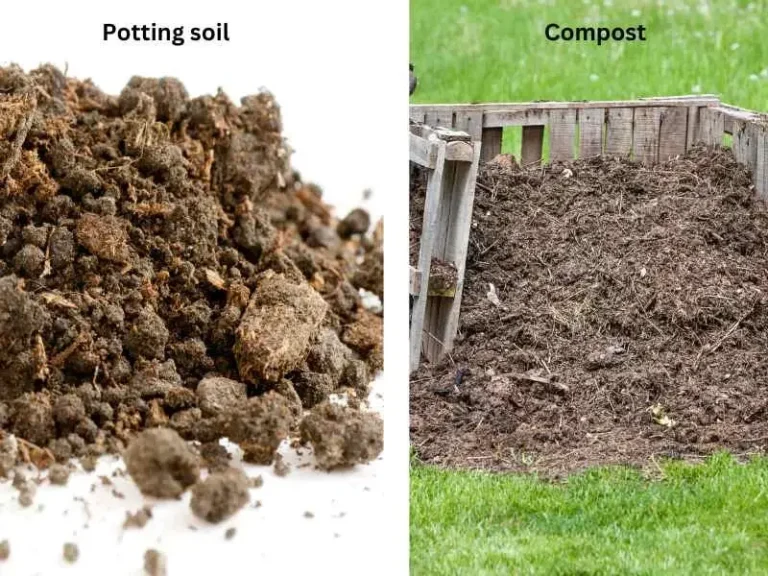
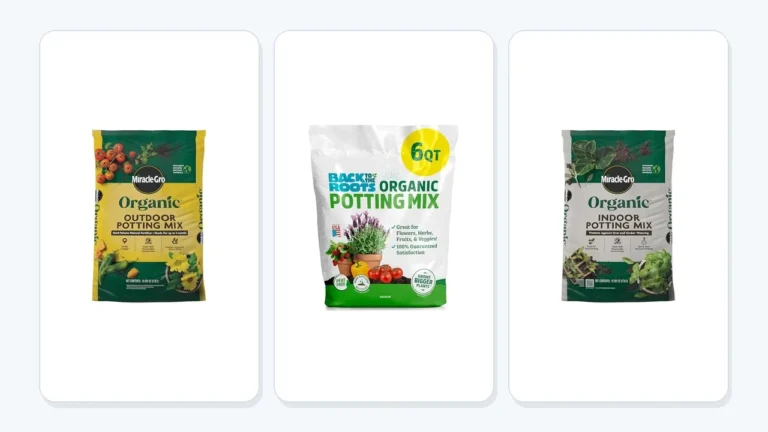
The phrase potting soil is a little misleading: most bagged products are soilless blends rather than actual garden soil. They often contain materials such as peat moss or coir, bark, and perlite, which work together to hold water while leaving space for air. If you’re sorting out the difference before buying a bag, what potting soil contains is the useful distinction.
Here’s a reliable basic process:
- Check the plant and pot. Read the plant tag or care directions for clues about moisture and drainage needs. Choose a container with drainage holes, and make sure it’s only modestly larger than the root ball.
- Loosen the mix. Break up clumps by hand and remove large debris. If the mix is very dry, add a little clean water and stir until it feels evenly damp, not muddy.
- Add a base layer. Put enough mix in the bottom so the plant’s root ball will sit at the right height. Don’t add a layer of rocks or gravel to the bottom; it doesn’t improve drainage through the pot.
- Set the plant in place. Hold the root ball near the center and check its height. The top of the root ball should usually sit just below the rim, leaving room for water.
- Fill around the roots. Add mix a handful at a time, gently working it into open gaps. Don’t press hard; roots need air pockets, not a tightly packed block.
- Water slowly. Pour across the surface in a few passes, pausing so the mix can absorb water. Stop when water begins flowing through the holes, then empty the saucer or cachepot.
After planting, the soil surface should sit below the rim rather than flush with it. That small gap acts like a watering basin, so water doesn’t slosh straight over the edge onto the floor.
Use the mix from the bag as a starting point, not a promise that every plant will thrive in it. A typical all-purpose mix suits many common container plants, while cacti, orchids, and other plants with special root or moisture needs call for a more specific blend.
A handful of potting mix should feel springy and slightly damp after watering. If it collapses into a slick paste, stays heavy for days, or sheds water like a dry sponge, the mix or your watering method needs a closer look.
Pro Tip: Before you fill a new pot, set the empty pot where it’ll live and confirm you can reach the drainage holes and saucer. A beautiful planter that can’t drain without being lifted is a headache in disguise.
Choose the Right Potting Mix for Your Plant
The best potting mix matches how quickly a plant uses water and how much air its roots need. A thirsty leafy plant and a drought-tolerant cactus shouldn’t be expected to do well in the same dense, moisture-holding blend.
Start with the plant’s natural habits and the growing conditions in your home. A plant in bright light near a warm window may dry out faster than the same plant in a cool, dim room, so the label on the bag is only part of the decision.
| Plant or use | Mix qualities to look for | What to watch |
|---|---|---|
| Most leafy houseplants | All-purpose mix that holds moisture but drains freely | Don’t let the pot sit in runoff |
| Cacti and succulents | Gritty, fast-draining mix with plenty of air space | A standard mix may stay wet too long |
| Orchids grown in bark | Chunky, airy orchid medium suited to the plant | Fine potting mix can crowd roots |
| Seed starting | Fine, light seed-starting mix | Heavy particles can make watering uneven |
| Container vegetables and flowers | All-purpose container mix with good water-holding capacity | Large outdoor pots may dry quickly in heat |
| Plants needing extra drainage | Mix with suitable coarse, airy ingredients | Drainage holes still matter |
A soilless mix is a container blend made mainly from materials other than mineral field soil. Peat moss and coir can hold water, bark adds chunkier structure, and perlite or vermiculite can help create pore space; the exact recipe varies by product.
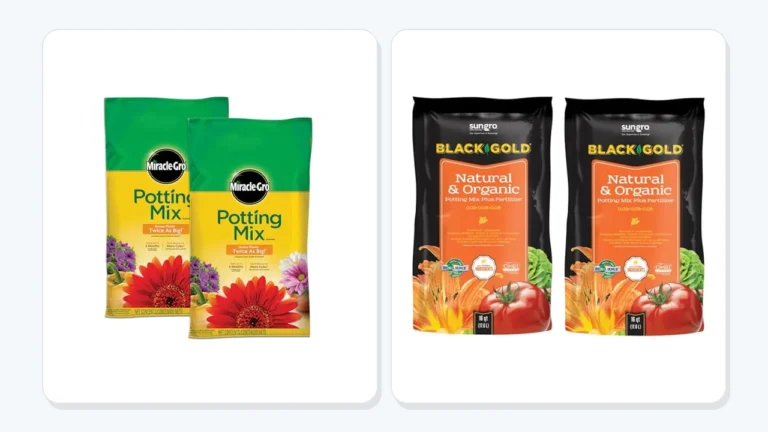
The bag may say “potting soil,” “potting mix,” or “container mix.” Those names don’t guarantee the same ingredients or performance, so check the label for intended plants, added fertilizer, and any directions about watering or storage.
For a plant that suffers in wet soil, look for a blend that drains freely and stays open around the roots. A plant in a heavy nursery pot may need a different approach than a plant in a shallow decorative bowl, and a well-draining potting soil is a useful starting point for sorting out that choice.
Avoid using ordinary garden soil as the main fill in a container. It can compact, drain poorly, and weigh much more than a purpose-made mix, making it harder for roots to get air and for water to move evenly through the pot.
Can you just add sand to make a mix drain faster? Sometimes, but the kind and amount matter, and fine sand can fill air spaces instead of opening them. I’d choose a suitable bagged mix over guessing at a homemade recipe unless you know what the plant needs and can keep the blend consistent.
A bag labeled for “moisture control” may hold water longer than a standard mix. That can help in a hot, exposed spot, but it can also leave roots too wet if the plant prefers drying between waterings.
Important Tip: Don’t choose a potting mix just because it sounds more advanced. For a common houseplant in a pot with drainage, a fresh, plain all-purpose mix is often a better fit than a specialty blend that keeps the roots wet.
Prepare the Mix and Fill the Pot Without Stressing Roots
A little preparation helps potting mix settle evenly around roots and absorb water without leaving dry pockets. Before planting, loosen the mix, moisten it if it’s dusty or very dry, and check that the pot has a clear drainage path.
Bagged mix can shift and compress during shipping or storage. Open it carefully, break up hard clumps, and remove any obvious pieces that don’t belong, such as plastic or large sticks.
If the mix is dry enough to repel water, place some in a clean tub or bucket and stir in water gradually. Stop when a squeezed handful feels damp but doesn’t drip; overly wet mix gets heavy and messy, and it’s harder to judge how much water the newly planted pot needs.
I once tried to save time by filling a container directly from a dry, compacted bag and skipping that check. The mix pulled away from the pot wall after watering, and the plant sat unevenly until I loosened and reset everything; taking a minute to fluff and moisten the mix would have saved the fuss.
If you’re moving a plant from a nursery pot, prepare the new container before disturbing the root ball. The process in preparing potting soil for planting helps you get the mix ready first, so the roots aren’t left out while you hunt for a tool or clear a workspace.
Set the plant at the right depth
Add enough mix to the pot’s bottom to raise the root ball to the right height. The plant’s original soil line should remain close to the surface, and the stem or crown shouldn’t be buried under extra mix.
For a plant with dense roots circling the outside of its root ball, loosen the outer layer gently with your fingers. If roots are badly tangled, you can tease them apart a little, but don’t yank or strip them just to make the root ball look tidy.
Fill around the root ball in small additions. Tap the pot lightly against the work surface if the mix has obvious gaps, then top it up without pushing down hard with your fingers.
The root ball should feel supported when you give the stem a gentle touch, but the mix should still feel loose. If the plant wobbles, add a little mix to fill gaps rather than burying the stem or pressing the whole surface into a hard crust.
Leave room for water and growth
Keep the mix surface an inch or so below the rim of many household pots. The right gap depends on pot size and watering style, but you need enough room to pour water without it spilling over.
If a plant is already in its container and the mix has settled, you can add some fresh mix around the top when roots remain covered and the plant sits at a healthy height. Don’t pile mix against a stem or raise the surface over the crown, and use a careful soil top-up when the goal is to add a little material without disturbing the roots.
Don’t fill a container to the brim because the plant looks small. Water needs room to enter the mix, and the surface can settle after the first few waterings.
Pick a pot that fits the root ball
A pot that’s far bigger than the root system can hold more wet mix than the plant can use. That extra moisture may linger, especially if the plant grows slowly or the room is cool.
Choose a pot that gives the roots room to grow while still allowing the mix to dry at a reasonable pace. When you move up a size, a modest increase is usually easier to manage than jumping from a small nursery pot to a huge decorative container.
Drainage holes are the route out for excess water. If you love a container without holes, use it as an outer cover and keep the plant in a separate draining pot that you can remove for watering.
Rocks, broken pottery, and gravel at the bottom don’t replace drainage holes. They take up space and can leave less room for roots, while the water still needs a real opening to leave the container.
A saucer catches runoff, but a full saucer can keep the bottom of the pot sitting in water. Empty it after watering, and don’t let an inner pot stand in pooled water inside a decorative cachepot.
Water Potting Soil Evenly and Keep Roots Healthy
Water potting soil based on its moisture and the plant’s needs, not on a fixed calendar. Water thoroughly when the mix has dried to the level that suits the plant, then let excess drain away instead of leaving the pot submerged.
There isn’t one correct drying point for every plant. A cactus may need the mix to dry much more than a tropical foliage plant, and a large pot can stay damp longer than a small one in the same room.
To check moisture, touch the surface and feel a little below it with a finger or wooden stick. You can also lift the pot to compare its weight when damp with its weight after it dries; that takes a little practice, but it’s handy when the surface gives you mixed signals.
When you water, pour slowly around the surface rather than dumping a cup in one spot. A few small passes give dry mix time to absorb water, and runoff from the drainage holes shows that water has moved through the container.
If water races down the sides while the center stays dry, the mix may have become hydrophobic, meaning it resists wetting. Water in several slow passes, pause between them, and check below the surface instead of assuming that runoff means the root ball is wet.
Is a daily watering routine tempting because it’s easy to remember? It’s also a quick way to keep some pots too wet, especially during cool or cloudy stretches. Check each pot first, since a small plant on a sunny sill and a large plant in a shaded corner won’t dry at the same rate.
The amount of light, warmth, airflow, pot material, plant size, and season all affect drying. Unglazed clay can lose moisture through its sides, while plastic holds moisture in the mix longer; don’t copy a neighbor’s schedule without checking your own pot.
| What you notice | Possible cause | A practical response |
|---|---|---|
| Water runs through right away | Very dry mix, large gaps, or a mix that drains quickly | Water in slow passes and check beneath the surface |
| Mix stays wet for many days | Pot may be too large, mix too dense, or watering too frequent | Check drainage and let the plant’s needs set the next watering |
| Leaves wilt while mix is wet | Roots may be stressed, or the plant may have another problem | Check roots, drainage, and light before adding more water |
| Surface dries fast but lower mix is damp | Surface evaporation is faster than drying inside the pot | Check deeper before watering again |
| White crust appears on the surface | Mineral or fertilizer salts may have accumulated | Scrape off the crust and review water and fertilizer habits |
These clues point to possibilities, not a sure diagnosis. A plant with yellow leaves might be overwatered, underwatered, short on light, or reacting to a root problem, so check the mix and roots before making a big change.
For a pot that dries faster than you can keep up with, try grouping it away from hot drafts or direct afternoon sun if the plant can handle that change. The practical methods in keeping potting soil moist can help slow drying, but don’t use moisture tricks to keep a plant wet when its roots need a dry spell.
A moisture meter can offer another clue, but it doesn’t replace checking the plant and the mix. Readings can vary with the probe, soil texture, and where you place it, so use the tool to compare areas rather than treat a single number as a command.
Pro Tip: Water the mix, not a rigid schedule. A quick finger check before watering is less trouble than rescuing roots from a pot that stayed wet all week.
Don’t confuse drainage with a drying schedule
Good drainage means extra water can leave the pot; it doesn’t mean you should water less by guesswork. A gritty mix in a warm, sunny spot may dry quickly, while a standard mix in a cool room may stay damp longer.
When water pools on top, the mix may be compacted or the drainage holes may be blocked. Set the pot over a sink, check the holes, and loosen only the surface if it has crusted; avoid stabbing deep around the plant, where roots may be.
When the pot has no drainage holes, watering becomes harder to judge because excess water has nowhere to go. I wouldn’t use a no-hole pot as the plant’s only container unless you’re comfortable measuring water carefully and checking the lower mix often.
Refresh potting mix as it ages
Potting mix changes as roots grow, organic materials break down, and salts build up from water or fertilizer. A plant may benefit from fresh mix when it dries strangely, has a sour smell, or has roots filling the container, but those signs can have more than one cause.
Don’t add a full new layer of mix just because the plant looks unhappy. If the roots are crowded or the old mix has collapsed, learn how to change potting soil and decide whether the plant needs fresh mix or simply a better watering pattern.
Healthy container mix depends on steady care, not constant replacement. Removing dead leaves, keeping drainage clear, and avoiding repeated heavy feeding can help the mix stay in better shape; habits for healthy potting soil are mostly small and regular.
Feed and Troubleshoot Potting Soil Without Overdoing It
Potting soil may contain fertilizer, but the amount and feeding period depend on the product. Read the bag before adding more, because extra fertilizer can leave salts in the mix and stress roots.
Some mixes contain a starter charge or slow-release fertilizer, while others don’t. The label may give a time range or a feeding schedule, but plant growth, light, and season affect how much food the plant uses.
Fertilizer supplies nutrients plants need for growth, but it doesn’t repair poor drainage or replace suitable light. A weak plant in soggy mix often needs better root conditions, not a stronger dose of plant food.
If the bag gives a feeding direction, follow it rather than stacking multiple products. The details in fertilizing potting soil safely can help you match the product to the plant without treating every yellow leaf as a request for more fertilizer.
Feed only when the plant can use it
A growing plant may need nutrients as the original supply runs low. A plant that’s resting, stressed, or struggling with damaged roots may not take up fertilizer well, so correct the growing conditions before feeding.
Use the product’s instructions and avoid applying more often or more strongly than the label calls for. If you’re unsure, starting at the conservative end of a labeled range is less risky than doubling up because growth seems slow.
Fertilizer types behave differently. Slow-release fertilizer releases nutrients over time, while liquid fertilizer is mixed with water and applied during watering; check the package so you don’t accidentally use both as though neither counts.
If a plant develops a crusty surface or brown leaf tips after repeated feeding, review the fertilizer amount and water quality. A light buildup can often be addressed by removing the crust and watering thoroughly so excess salts drain away, as long as the pot drains freely.
Use clean, safe handling habits
Potting mix can be dusty, especially when dry. Open a bag outdoors or in a ventilated area, avoid breathing the dust, and wash your hands after handling the mix; a simple mask can help if dust bothers you.
Keep bags sealed between uses and store them in a dry place away from pests and standing water. A wet, unsealed bag can develop mold or attract insects, while a dry bag is easier to handle and less likely to clump.
Don’t use potting mix that smells strongly sour or rotten without checking it. A musty surface can happen in damp storage, but a foul odor or slimy material is a reason to avoid putting the mix around delicate roots.
Use a clean container and tools when repotting, especially if the previous plant had rot or pests. Remove old debris, clear the drainage holes, and avoid reusing diseased mix for another plant.
Troubleshoot the mix before changing everything
A struggling plant can make you want to repot, fertilize, move it, and water it all at once. That makes it harder to tell what helped, so check one likely cause at a time and give the plant a chance to respond.
If the mix stays wet, inspect the pot size, drainage, and watering frequency before adding a gritty amendment. If the mix dries too fast, check the plant’s light and airflow, pot material, and root growth before changing the entire blend.
If the plant wilts in damp soil, don’t water again automatically. Check whether the root ball is healthy and whether water can leave the pot; roots without enough air can’t use water normally.
If the surface has pulled away from the pot wall, rewet the mix slowly rather than flooding it in one pour. A narrow gap alone doesn’t prove the plant is in danger, but a dry center means the roots need a more even watering.
Important Tip: Change one care factor at a time when the plant is stable enough to wait. If you alter the mix, pot size, light, and watering all together, you won’t know which change made the difference.
- Match the mix to the plant’s moisture and root needs.
- Use a draining pot and leave a little space below the rim.
- Water according to the mix and plant, not the calendar.
- Follow fertilizer directions and check the mix before treating symptoms.
FAQs About How to Use Potting Soil
Can I use potting soil straight from the bag?
Yes, most bagged potting mixes are ready to use, but loosen clumps and check whether the mix is very dry before planting. Some products contain fertilizer or moisture-control materials, so read the package directions. If the mix repels water, moisten it gradually before filling the pot.
Should potting soil be wet before planting?
Potting soil should usually be slightly damp, not soaked, when you plant. Damp mix settles around roots and absorbs water more evenly than a dusty, very dry blend. If the mix is already moist from the bag, there’s no need to add more water before planting.
How much potting soil should I put in a pot?
Add enough potting soil to support the root ball while leaving roughly an inch of space below the rim in many household pots. The correct depth depends on the plant and container. Keep the plant at its original soil line, and don’t bury the stem or crown.
Can I reuse potting soil from an old plant?
Sometimes, but avoid reusing mix from a plant with pests, root rot, or another disease. Old mix may have broken down, lost structure, or accumulated fertilizer salts. If you reuse it for a healthy plant, check its smell and texture, then refresh or replace it if it stays soggy or has turned dense.
Do I need fertilizer if my potting soil already contains it?
Not right away if the mix contains fertilizer and the label gives a feeding period. Adding more too soon can create excess salts that stress roots. Check the product directions and the plant’s growth before feeding, and remember that fertilizer won’t fix soggy mix or poor light.
Make Potting Soil Work for Your Plant
Good potting soil gives roots a workable balance of moisture, air, and support. You don’t need to make every pot complicated; a suitable mix, a draining container, and a quick moisture check solve many of the problems that make new plant owners feel as if they’re guessing.
My preference is to start with the simplest mix that fits the plant, then adjust only when the plant’s conditions call for it. A cactus in a moisture-holding blend needs a different setup than a thirsty leafy plant, but both benefit from a pot that drains and a watering routine based on what’s happening in the mix.
The next time you open a bag, loosen it, check how dry it is, and get the pot ready before disturbing the roots. That small pause makes planting cleaner, watering easier, and the first days in a new pot a lot less stressful.

I’m Maya L. Greenwood, a lifelong plant lover who believes anyone can grow something beautiful with the right guidance. After years of testing soil mixes, pruning methods, irrigation tricks, and pest-safe solutions, I started EasyGardenTips.com to turn hard-won lessons into step-by-step advice. From seed starting and container gardens to composting and seasonal checklists, my goal is to make gardening simple, sustainable, and fun.