
How to Change Soil in Potted Plants: Easy Repotting Made Simple
If you’re wondering how to refresh the soil around a potted plant, the usual method is to ease the plant out, remove some depleted mix, and repot it in fresh soil suited to its needs. For a healthy plant, keep the root ball mostly intact; if the roots are rotting or the mix has turned sour, remove more of the old soil and trim damaged roots.
Are you dealing with soil that stays soggy for days, pulls away from the pot, or smells musty when you water? Or are you worried that changing the soil will shock a plant that’s already looking tired?
I once rushed a repot because a plant’s mix was packed hard and water ran straight down the sides. I loosened the root ball too aggressively, and the plant drooped while it recovered; it was a common mistake, not a dumb one.
I wrote this to help you choose the right moment, handle the roots gently, and avoid the little repotting mistakes that can turn a simple refresh into a plant rescue. You’ll get practical steps for houseplants, flowering plants, and containers with different soil needs.
Done carefully, a soil change can help water reach the roots and give them room to grow. Rush the job or use a heavy, unsuitable mix, and you can end up with a stressed plant, soggy roots, or soil scattered across the floor.
This takes about 10 minutes to read. You’ll come away knowing how to:
- Decide whether your plant needs fresh soil or a larger pot.
- Pick a potting mix that fits the plant and container.
- Remove old mix without tearing up healthy roots.
- Water and care for the plant after repotting.
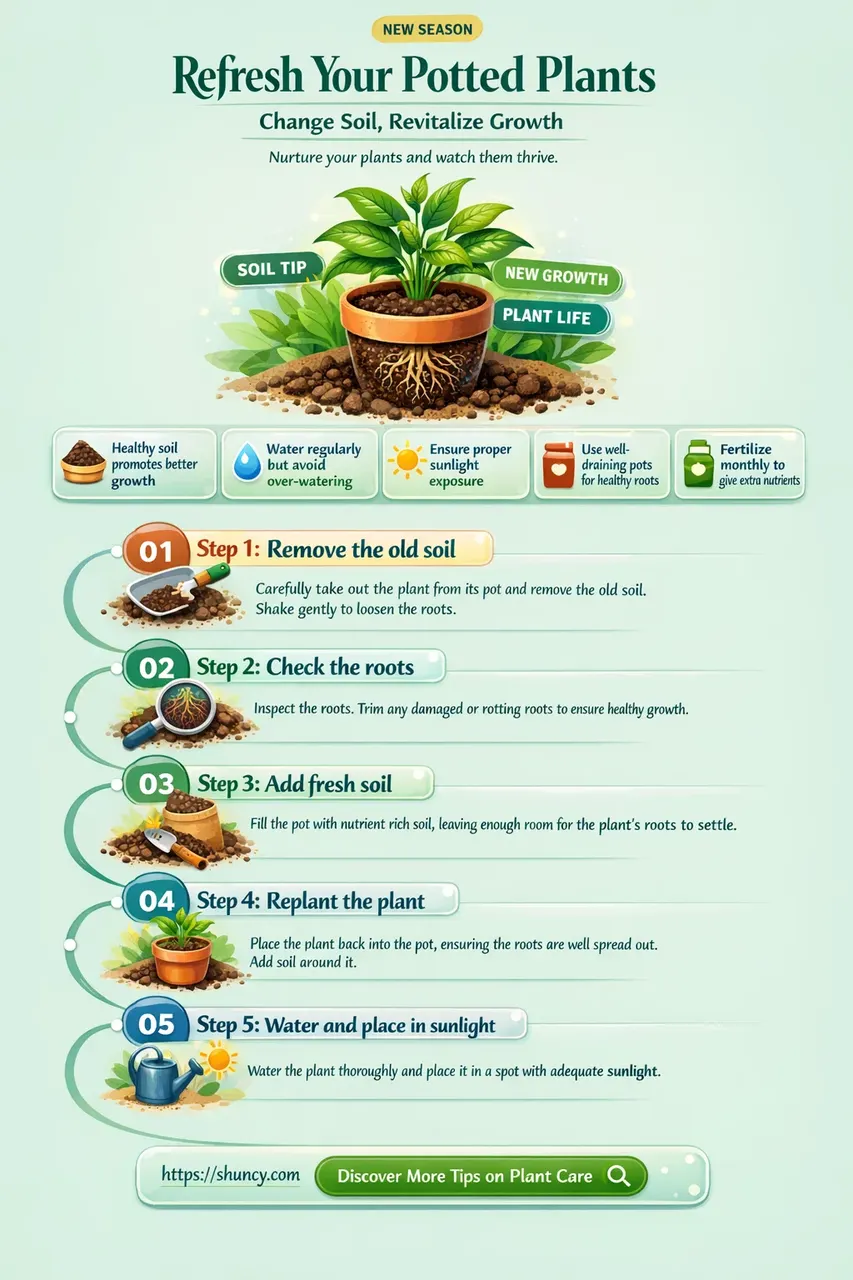
How to Change Soil in Potted Plants Without Damaging Roots
Changing soil in potted plants means replacing some or all of the old growing mix while keeping healthy roots as undisturbed as possible. For a healthy plant, refresh the outer and upper soil, then place the root ball in fresh mix in the same pot or a slightly larger one.
The job depends on what’s wrong with the soil. If the mix is merely old or compacted, a gentle refresh is usually enough; if roots are soft, dark, or foul-smelling, remove the affected soil and damaged roots before repotting.
- Check the plant and pot. Look for roots circling the pot, water that drains poorly, a sour smell, or a mix that stays wet too long. A plant with healthy foliage and a workable root ball may need fresh soil without a bigger container.
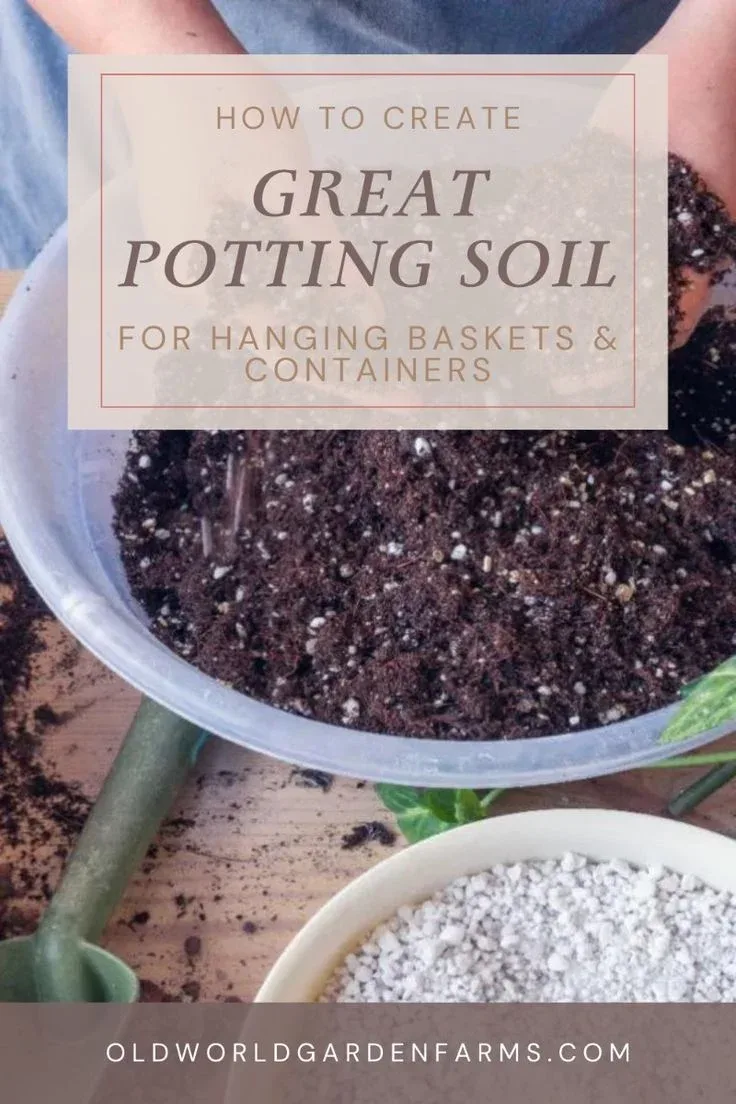
- Prepare the new mix. Use a potting mix, a lightweight blend made for containers, rather than ordinary garden soil. Moisten the mix slightly so it holds together but doesn’t feel wet or muddy.
- Remove the plant gently. Watering lightly a few hours beforehand can help the root ball hold together. Tip the pot sideways, support the plant near its base, and ease the root ball out without pulling hard on stems.
- Loosen only what needs loosening. Remove loose soil around the outside and bottom with your fingers. Untangle a few circling roots if they release easily, but don’t rake through the whole root mass just to make it look tidy.
- Add fresh mix and set the plant. Put enough new soil in the pot to bring the plant to its previous height. The stem base should stay above the soil line, not buried under a mound.
- Fill the gaps and water. Add mix around the root ball, tapping the pot gently to settle it. Water until excess runs from the drainage holes, then let the pot drain fully.
A pot with drainage holes makes the last step much safer. Without an exit for extra water, even a well-chosen mix can stay wet around the roots.
When the plant is healthy and you’re only refreshing the surface, don’t pull it out just because the soil looks tired. A careful top-up may be enough; there’s a separate method for adding soil to a potted plant without disturbing its roots.
Choose the Right Soil and Pot
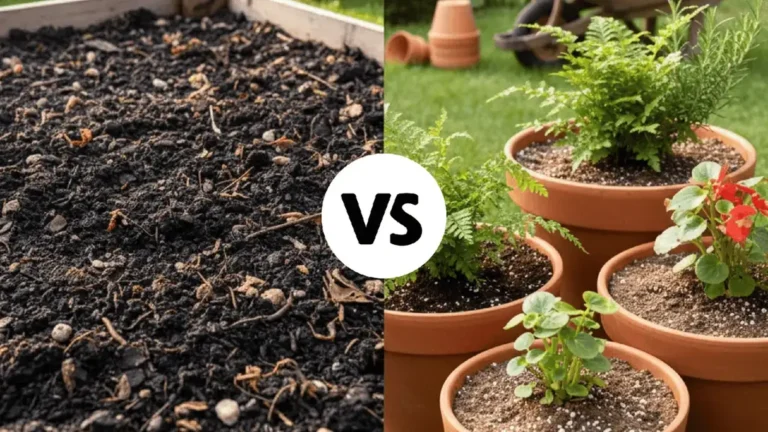
The right mix for a potted plant lets water drain while holding enough moisture and air around the roots. Match the mix to the plant’s water needs, then keep the new pot close to the size of the old one unless the roots are crowded.
Bagged mixes aren’t all interchangeable. A mix made for a moisture-loving fern can stay too wet for a succulent, while a fast-draining cactus blend can dry out a thirsty tropical plant before your next watering.
| Plant or situation | What to look for in the mix | Practical note |
|---|---|---|
| Most leafy houseplants | General indoor potting mix with a loose texture | Adjust watering to the plant and room conditions |
| Succulents and cacti | A faster-draining mix labeled for cacti or succulents | Don’t rely on potting mix alone to fix a pot without drainage |
| Seedlings and small plants | Fine-textured mix labeled for starting or young plants | Coarse chunks can leave small roots with poor contact |
| Flowering container plants | Container mix suited to the plant’s moisture needs | Check the label for feeding instructions |
| Woody shrubs in pots | A container mix that drains well and suits the shrub | Avoid heavy garden soil in a container |
For a general houseplant, choose a bag labeled for indoor containers and check that it feels loose rather than dense and sticky. A guide to soil for potted plants can help you compare blends when your plants have different watering needs.
Container gardening mixes are made to work in pots, where roots can’t draw on surrounding ground. If you’re choosing soil for a collection of outdoor planters, container gardening potting soil is a useful comparison point because mix texture and water retention affect how often you’ll need to water.
Pro Tip: Open a new bag and check for a sour odor, visible mold, or a mix that’s already waterlogged. Don’t use material that looks contaminated or smells rotten.
The pot matters as much as the soil. Move up only one pot size when roots are crowded, since a very large container holds more wet soil around a small root system.
For a large decorative planter, filling the bottom with gravel or broken pots won’t improve drainage. Those materials can leave a perched layer of water above the change in texture; use a pot with drainage holes and a suitable mix instead. If you’re trying to reduce the amount of mix a large container needs, learn how to use less potting soil without blocking drainage or squeezing roots into a cramped space.
I once used a dense leftover mix in a decorative pot because it seemed wasteful to open another bag. The surface looked fine, but the pot stayed heavy and damp long after watering, which taught me that a cheap shortcut can cost more effort later.
For boxwood, also called buxus, don’t assume a standard indoor houseplant blend is the right fit. Soil for buxus in pots should suit a woody shrub in a container, with drainage and watering managed for the pot and site rather than by a one-size-fits-all recipe.
Know When to Replace Soil and When to Leave It
Change a plant’s soil when the mix has broken down, developed a persistent odor, or no longer drains and wets evenly. A plant that’s growing well in a healthy mix usually doesn’t need a full soil replacement on a schedule.
A plant can show several different problems at once, so check the roots and the soil before deciding. Yellow leaves alone don’t prove that old soil is the cause; too much water, too little light, pests, or a sudden temperature change can produce similar signs.
- Water runs around the root ball: The mix may have dried and pulled away from the pot, or it may be too compacted to wet evenly.
- The pot stays heavy and wet: The mix may be dense, the pot may be oversized, or the plant may be getting more water than it uses.
- The soil smells sour: Poor airflow or prolonged wetness may be breaking down the mix and stressing roots.
- Roots circle tightly: The plant may need more room, though a larger pot isn’t always the answer.
- White crust appears on the soil or pot: Mineral salts from water or fertilizer may have built up; check the plant’s care needs before replacing everything.
Is the plant drooping right after watering? Check whether water is actually reaching the root ball, since dry, compacted soil can let water escape down the pot’s sides.
You can replace only the upper layer when the lower mix still drains well and the roots are healthy. Remove loose topsoil carefully, stop before exposing major roots, and add fresh mix without burying the stem or crown.
For a plant with suspected root rot, a partial surface refresh won’t fix the problem. Remove the plant, inspect the roots, and cut away soft, dark, damaged portions with clean snips; healthy roots are generally firm, though color varies by plant.
Important Tip: If you find root rot, don’t put the plant straight back into the same contaminated, waterlogged mix. Clean the pot and use fresh mix, and make sure excess water can drain away.
Handle Roots, Watering, and Aftercare
Healthy roots need air as well as water, so gentle handling and a free-draining pot help a plant recover after repotting. Keep the plant at its former soil depth, water the new mix through, and give it steady care while it settles.
Before starting, gather the pot, fresh mix, a small scoop, clean snips, and a towel or tray. If the plant is spiny, irritating to the skin, or potentially harmful if eaten, wear suitable gloves and keep it away from children and pets.
Root condition tells you how much old soil to remove. A healthy root ball can stay mostly intact, while a root-bound plant may need a few outer roots eased loose; roots that are mushy or dead call for more careful cleanup.
- Slide the plant out without yanking. If it won’t release, squeeze a flexible pot or tap the rim and sides. A knife can damage roots, so use one only when needed and keep the blade away from the root ball.
- Inspect the roots in good light. Keep firm roots and remove only dead, broken, or rotting parts. Don’t strip away every bit of old mix, since that can injure fine roots that absorb water.
- Set the plant at its old depth. Add mix below the root ball, then fill around the sides. Leave a small space between the soil surface and pot rim so watering doesn’t spill over.
- Water slowly and let the pot drain. Pour across the surface rather than in one spot, and empty any water left in a saucer or cachepot.
- Return the plant to a stable spot. Keep its light and temperature close to normal while it adjusts. Avoid piling on fertilizer right after repotting unless the mix label or plant needs call for it.
Should you prune the roots if they’re tangled? Only loosen what you can separate without force; a few stubborn roots are safer left alone than torn apart for a neater-looking root ball.
After repotting, a little temporary drooping can happen, especially if roots were disturbed. Keep the soil lightly moist according to the plant’s needs, not constantly wet, and don’t respond to every limp leaf with another splash of water.
Fresh potting mix may contain fertilizer, so read the bag before feeding the plant. Adding fertilizer on top of a mix that already includes nutrients can stress roots, and a plant recovering from root damage usually benefits from stable care more than extra products.
Common Repotting Problems and Simple Fixes
Most post-repotting problems come from excess water, a pot that’s too large, or roots that were disturbed more than necessary. Check the mix and drainage before changing several parts of the plant’s care at once.
| What you notice | Likely cause | What to do |
|---|---|---|
| Soil stays wet for a long time | Mix is too dense, the pot is too large, or watering is too frequent | Let the mix dry to the plant’s normal target before watering again |
| Water drains immediately down the sides | Soil may have dried out and pulled away from the pot | Rewet slowly in small passes and check the center of the root ball |
| Plant wilts after repotting | Root disturbance or a change in light and moisture | Keep conditions steady and check soil moisture before watering |
| Stem sits too deep | Fresh mix was added above the former soil line | Remove excess soil from the stem base |
| Fungus gnats appear | Damp mix provides a favorable place for larvae | Let the surface dry as appropriate and reduce excess watering |
Don’t pack the mix down hard to stop the plant from wobbling. Firm it gently with your fingertips, then add a little more mix where it settles; compacted soil leaves less air around the roots.
- Replace soil based on its condition, not a fixed calendar.
- Choose a container mix that fits the plant’s water needs.
- Keep healthy roots mostly intact and avoid burying the stem.
- Water through, let the pot drain, and keep aftercare steady.
FAQs About How to Change Soil in Potted Plants
How often should I change soil in potted plants?
There isn’t one schedule that fits every potted plant. Replace soil when the mix breaks down, stays wet too long, smells sour, or no longer wets evenly; healthy plants in a workable mix can often stay put. Check roots, drainage, and plant growth before deciding on a full repot.
Can I change potting soil without repotting the plant?
Yes, you can replace some of the upper soil when the plant is healthy and the lower mix still drains well. Remove only loose topsoil, avoid cutting into major roots, and add fresh mix without covering the stem base. A surface refresh won’t solve root rot or a compacted lower layer.
Should I water a plant right after changing its soil?
Usually, water slowly after repotting so the fresh mix settles around the roots, then let excess water drain. If you removed rotting roots, follow the plant’s needs and avoid keeping damaged roots in wet soil. Check the mix before watering again instead of following a fixed day count.
Do I need to remove all the old soil from the roots?
No, not when the roots look healthy and the old mix has no serious problem. Remove loose soil and any material that’s sour, waterlogged, or tied to root rot, but don’t scrub healthy roots bare. Fine roots can tear easily, and damage makes water uptake harder while the plant adjusts.
Can I use garden soil in a potted plant?
Garden soil usually isn’t a good direct substitute for potting mix in a container. It can be dense and may hold water differently in a pot than it does in open ground. Use a mix labeled for containers, and choose one that matches the plant’s drainage and moisture needs.
Make the Soil Change Count
A good soil change is a careful refresh, not a full root cleanup every time a plant looks a little off. Start by checking the mix and roots, then choose the smallest intervention that solves the problem. If the plant is healthy, keep most of its root ball intact; if the soil is sour or roots are rotting, remove the affected material and repot in fresh mix.
I’d rather see you take an extra minute to check drainage than rush into a bigger pot or heavy feeding. That small pause can save you from weeks of soggy soil and drooping leaves. Your clearest next step is to inspect the pot, the soil surface, and the roots you can see, then decide whether the plant needs a light refresh or a full repot.

I’m Maya L. Greenwood, a lifelong plant lover who believes anyone can grow something beautiful with the right guidance. After years of testing soil mixes, pruning methods, irrigation tricks, and pest-safe solutions, I started EasyGardenTips.com to turn hard-won lessons into step-by-step advice. From seed starting and container gardens to composting and seasonal checklists, my goal is to make gardening simple, sustainable, and fun.
One Comment