
How to Prepare Potting Soil for Planting: Easy Steps for Success
Most potting soil is ready to use after you loosen it, check how well it drains, and moisten it evenly. If the mix is old, compacted, or missing nutrients, a few targeted changes can help roots settle in and grow.
Have you opened a bag of potting mix and found a dry, dusty brick? Or watered a new plant only to find the water sitting on top instead of soaking in?
I once rushed a container planting with mix straight from a sun-baked bag. The surface looked damp, but the center stayed dry, and the first seedlings wilted before I caught the problem. That’s a common mistake, not a dumb one.
I wrote this to help you prep potting soil without turning a simple planting job into a chemistry project. You’ll get a clear routine for new and reused mix, plus ways to handle drainage, pH, and fertilizer.
Get the prep right, and water reaches the roots, seedlings settle in, and containers are less likely to turn into soggy messes. Skip it, and you may waste plants, time, and a perfectly good bag of mix.
This takes about 10 minutes, not counting any waiting time for amendments to settle. You’ll come away knowing how to:
- Check whether potting mix is fresh, damp, and loose enough to plant in.
- Fix dry, soggy, or compacted soil without adding a pile of random ingredients.
- Decide when old potting mix is worth reusing.
- Match soil prep to seeds, transplants, and container plants.
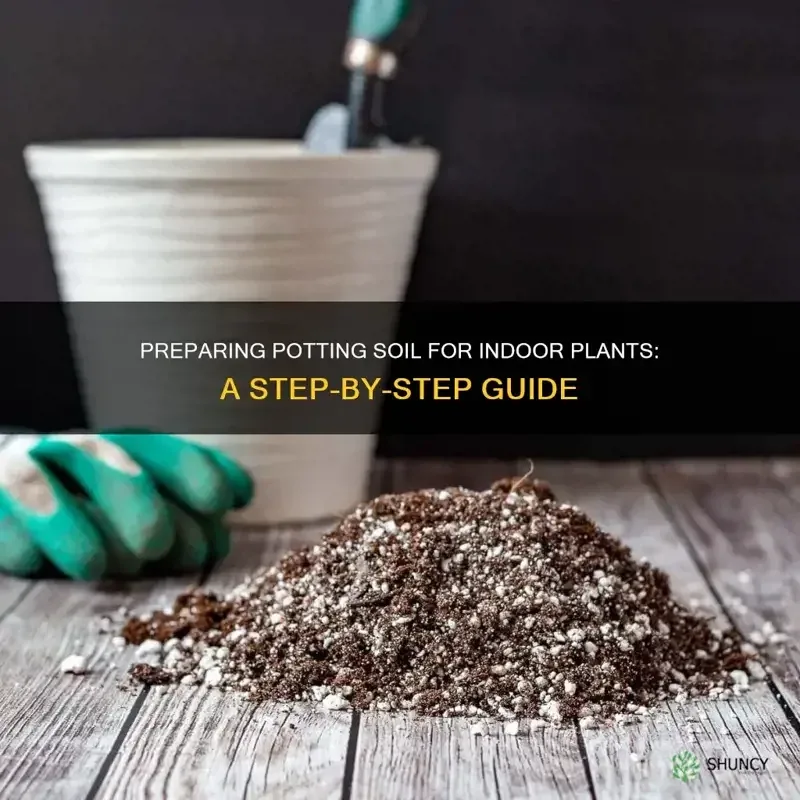
How to Prepare Potting Soil for Planting: the Simple Method
To prepare potting soil, break up clumps, remove debris, moisten the mix, and check that water drains through it. Add fertilizer or amendments only when the plant’s needs and the mix label call for them.
- Check the bag or mix. Read the label for included fertilizer, moisture instructions, and intended use. Don’t use mix that smells rotten, has widespread mold, or contains obvious pests.
- Loosen the mix. Pour it into a clean tub or wheelbarrow and gently crumble compacted chunks with your hands or a small trowel. Don’t grind the mix into dust, which can reduce airflow.
- Moisten dry mix gradually. Add water a little at a time and stir between additions. Stop when a handful holds together loosely when squeezed, then crumbles when you tap it.
- Check the drainage. Fill a container with drainage holes and water the mix slowly. Water should pass through rather than pool on the surface for a long time.
- Make only needed adjustments. Add a labeled fertilizer or a suitable amendment based on the crop, the product instructions, and what the mix is missing.
- Fill the planting container. Add mix loosely, leaving enough room at the top for watering. Don’t press it down hard or pack it around roots.
- Plant and water. Set seeds or transplants at the depth they need, then water gently until the mix is evenly damp.
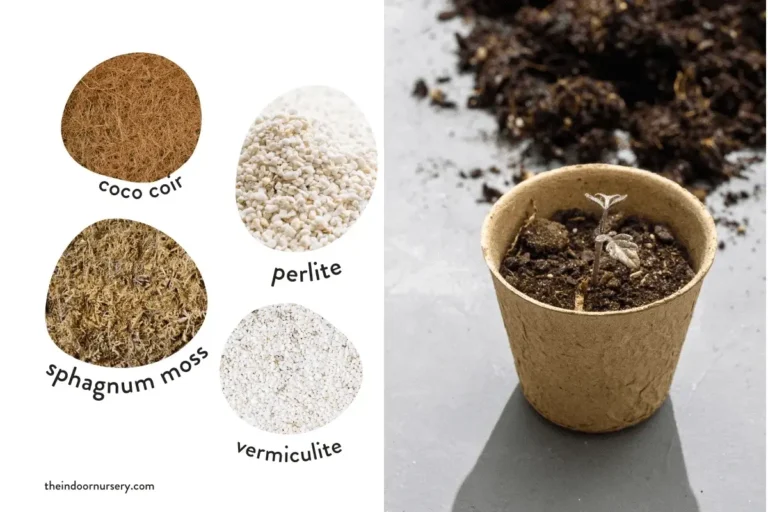
A potting mix is a lightweight growing medium designed for containers, often made with ingredients such as peat moss or coir, bark, perlite, and compost. It isn’t the same as plain garden soil, which can become dense and poorly aerated in a pot.
How damp should the mix feel before planting? A squeezed handful should hold its shape briefly without dripping; if water runs out between your fingers, the mix is too wet. Dry mix can repel water, while waterlogged mix leaves roots short on oxygen.
Pro Tip: If a dry mix resists water, sprinkle a small amount over the surface, stir, and wait a few minutes before adding more. A slow, even soak works better than dumping in a full watering can and hoping for the best.
Check the Mix Before You Add Anything
The best prep starts with figuring out what the potting soil already has. A new bag may contain fertilizer, lime, or moisture-holding ingredients, so adding more without checking can create an avoidable problem.
Look at the label for terms such as starter fertilizer, which feeds young plants for a limited time, or slow-release fertilizer, which releases nutrients gradually. Follow the stated feeding schedule rather than adding extra fertilizer at planting.
What if you’re unsure whether the mix needs more food? Don’t guess based on color or smell; check the bag, identify the plant’s needs, and use a product labeled for that use. Too much fertilizer can damage roots and cause leaf edges to brown.
A basic moisture test tells you more than squeezing the soil once. Water a small portion in a container with drainage holes, then notice whether it wets evenly, drains freely, and stays damp without turning soupy.
| What you notice | Likely issue | A practical response |
|---|---|---|
| Water beads or runs off dry mix | Mix has dried out and may resist wetting | Add water in small amounts, stir, and let it absorb |
| Water pools on the surface | Mix may be compacted or too fine | Loosen it; replace it if it remains dense and slow to drain |
| Mix drains very quickly and dries fast | Mix may be too coarse or low in water-holding material | Blend with a suitable container mix that holds more moisture |
| Sour or rotten smell | Mix may be breaking down or staying too wet | Don’t use it for planting; discard it |
| White crust on the surface or pot rim | Possible salt buildup from fertilizer or hard water | Scrape away the crust and assess the plant and watering routine |
Drainage means how readily excess water moves out of the root zone. Good drainage doesn’t mean the potting soil should dry out immediately; roots need both moisture and air.
A pot that lacks drainage holes can stay wet even when the mix is well made. If you’re planting in a decorative cover pot, keep the plant in a nursery pot with holes, then empty any water collected in the outer pot.
I once tried to rescue a dense, tired mix by adding several ingredients at once. The result was a patchy blend that held water in some spots and dried quickly in others, so now I change one thing at a time. That small pause makes it much easier to tell what actually helped.
If a plant’s leaves look yellow or droopy, don’t assume the pH is the problem. Check moisture, drainage, light, and fertilizer history first, since several common growing issues can cause similar symptoms.
Choose a Mix That Fits the Plant
Potting soil should suit the plant, the container, and how often you can water. A thirsty annual in a sunny hanging basket needs a different moisture balance from a cactus in a small clay pot.
For most houseplants and outdoor container plants, a fresh, labeled potting mix is the easiest starting point. To compare common container options and use them properly, follow potting soil use basics as you match the mix to the pot and plant.
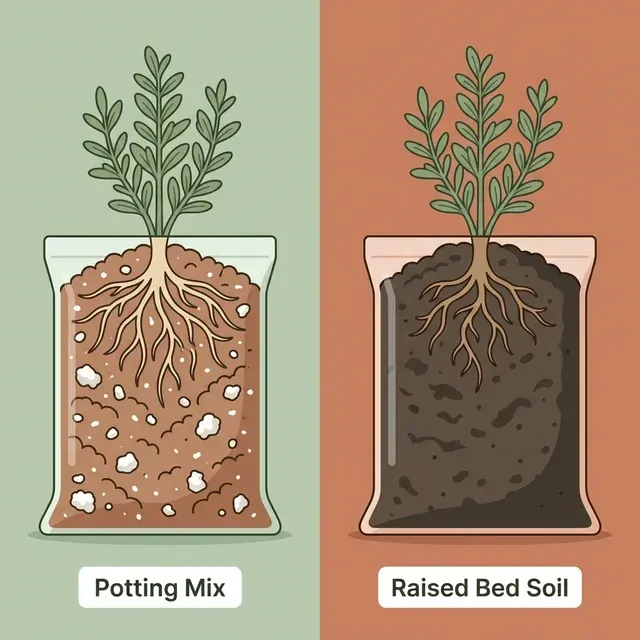
Garden soil can be useful in beds, but it’s usually too heavy for containers on its own. The difference between planting mix and potting soil matters because products labeled for in-ground planting may not provide the light structure container roots need.
Seed-starting mix is usually finer and lower in nutrients than standard potting mix. That makes it handy for germination, where small seeds need close contact with a smooth medium, but seedlings will eventually need a suitable mix for continued growth.
| Planting situation | What to look for | Prep priority |
|---|---|---|
| Seeds in trays | Fine, clean seed-starting medium | Even moisture and a loose surface |
| Houseplants | Labeled indoor potting mix | Airflow and drainage suited to the plant |
| Vegetables in pots | Container potting mix with suitable nutrients | Steady moisture and enough root space |
| Cacti and succulents | Mix labeled for fast drainage | Avoiding long periods of wet soil |
| Reused potting mix | Clean, loose material without warning signs | Screening debris and checking structure |
To improve drainage, use a blend intended for the plant rather than tossing in gravel at the bottom of the pot. Gravel doesn’t fix a dense mix, and it can leave the root zone wetter than you expect. Guidance on well-draining potting soil can help you choose a texture that suits plants prone to root problems.
What about a mix that dries too quickly? Blend it with a suitable potting medium that holds more moisture, then test the result in a container before filling several pots. A little adjustment is easier to manage than a big batch that leaves you watering twice a day.
For a typical container blend, start with a commercial potting mix and use it as labeled. If you make a custom mix, keep proportions consistent by volume, such as measuring each ingredient with the same scoop, and adjust only after you’ve checked how the mix behaves in a pot.
Important Tip: Don’t add garden soil to a pot just because it looks rich. A scoop from the yard can bring dense clay, weed seeds, or pests into a container, and it may make the whole pot harder to water.
Fix Old, Dry, or Out-of-Balance Potting Soil
Old potting mix can sometimes be reused, but it needs a careful check before another plant goes in. Reuse makes the most sense when the mix is clean, has a reasonable texture, and came from a healthy container.
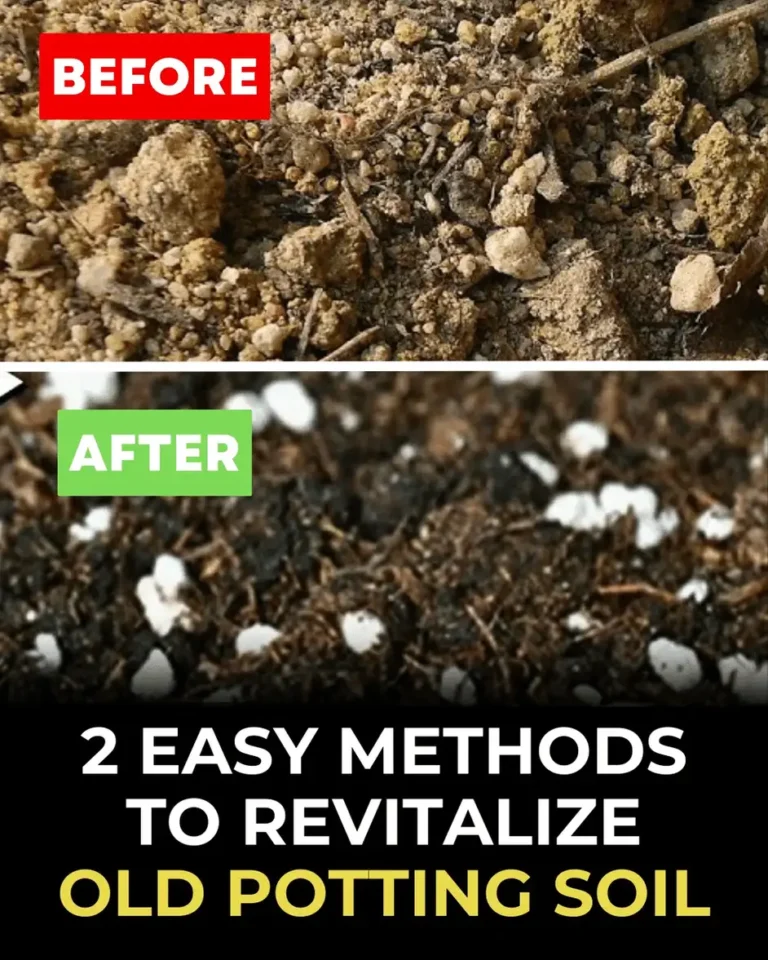
Remove old roots, stems, and surface debris by hand or with a coarse screen. Break up hard clumps, then check whether the mix still absorbs water and drains in a reasonable way.
Don’t reuse mix from a plant that had a serious disease, heavy pest infestation, or unexplained decline. Tossing questionable soil is the safer choice, especially when the next plant is valuable or vulnerable.
When mix has settled and lost its loose structure, blend it with fresh potting mix rather than trying to revive it with a long list of materials. If you’re starting with a clean new bag, this guide to potting soil for plants can help you compare options by plant type.
For container gardening, keep in mind that a good mix needs to support roots while still draining excess water. A comparison of potting soil for containers is useful when choosing a mix for pots that sit outdoors, where sun and wind can dry them faster.
Adjust pH only when a test points to a problem
pH measures how acidic or alkaline a growing medium is, and it can affect how easily plants take up nutrients. Many common container plants grow well in a slightly acidic range, but the right target varies by plant.
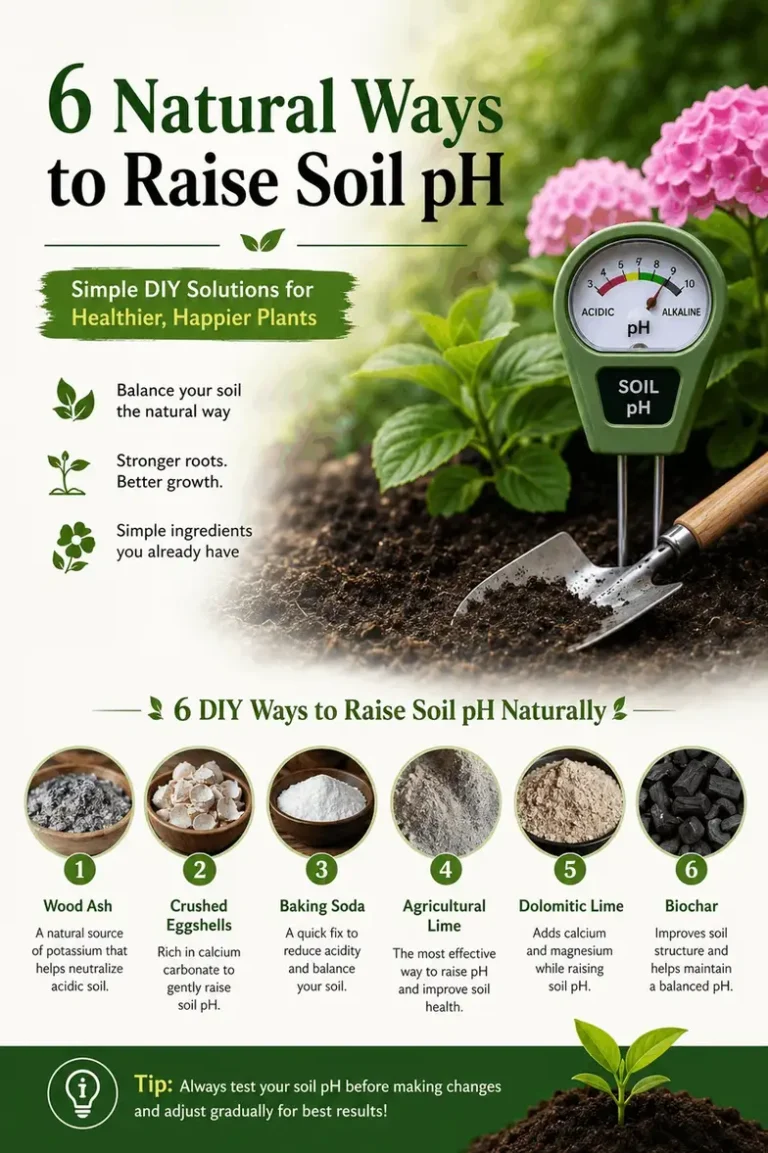
Use a soil test suited to potting media if you suspect a pH issue, then check the plant’s preferred range before changing anything. If a test confirms the mix is too acidic, follow guidance for raising potting soil pH rather than adding lime by eye.
Don’t use pH as the first fix for pale leaves or slow growth. Overwatering, poor drainage, low light, and a nutrient shortage can look much the same, so changing pH without a test can make the growing conditions worse.
Add fertilizer with a light hand
Some mixes come with nutrients already included, while others contain little or no fertilizer. Use the package directions and the plant’s needs to decide when feeding should start.
If you’re growing seedlings, avoid adding a heavy dose of fertilizer to the mix. Young roots can be sensitive to excess salts, and many seed-starting products are made for germination rather than long-term feeding.
Freshly prepared mix doesn’t need to be sterilized in a home oven. Heating soil can produce unpleasant odors and may create safety concerns, while clean containers, fresh mix, and sensible reuse practices are usually the better route for home planting.
Keep dust and mess under control
Dry potting mix can create dust when you pour or stir it. Work outdoors or in a well-ventilated space, avoid leaning over the bag, and wear gloves; a dust mask is sensible if you’re handling a lot of dry material or have breathing sensitivities.
Store unused mix in a closed bag or covered bin in a dry spot. Keep it off damp floors and away from pests, and close it after each use so the mix doesn’t dry into a hard clump.
- Loosen and moisten potting soil before planting, then check that it drains.
- Read the bag before adding fertilizer or amendments.
- Reuse mix only when it’s clean and structurally sound.
- Change pH only after a suitable test points to a need.
FAQs About How to Prepare Potting Soil for Planting
Should I wet potting soil before planting?
Yes, moisten potting soil before planting if the mix is dry. Add water gradually and stir until a handful holds together loosely without dripping. Damp mix settles around roots more evenly than dusty mix, and seeds are less likely to shift when you water after planting.
Do I need to add fertilizer to potting soil?
Not always. Many potting mixes include starter or slow-release fertilizer, so read the label before adding more. If the mix has no added nutrients, choose a fertilizer suited to the plant and follow its directions; too much fertilizer can harm roots.
Can I reuse potting soil from last year?
Yes, if the used potting soil is clean, loose, and came from a healthy plant. Remove old roots and debris, then test its moisture and drainage. Discard mix from plants with serious disease or pests, or mix that smells rotten or stays dense and wet.
Can I use garden soil in a pot?
Garden soil usually isn’t a good choice by itself in containers because it can become dense and restrict airflow around roots. Use a potting mix made for containers instead. Garden soil can remain useful in outdoor beds, where it has more space to drain and interact with surrounding soil.
How do I know if potting soil drains well?
Fill a container with drainage holes and water the mix slowly. Water should move through the pot rather than sit on the surface for a long time, while the mix should still hold some moisture. If it stays soggy or dries almost at once, adjust or replace it.
Should I add lime to potting soil before planting?
No, don’t add lime unless a test shows the potting mix is too acidic for the plant. Lime changes pH, and the right amount depends on the mix and the plant’s needs. Follow a test-based recommendation and the product label instead of estimating by handfuls.
Start with a Small, Careful Prep
Good potting soil prep isn’t about adding every amendment on the shelf. It’s about making sure the mix is loose, evenly damp, and suited to the plant before you put roots or seeds into it.
I’d start with a fresh, labeled mix for most container planting, then make changes only when a clear problem shows up. That approach saves time and makes it easier to tell whether a change helped.
Your next step is simple: check the bag, moisten a small amount, and test it in the container you plan to use. If water drains well and the mix holds a little moisture, you’re ready to plant.

I’m Maya L. Greenwood, a lifelong plant lover who believes anyone can grow something beautiful with the right guidance. After years of testing soil mixes, pruning methods, irrigation tricks, and pest-safe solutions, I started EasyGardenTips.com to turn hard-won lessons into step-by-step advice. From seed starting and container gardens to composting and seasonal checklists, my goal is to make gardening simple, sustainable, and fun.

One Comment