How to Make Potting Soil for Indoor Plants: Foolproof Mix Recipe
A reliable indoor potting mix starts with two parts coco coir or peat moss, one part perlite or pumice, and one part fine bark, with a little compost or worm castings for nutrients. Adjust the mix for your plant and pot, because a thirsty fern and a drought-loving succulent shouldn’t share the same recipe.
Are your houseplants staying soggy days after watering, or drying out before you’ve had a chance to put the watering can away? Those problems often start with the mix, not your gardening skills.
I once added extra compost to a batch because the mix looked pale and “needed something.” The first few pots held water longer than I expected, and I ended up repotting them with more airy ingredients. It’s a common mistake, not a dumb one.
I wrote this to help you mix a dependable base from easy-to-find ingredients, then make sensible changes for the plants you actually own. You don’t need a shed full of specialty supplies or a chemistry degree.
Get the balance right and roots can access both moisture and air, while watering becomes easier to judge. Get it wrong and you can wind up with slow-drying pots, droopy leaves, or a bag of ingredients you’ll never use again.
This takes about 10 minutes to read. By the end, you’ll know how to:
- Measure a basic houseplant mix by volume.
- Choose ingredients that fit your plant and pot.
- Adjust drainage without making every mix too dry.
- Spot common mix problems before repotting.
How to Make Potting Soil for Indoor Plants with a Balanced Recipe
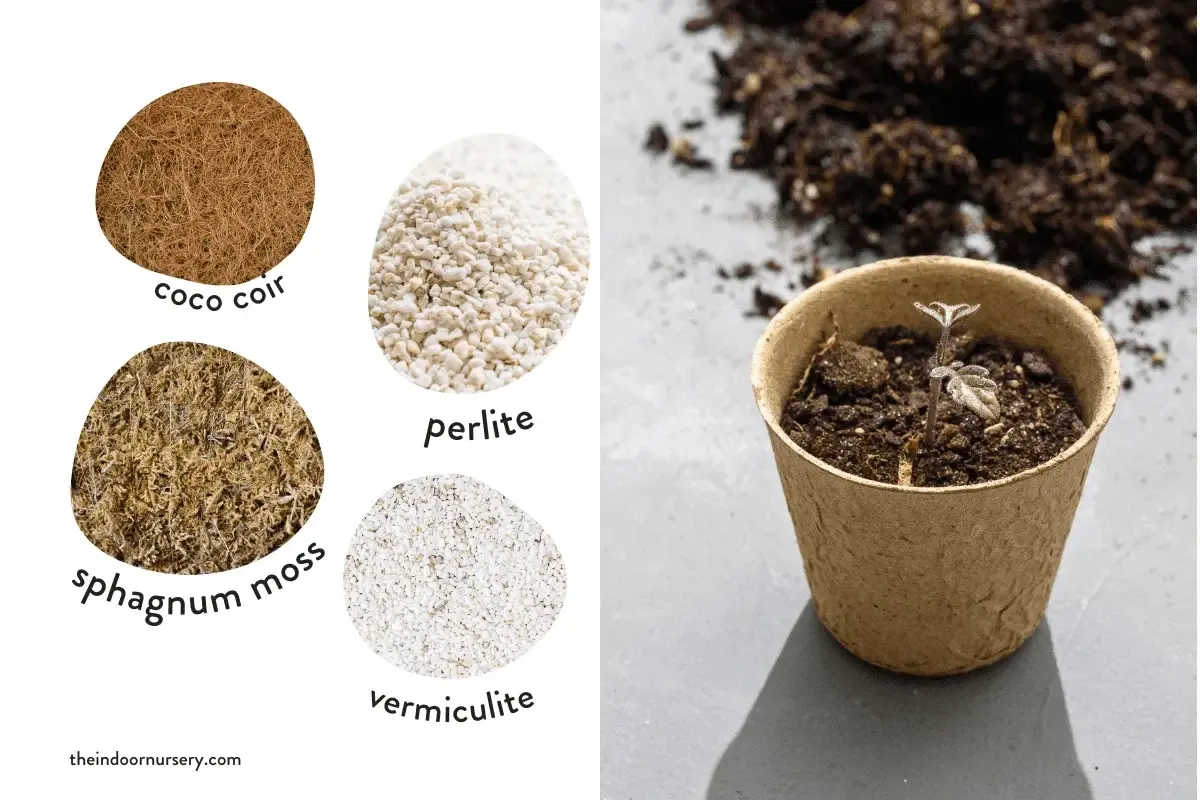
Mix two parts coco coir or peat moss, one part perlite or pumice, and one part fine orchid bark for a general indoor potting mix. Add up to half a part of compost or worm castings if your plants need a mild nutrient boost.
The recipe uses parts, meaning equal-volume scoops rather than weight. A mug, measuring cup, or small bucket works fine; just use the same scoop for every ingredient.
- Put two scoops of coco coir or peat moss in a tub. These materials hold moisture and give roots a soft, even base.
- Add one scoop of perlite or pumice. These porous minerals create air pockets and help excess water drain.
- Add one scoop of fine orchid bark. Small bark pieces add structure and keep the mix from packing down as quickly.
- Stir in up to half a scoop of compost or worm castings, if you want a modest nutrient source.
- Mix until the ingredients look evenly distributed, then moisten the mix lightly before potting.
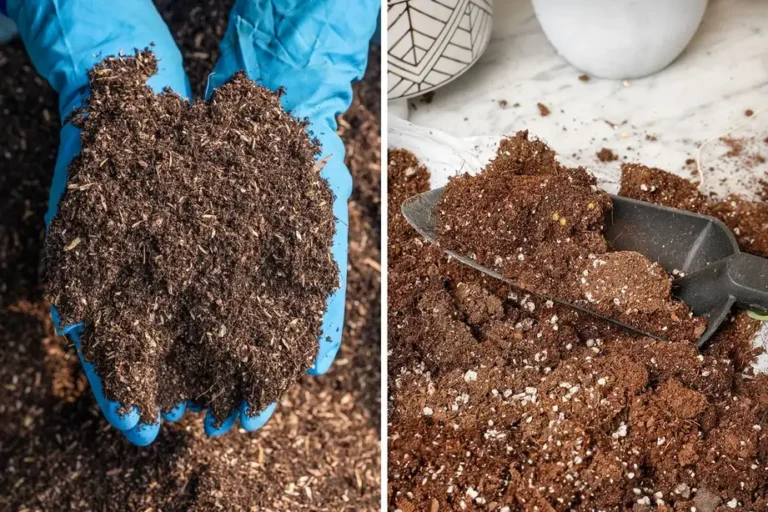
A mix that feels springy and loose is generally easier for indoor roots than one that feels dense and muddy. If you squeeze a handful, the mix can hold its shape briefly, but it should break apart with a light touch rather than staying in a wet clump.
Use the recipe as a starting point, not a rule carved into a clay pot. For a small pothos in a pot with drainage holes, the base mix may work as written; for a plant that stays wet too long, add a little more perlite or pumice.
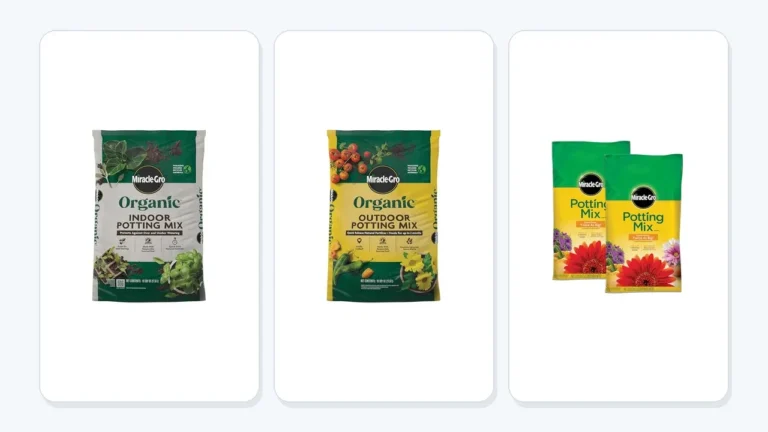
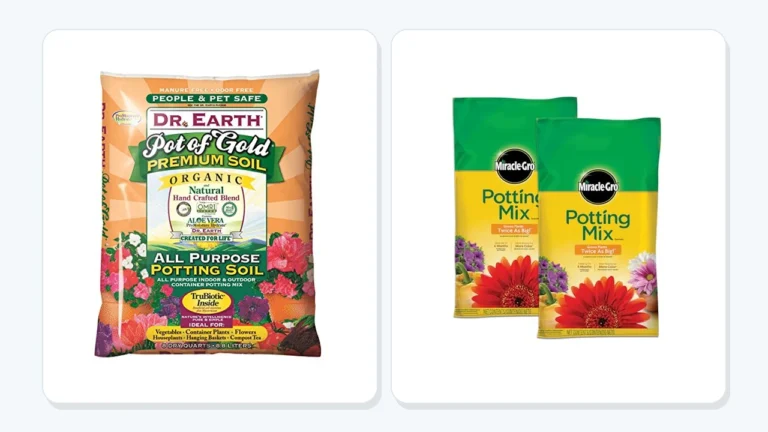
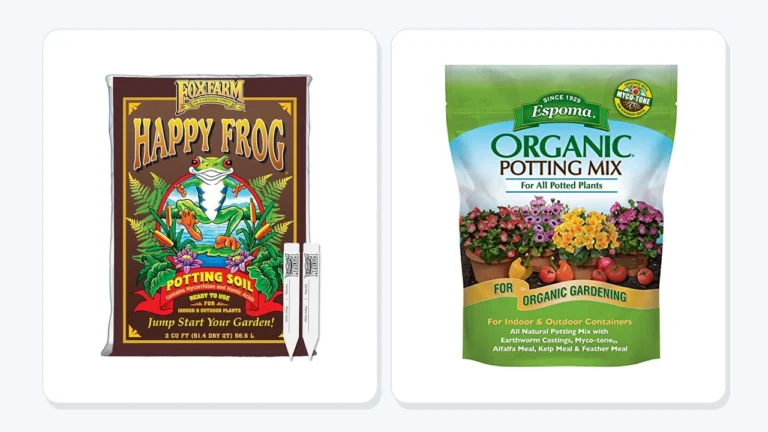
The best starting point also depends on what you’re buying and how much adjusting you want to do. If you’d rather compare ready-made options before mixing ingredients, this guide to potting soil for houseplants can help you weigh convenience against control.
Pro Tip: Keep a small scoop with your ingredients and write the recipe on a piece of tape on the storage tub. That saves you from guessing when you make another batch.
What each ingredient does
| Ingredient | Main job | What to watch for |
|---|---|---|
| Coco coir or peat moss | Holds moisture and gives the mix body | Don’t use so much that the mix stays wet for too long |
| Perlite or pumice | Adds air space and helps water drain | A very high amount can make the mix dry quickly |
| Fine orchid bark | Adds structure and open spaces around roots | Large pieces can leave gaps around small root balls |
| Compost or worm castings | Adds some nutrients and organic matter | Too much can make the mix heavy or stay damp |
Coco coir often comes compressed and needs water to loosen it before mixing. Peat moss can be dusty, so work gently and avoid breathing in airborne dust; a simple dust mask is useful when handling a dry, dusty bag.
A soilless mix is a growing medium made without garden soil. Bagged “potting soil” often uses that name even when its ingredients are mostly peat, coir, bark, and minerals.
Ready-made indoor mixes vary in texture and ingredients, so check the bag rather than assuming every product drains the same way. If you want to compare pre-mixed choices against a homemade recipe, indoor potting mix options can give you a useful starting point.
Choose Ingredients and Adjust the Mix for Your Plant
Indoor plants need a mix that holds enough water for their roots while leaving air spaces after watering. Change the amount of moisture-holding material or aeration based on the plant, pot size, and how quickly the mix dries in your home.
A mix can behave differently in a warm, bright room than in a cool corner with little airflow. A large plastic pot also dries more slowly than a small unglazed clay pot, so the same recipe may feel just right in one container and soggy in another.
What if you’re unsure whether your mix is too dense? Water a test pot, then check how quickly the surface and lower mix dry; if the root ball stays wet for many days, increase the airy ingredients the next time you repot.
- For many foliage plants: Start with the base recipe and watch how long it takes to dry. Pothos and philodendrons often do well in a mix that holds some moisture but doesn’t turn sticky.
- For spider plants: Use a loose mix with good drainage, but don’t strip away all moisture-holding ingredients. Their roots store water, so a soggy pot can cause trouble even when the leaves still look cheerful; this guide to spider plant potting mixes covers the plant-specific choice.
- For rubber plants: Keep the base airy and stable, with enough bark or mineral aeration to avoid a packed root zone. A heavy potting mix can remain wet around a rubber plant’s roots; compare suitable rubber plant soil mixes if you’re deciding between homemade and bagged.
- For succulents and cacti: Use much more mineral material, such as perlite or pumice, and less coir or peat. A common starting point is one part moisture-holding base to two parts mineral material, then adjust based on your pot and drying conditions.
- For ferns: Keep more moisture-holding material in the recipe and avoid letting the mix dry out completely. Still, use a pot with drainage holes so water doesn’t collect around the roots.
The plant label can tell you what kind of growing conditions a plant prefers, but your home still matters. If your room is dim and cool, the pot may dry slowly; bright light and warm air can pull moisture out faster.
I once repotted a leafy plant into a mix with so much perlite that water ran through before the root ball had time to take it up. Adding more moisture-holding material fixed the problem, and it reminded me that “more drainage” isn’t automatically better.
Pro Tip: Keep the pot’s drainage holes open and raise the pot slightly if it sits in a saucer. A well-made mix can’t help much if runoff has nowhere to go.
Match moisture and airflow to the pot
Pot size and material affect how fast potting mix dries. A pot that’s much larger than the root ball holds more damp mix, while terracotta usually loses moisture faster than plastic or glazed ceramic.
When you repot, choose a container only modestly larger than the root ball, with drainage holes. A huge pot can leave a small root system surrounded by damp mix it can’t use quickly.
The texture of an ingredient matters, too. Fine bark makes a more even mix for smaller roots, while chunky bark can create large gaps that don’t work well in a small pot.
Don’t add stones to the bottom of a pot as a substitute for drainage. They take up space, and water still needs an open path out of the container.
Avoid common homemade-mix problems
A good recipe can still cause problems if the ingredients are too fine, too wet, or poorly stored. Check the texture and moisture before using a batch, and change one part at a time when you’re troubleshooting.
| What you notice | Possible cause | Practical adjustment |
|---|---|---|
| Mix stays wet for a long time | Too much coir, peat, or compost; a pot may be oversized | Add perlite or pumice next time and check the pot size |
| Water runs straight through | Mix is very dry, hydrophobic, or too coarse | Pre-moisten the mix and add a little more coir or peat |
| Mix collapses and packs down | Too many fine ingredients or little structure | Add fine bark and a mineral aeration ingredient |
| White crust forms on the surface | Mineral salts from water or fertilizer may be accumulating | Scrape away the crust and flush the pot if drainage is good |
Hydrophobic means a dry material resists water instead of soaking it up. Dry peat can do this, so dampen it gradually and mix it before potting rather than pouring a large amount of water onto a dry batch.
If you’re considering using a bag marked for outdoor containers, check its texture and listed ingredients before bringing it indoors. Outdoor products can be heavier or include ingredients that aren’t a good fit for indoor use; the answer to using outdoor potting soil indoors depends on the product, not just the label.
Store, Use, and Maintain Your Homemade Potting Mix
Store unused mix in a clean, closed container in a dry place. Keep it away from standing water, damp floors, and old plant debris, which can leave the mix wet or contaminated.
A lidded storage tub works well for a small batch, while a clean bucket with a snug cover is enough for a few pots. Label the container with the recipe and date you mixed it so you can repeat a batch that works.
Don’t store a batch while it’s soaking wet. Slightly moist ingredients are easier to handle, but excess moisture can encourage mold or make the mix unpleasant to use.
Pot a plant without compacting the roots
- Check that the new pot has drainage holes and is only a little larger than the plant’s root ball.
- Loosen the root ball gently, removing loose old mix without tearing healthy roots.
- Add enough fresh mix to support the plant at its previous soil line.
- Fill around the roots, tapping the pot lightly so the mix settles into open spaces.
- Water thoroughly, let excess water drain, and empty the saucer.
Don’t press the mix down hard to make the plant feel locked in place. Firm contact around the roots is useful; a packed pot can squeeze out the air spaces the recipe was meant to create.
If the old roots smell rotten or feel mushy, remove the damaged parts with clean scissors before repotting. Wash tools after working on a plant with suspected root rot, and don’t reuse its old mix for another houseplant.
Important Tip: Wear gloves if your skin gets irritated by potting ingredients, and avoid stirring dusty dry materials near your face. Keep bags and tubs away from pets and children, especially if the package includes fertilizer or other additives.
Add nutrients carefully
Compost and worm castings can add some nutrients, but homemade potting mix may still need plant food as the plant grows. Follow the fertilizer label for indoor plants, because concentration and application rates vary by product.
Don’t add a large dose of fertilizer to “make up” for ingredients you left out. Too much fertilizer can build up in a pot, especially when water evaporates but salts remain behind.
I prefer to start with a modest amount of compost or castings, then feed according to the plant’s growth and the product label. That gives you more control than loading every batch with nutrients before you know how the mix behaves.
If a plant is growing well and its leaves look healthy, there’s no prize for adding extra fertilizer. More isn’t always more, especially in a small pot where salts have limited room to wash out.
FAQs About How to Make Potting Soil for Indoor Plants
Can I make indoor potting mix without peat moss?
Yes, coco coir can replace peat moss as the moisture-holding base in the recipe. Coir often comes compressed, so loosen it with water before measuring. Check that it’s free of large chunks and mix it with bark and perlite or pumice to keep the finished medium airy.
Do I need compost in homemade potting soil?
No, compost is optional for a basic indoor mix. Add up to half a part if you want some organic matter and nutrients, but too much can make the mix heavy or slow to dry. You can also use a suitable fertilizer later, following its label.
Can I reuse old potting mix for another houseplant?
Sometimes, but don’t reuse old mix from a plant with pests, root rot, or an unknown disease problem. Old mix may have broken down and lost air space, so it often needs fresh bark and perlite or pumice. Remove old roots and debris before reuse.
Should I sterilize homemade potting mix?
Most home growers don’t need to heat-treat a fresh batch made from clean, packaged ingredients. Avoid using garden soil, which can bring pests, weed seeds, or disease into the house. If a mix smells sour or shows mold from wet storage, discard it instead of trying to rescue it.
Why does water run through my homemade potting mix?
Water may run through because the mix is very dry, too coarse, or resistant to absorbing water. Dry peat is a common culprit. Pre-moisten a fresh batch, then add a small amount of coir or peat if the mix still dries too quickly after watering.
Make a Small Batch Before You Fill Every Pot
Homemade indoor potting mix gives you control over texture and drainage, but the best recipe is the one that suits your plant, pot, and home. Start with the basic ratio, make a modest batch, and adjust after you’ve watched how it drains and dries.
I’d rather change one ingredient at a time than rebuild a whole shelf of houseplants after a guess goes sideways. Your next step is simple: gather one moisture-holding base, one airy mineral ingredient, and fine bark, then mix enough for a single plant.
If the mix stays soggy, add aeration next time. If it dries too fast, hold a little more moisture. That small test can save you money, mess, and the familiar panic of a drooping plant beside a half-empty bag of supplies.

I’m Maya L. Greenwood, a lifelong plant lover who believes anyone can grow something beautiful with the right guidance. After years of testing soil mixes, pruning methods, irrigation tricks, and pest-safe solutions, I started EasyGardenTips.com to turn hard-won lessons into step-by-step advice. From seed starting and container gardens to composting and seasonal checklists, my goal is to make gardening simple, sustainable, and fun.