How to Set Up a Hydroponic Grow Tent: Complete Beginner Guide
A hydroponic grow tent is a controlled indoor system where plants grow without soil, using nutrient-rich water instead. Instead of soil, roots are supported by media like coco coir, clay pebbles, or rockwool, and nutrients are delivered directly through water.
This method allows faster growth, better control over nutrients, and more efficient use of space compared to traditional soil-based growing.
In this guide, I’ll walk through how to set up a complete hydroponic grow tent step by step, including equipment, layout, environmental control, and system setup.
Read More: How to setup Grow tent for Normal Plant
Read More: how to set up a grow tent for drying
Step 1: Choose the Right Grow Tent Size
Before setting up hydroponics, selecting the right tent size is important because hydro systems often require extra space for reservoirs, tubing, and pumps.
Common sizes:
- 2×4 ft: Small hydro setups or beginners
- 3×3 ft: Balanced home hydro system
- 4×4 ft: Most popular for serious indoor hydro growing
- 5×5 ft or larger: Advanced systems with multiple reservoirs or higher plant count
Make sure you also leave space for:
- Water reservoir tank
- Air pump or water pump
- Electrical equipment
- Maintenance access
Read More: how to set up a mushroom grow tent
Step 2: Select Your Hydroponic System Type
There are several hydroponic systems, and your setup depends on your experience level and goals.
Most common types:
1. Deep Water Culture (DWC)
Roots are suspended in oxygenated nutrient water.
2. Drip System
Nutrient solution is dripped into each plant individually.
3. Ebb and Flow (Flood and Drain)
Tray floods with nutrient solution and then drains back into reservoir.
4. NFT (Nutrient Film Technique)
Thin film of nutrient water flows continuously over roots.
For beginners, DWC or drip systems are the easiest to manage inside a grow tent.
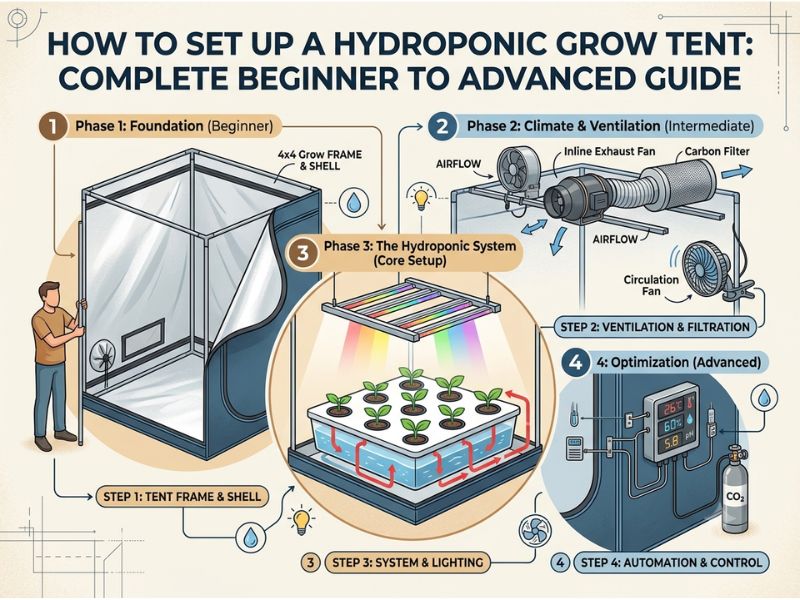
Step 3: Install Grow Tent Structure
If your tent is not assembled yet, build it first:
- Assemble frame
- Attach reflective fabric
- Secure floor tray
Make sure the tent is stable because hydroponic systems are heavier due to water reservoirs.
Place the tent near:
- Water source (if possible)
- Drain access (optional but helpful)
- Electrical outlet
Step 4: Set Up Water Reservoir and Pump System
The reservoir is the heart of any hydroponic setup.
Install:
- Water tank or bucket system
- Air pump (for oxygenation)
- Water pump (for circulation if required)
- Air stones inside reservoir
Keep reservoir:
- Outside direct light (prevents algae growth)
- Easily accessible for refilling and maintenance
Always ensure all tubing connections are tight and leak-free.
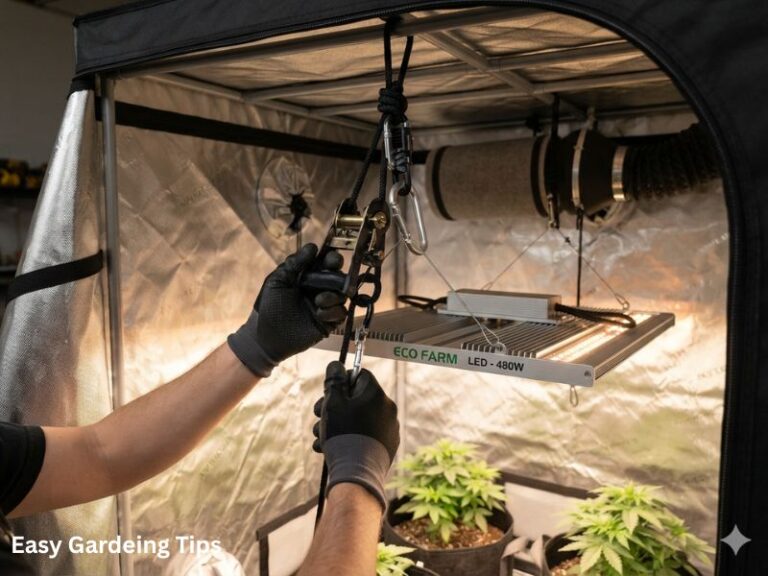
Step 5: Install Grow Lights Properly
Hydroponic systems respond very quickly to light changes, so lighting setup is critical.
- Hang LED grow lights using adjustable hangers
- Center light for even canopy coverage
- Adjust height as plants grow
- Avoid hot spots or uneven light distribution
For larger tents, multiple lights may be required.
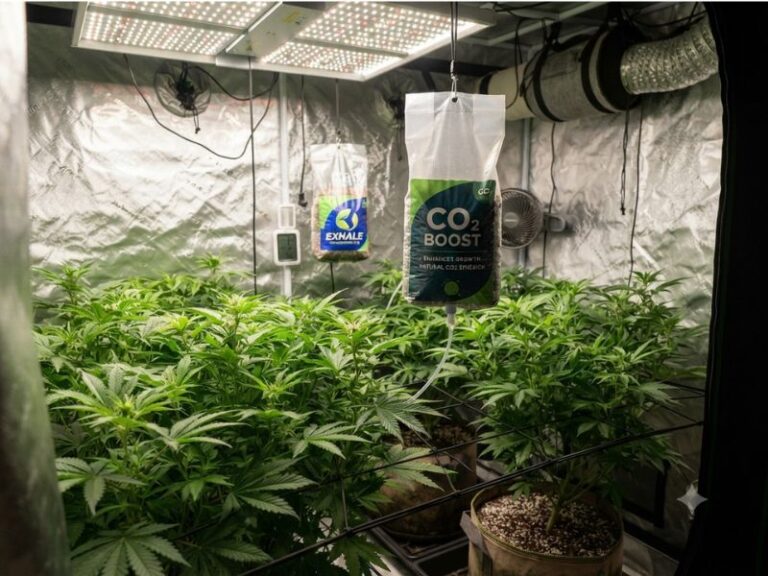
Step 6: Set Up Ventilation and Airflow
Hydro systems produce higher humidity levels, so proper airflow is essential.
Install:
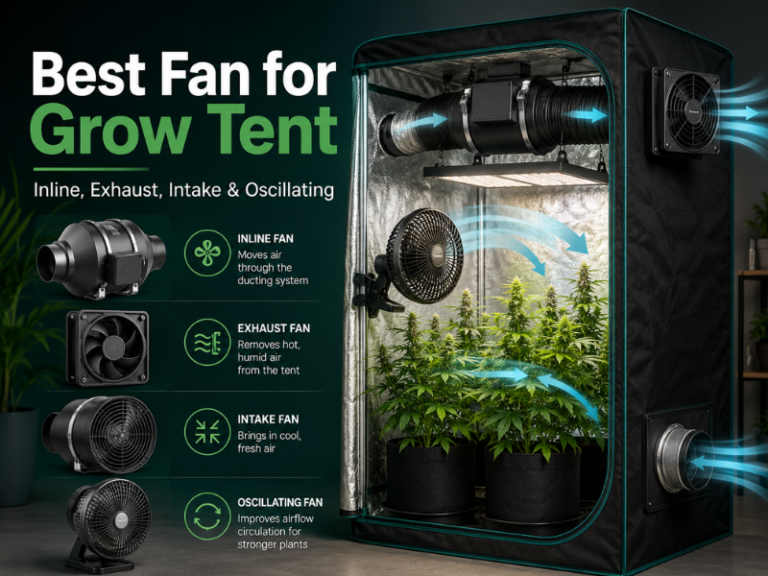
- Inline exhaust fan
- Carbon filter (optional for odor control)
- Oscillating fans inside tent
Airflow goals:
- Remove excess humidity
- Prevent root zone stagnation
- Maintain stable temperature
- Strengthen plant structure
Avoid strong direct airflow on plants.
Step 7: Prepare Growing Medium and Net Pots
Instead of soil, hydroponic systems use inert growing media.
Common options:
- Clay pebbles (hydroton)
- Rockwool cubes
- Coco coir (semi-hydro option)
Place plants in net pots filled with your chosen medium. This supports roots while allowing nutrient solution access.
Make sure roots can easily reach water or drip zones.
Step 8: Mix Nutrient Solution
Hydroponic success depends heavily on nutrient balance.
Prepare nutrient water:
- Use clean, filtered water if possible
- Add hydroponic nutrients in correct ratio
- Adjust pH level (important for nutrient absorption)
Regularly check:
- pH levels
- EC or nutrient strength
- Water temperature
Stable water chemistry ensures healthy plant growth.
Step 9: Place Plants and Start System
Once everything is ready:
- Place net pots into system
- Start pump or air system
- Check water flow or oxygen levels
- Ensure roots are not drying out
Monitor closely during the first few days to ensure plants adjust properly.
Step 10: Monitor Environment Inside Tent
Hydroponic grow tents require tighter environmental control than soil setups.
Monitor daily:
- Temperature
- Humidity
- Water level in reservoir
- Nutrient concentration
- Plant health
Hydroponics responds quickly to changes, so small adjustments matter.
Common Mistakes to Avoid
- Overfeeding nutrients
- Ignoring pH balance
- Poor oxygenation in reservoir
- Light exposure to water (causes algae)
- Overcrowding plants
- Weak airflow inside tent
Avoiding these mistakes will greatly improve system stability.
Final Thoughts
Setting up a hydroponic grow tent may seem complex at first, but once each component is understood, it becomes a highly efficient and rewarding growing method.
The key to success is balance:
- Stable nutrients
- Proper oxygenation
- Controlled environment
- Good airflow
- Consistent monitoring
With the right setup, a hydroponic grow tent can produce faster growth and higher efficiency compared to traditional soil-based systems, making it a powerful option for indoor growers looking to scale or improve results.

I’m Maya L. Greenwood, a lifelong plant lover who believes anyone can grow something beautiful with the right guidance. After years of testing soil mixes, pruning methods, irrigation tricks, and pest-safe solutions, I started EasyGardenTips.com to turn hard-won lessons into step-by-step advice. From seed starting and container gardens to composting and seasonal checklists, my goal is to make gardening simple, sustainable, and fun.