How to Rehydrate Potting Soil: Fix Dry, Water-Repellent Soil Fast
To rehydrate potting soil, water it slowly from above or soak the pot in a shallow basin until the mix absorbs moisture, then let the container drain fully. If water runs straight through dry soil, repeat the process in short rounds instead of leaving the plant sitting in water.
Does water pour out of the drainage holes while the soil stays bone-dry? Are you worried that a long soak will drown the roots instead of fixing the problem?
I once rushed to water a pot that had dried out, and the first pour ran down the gap between the soil and the container. The surface looked wet, but the plant was still thirsty underneath, and I had to start over with a slower soak. It’s a common mistake, not a dumb one.
I wrote this for anyone staring at a droopy houseplant or a pot that seems to repel water. You’ll get a practical way to bring dry potting mix back to an even moisture level, plus a few checks to tell whether the problem is dry soil, poor drainage, or something else.
Get the moisture right, and your plant has a better shot at recovering without a soggy root zone. Skip the checks, and you can wind up with runoff, standing water, or roots sitting in a mix that’s too wet.
This takes about 10 minutes to read. By the end, you’ll know how to:
- Rewet dry soil using top watering or bottom soaking.
- Tell when a container needs more water or needs to drain.
- Spot potting mix that may need replacing.
- Reduce the odds of the same problem happening again.
How to Rehydrate Potting Soil: the Safe Soak-and-drain Method
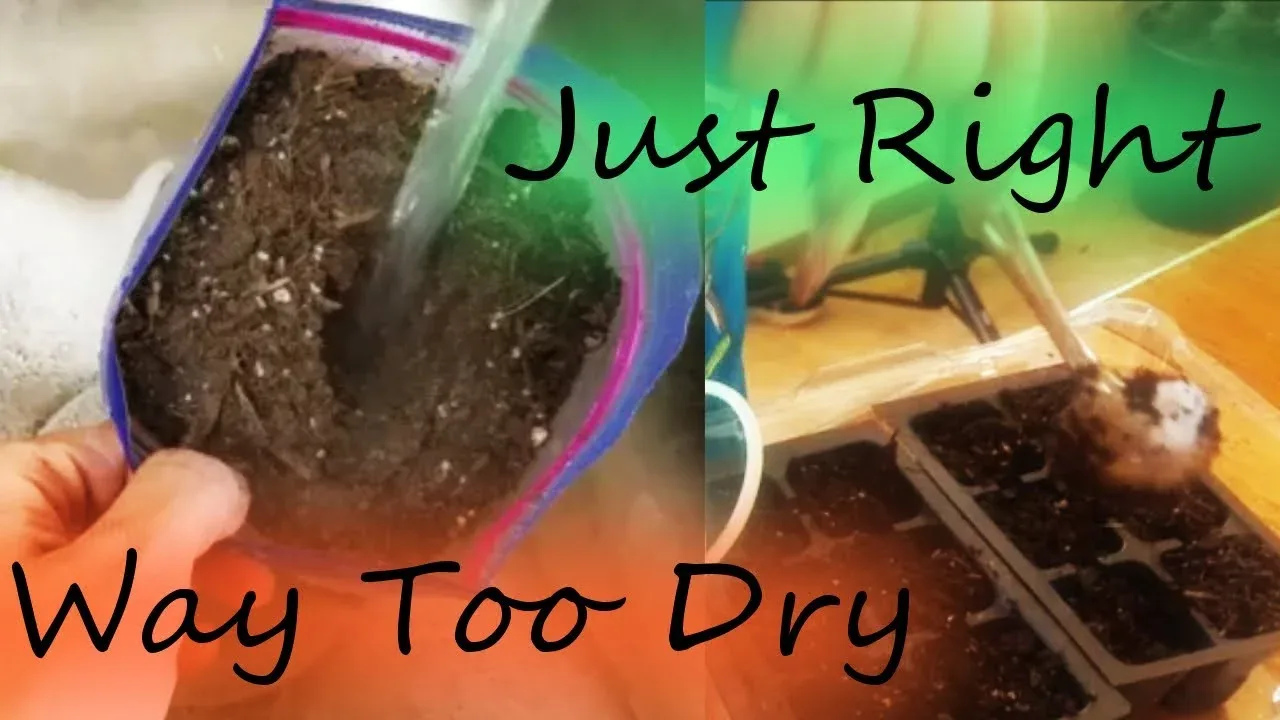
The safest way to rehydrate potting soil is to add water slowly, pause so the dry mix can absorb it, and drain away any excess. Start with gentle watering from above, then use a shallow bottom soak if water still runs off or the soil has pulled away from the pot.
First check that the container has drainage holes. A pot without drainage can trap water around the roots, so don’t use a prolonged soak; move the plant to a draining container if you can do so without damaging its roots.
- Move the pot to a sink, tub, or waterproof tray. Remove any decorative outer pot or saucer so water can escape freely.
- Pour a small amount of room-temperature water over the soil surface. Stop when the surface darkens, and wait a few minutes.
- Repeat with another small pour, directing water around the surface rather than into one spot. Keep going until water begins to drain from the bottom.
- If water still races through, set the pot in a basin with about 1 to 2 inches of water. Leave it for 10 minutes, then check whether the soil surface feels damp.
- If the top is still dry, let the pot soak for another 10 minutes and check again. Take it out once the mix has absorbed water through the root zone.
- Set the pot aside to drain. Empty the saucer or outer pot before returning the plant to its usual spot.
The timing is a starting point, not a rule for every plant. A small nursery pot can take up water faster than a large, tightly packed container, so use the soil’s feel and the pot’s weight to judge progress.
Bottom watering means letting soil draw water up through the drainage holes. It can help when dry soil resists top watering, but it doesn’t replace proper drainage or mean a plant should sit in water all day.
Are bubbles coming up during a soak? That can happen as water enters dry spaces in the mix, but bubbles alone don’t tell you when to stop. Check whether the soil near the surface has become damp and whether the pot feels heavier.
Use a finger, a wooden skewer, or a moisture meter to check beyond the top crust. A dry surface can hide damp soil below, and a wet surface can sit over a dry root ball if water has run around the edges.
| What you notice | What may be happening | What to do |
|---|---|---|
| Water runs out right away | Dry mix is shedding water, or there’s a gap at the pot edge | Water in small rounds, then try a short bottom soak |
| Water sits on the surface | The top may be compacted or the mix may be very dry | Pause, then water gently; loosen only the surface |
| Soil is wet but the pot stays heavy | The mix may be holding too much water | Let it drain and check that the holes aren’t blocked |
| Soil pulls away from the pot wall | The mix may have shrunk as it dried | Rewet slowly and check moisture in the center |
| The plant wilts in wet soil | Roots may be stressed, or another plant problem may be present | Stop watering and check drainage and root health |
Once the soil is damp, don’t keep adding water just because the plant still looks wilted. A plant can take time to recover, and extra water can make stressed roots worse.
Pro Tip: If the root ball has shrunk away from the pot, water around the center and the edges in separate small pours. That gives the mix a chance to swell and close the gap without sending most of the water straight down the sides.
Why Potting Soil Becomes Hard to Wet
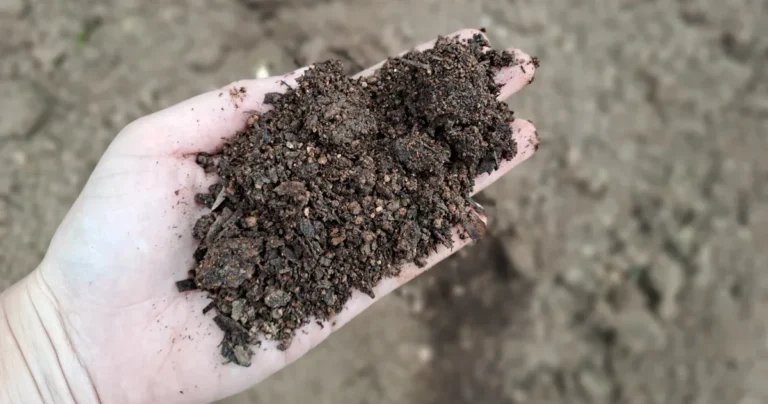
Potting soil often becomes hard to wet after it dries too far, especially when the mix contains peat or has shrunk from the sides of its container. A dry surface can turn water away, leaving the center of the root ball thirsty even after a quick pour.
Some mixes contain peat moss, which can resist water after it becomes very dry. Other ingredients, such as coconut coir, may take up water differently, and a mix with coarse materials can drain quickly when the whole pot is dry.
A container’s shape can add to the trouble. In a tall pot, water may travel through a narrow path before spreading through the mix, while a root-filled pot may have fewer open spaces for water to move through.
Dry soil isn’t the only possible cause of a plant that looks thirsty. A blocked drainage hole, a compacted mix, roots crowded into a tight pot, or damaged roots can all affect water movement and plant health.
| Clue | Likely issue | Useful next step |
|---|---|---|
| The soil is pale, crumbly, and dry deep down | The root ball dried out | Rewet in small rounds or use a short soak |
| The top is damp but the center is dry | Water is bypassing the root ball | Check deeper with a skewer and water in more than one spot |
| Water stays on top and drains slowly | The mix may be compacted or the holes may be blocked | Check the holes; replace badly compacted mix |
| The soil stays wet for a long time | The mix may retain too much water, or the pot may drain poorly | Let it dry toward the plant’s usual watering point and inspect drainage |
| The plant wilts despite damp mix | Root stress or another problem may be involved | Check the roots and plant conditions before watering again |
I’ve had a pot look ready for another drink because the leaves were drooping, only to find the mix was already damp below the surface. I stopped watering, checked the drainage, and gave the plant time instead of piling on more water. A drooping plant isn’t always a request for another pour.
What if the soil is damp but the plant keeps wilting? Don’t assume the answer is more water; check whether the pot drains, whether the mix smells sour, and whether the plant has other signs of stress.
Root rot is root damage linked to conditions that keep roots too wet and short on air. If the soil stays soggy, smells unpleasant, or the roots look dark and soft, stop soaking and inspect the plant; a severely damaged root system may need fresh mix and a clean pot.
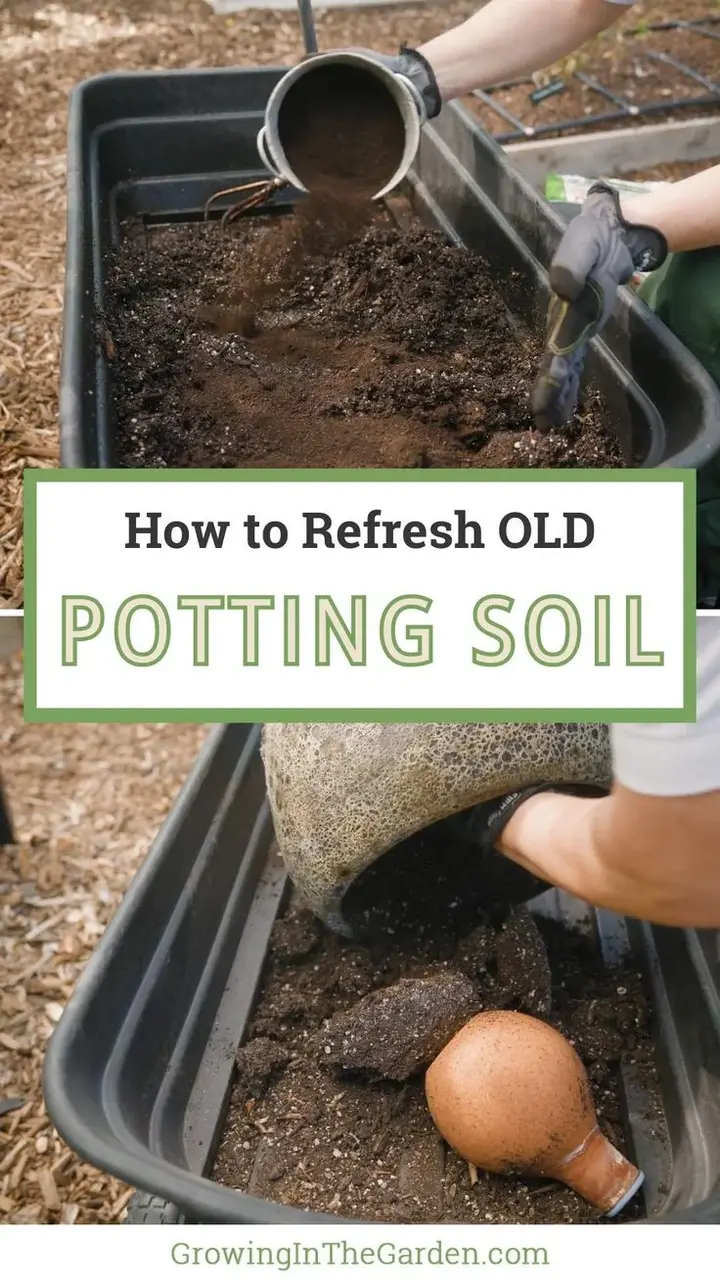
If water repeatedly follows the pot wall, the potting mix may be shrinking or packed too tightly to wet evenly. It’s worth learning the basic approach to using potting soil properly before you refill a container, since the right fill level and gentle handling can help prevent poor water movement.
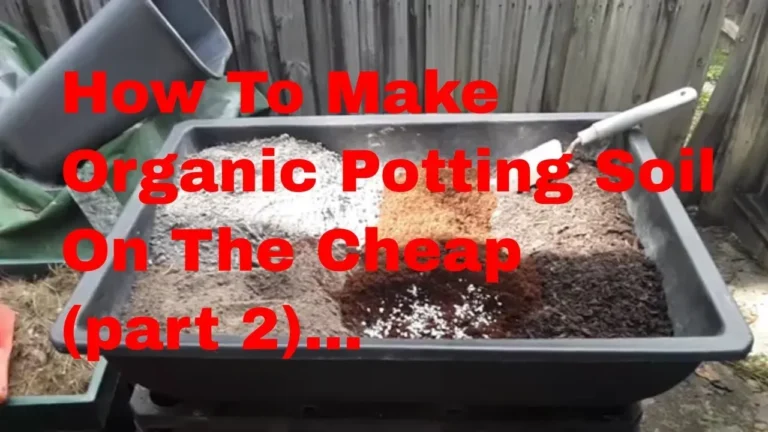
When a mix stays wet for days in your conditions, adding more water-retentive material may be the wrong fix. A better-draining potting mix may suit plants that need faster drainage, but a fast-draining mix still needs regular checks so roots don’t dry out.
Keep Potting Soil from Drying Out Again
Potting soil is less likely to turn water-repellent when you check moisture before it gets bone-dry and water the full root zone instead of only wetting the surface. The right routine depends on the plant, pot size, room conditions, and mix, so check the soil rather than following a rigid calendar.
Press a finger into the mix or use a wooden skewer to check below the surface. For a larger pot, check in more than one place because one side can dry faster than another.
Water thoroughly when the plant’s needs call for it, then let excess water drain away. Don’t leave water standing in a saucer, and don’t add another round just because the top inch looks dry if the deeper mix is still damp.
A light mulch layer, such as bark chips or another plant-safe material, can slow moisture loss from the surface. Keep mulch away from the plant’s stem so the stem base doesn’t stay damp.
Potting mix also wears out. As roots fill the pot and fine material breaks down, water can move differently than it did when the mix was new; if soil has become dense or consistently hard to wet, repotting may help more than repeated soaking.
| Factor | How it affects drying | What you can adjust |
|---|---|---|
| Small container | Holds less mix, so it can dry sooner | Check moisture more often |
| Strong light or warm airflow | Can speed moisture loss | Check the root zone before watering |
| Dense root ball | Can limit water movement through the mix | Repot when roots are crowded |
| Coarse, fast-draining mix | Water can pass through quickly | Watch the plant and soil, then water thoroughly as needed |
| Large container | Can stay wet longer in the center | Check deeper before adding water |
If you’re planting seeds, a dry-out-and-soak routine may not suit the small seeds or fine roots. Check whether potting soil works for indoor seeds before sowing, since seed-starting conditions can call for a different mix and a gentler moisture routine.
That mix choice matters for seedlings, too. A seedling mix compared with potting soil can help clarify why a young plant may need a finer, lighter medium than a mature plant in a larger container.
The same container mix won’t suit every plant. A tropical plant such as a bird of paradise can have different drainage needs from a moisture-loving plant, so review the potting soil for bird of paradise before changing its routine.
For patio vegetables, flowers, and other container plants, focus on a mix made for pots and match the watering habit to the plant and location. A guide to potting soil for container gardening can help you compare mixes without assuming that one bag fits every pot.
Important Tip: Don’t mix household dish soap into water to make dry soil absorb it. Use plain water first, and if a horticultural wetting agent seems necessary, follow that product’s label and check that it’s intended for the plant and soil use.
Before the next watering, make a quick check: feel below the surface, confirm the drainage holes are open, and empty standing water after the pot drains. That short routine is easier than trying to rescue a root ball that has swung from bone-dry to swampy.
FAQs About How to Rehydrate Potting Soil
How long should I soak a dry plant pot?
A dry plant pot may need about 10 to 20 minutes in a shallow basin, with a check after the first 10 minutes. The soil and container determine the timing, so remove the pot once the mix feels damp near the surface, then let the container drain fully.
Can I rehydrate potting soil with warm water?
Room-temperature water is a sensible choice for rehydrating potting soil. Hot water can stress roots, and cold water may be uncomfortable for some indoor plants. Use water that feels neutral to your hand, then add it slowly so dry mix has time to absorb it.
Can I use a wetting agent on potting soil?
A horticultural wetting agent may help some water-resistant mixes absorb water, but check the product label for the intended use and dose. Start with slow watering or a brief soak first. Don’t substitute dish soap, which may contain ingredients not meant for plant roots.
Should I loosen dry potting soil before watering?
You can gently loosen a hard crust at the soil surface, but avoid digging deeply around the plant. Roots often sit close to the surface, and tearing them can add stress. For dry mix throughout the pot, repeated small pours or a short bottom soak is usually gentler.
Why does water drain through my potting soil so fast?
Water can rush through soil that has dried and pulled away from the pot wall, or through a mix that drains quickly. Check the center of the root ball with a skewer. If the center is dry, rewet in small rounds rather than relying on one fast pour.
Should I replace potting soil that has dried out?
Not necessarily. Potting soil that is dry but still loose and free of unpleasant odors may be rehydrated and used again. Consider replacing mix that stays compacted, drains poorly, smells sour, or has been affected by pests or disease, since soaking won’t fix those problems.
Bring the Soil Back to an Even Moisture Level
Dry potting soil can be frustrating, but a slow approach usually beats a big splash. Start with small pours, check the root zone, and use a short bottom soak only if the mix keeps shedding water. Then let the pot drain before you put it back.
In my view, the best habit is checking deeper than the surface before watering again. That one pause can spare you from both a dry root ball and a waterlogged pot.
Your next step is simple: check one container today, confirm its drainage holes are open, and water only as much as the mix can absorb.

I’m Maya L. Greenwood, a lifelong plant lover who believes anyone can grow something beautiful with the right guidance. After years of testing soil mixes, pruning methods, irrigation tricks, and pest-safe solutions, I started EasyGardenTips.com to turn hard-won lessons into step-by-step advice. From seed starting and container gardens to composting and seasonal checklists, my goal is to make gardening simple, sustainable, and fun.