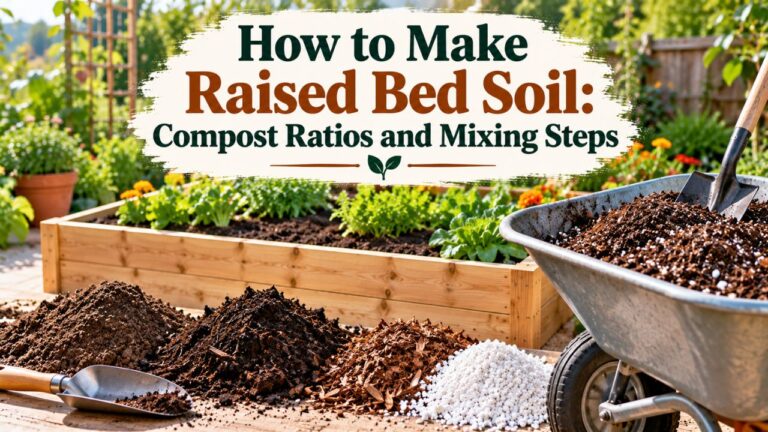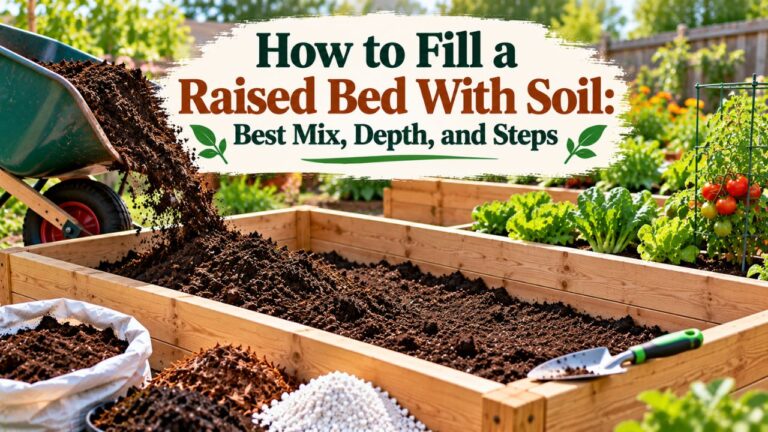
How to Prepare Soil for Raised Beds: Topsoil and Compost Mix
To prepare soil for raised beds, start with a weed-free site, loosen compacted ground when necessary, and fill the frame with a loose blend of quality topsoil and finished compost. A mix of roughly two parts topsoil to one part compost is a reliable starting point for most open-bottom vegetable beds.
It sounds simple, but the soil underneath the frame matters almost as much as the material you add. Grass left growing under a shallow bed can push through, heavy clay may prevent water from moving away, and poor-quality purchased soil may pack down or contain unwanted debris. Adding excessive compost can also make moisture and nutrient management harder rather than better.
The goal is soil that holds enough water for roots without staying soggy, has room for air, and offers nutrients in a form plants can use. The process changes somewhat if you are building on a lawn, filling a bed above hard ground, or improving an existing bed. The steps below explain how to prepare the base, choose the ingredients, calculate quantities, and get the finished soil ready for vegetables and herbs.
How to Prepare Soil for Raised Beds: Seven Practical Steps
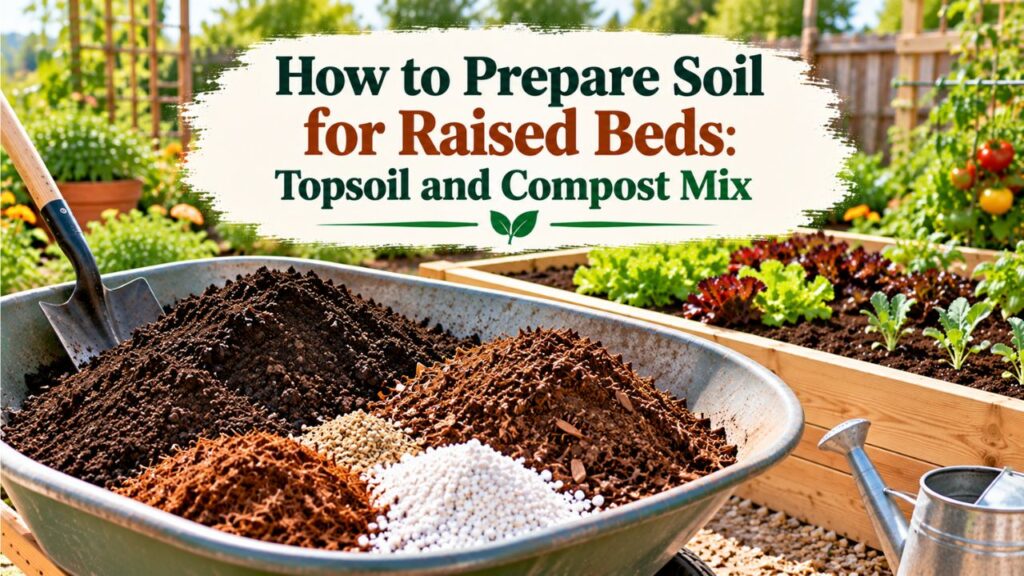
Preparing a raised bed involves more than pouring soil into a frame. Following these steps creates a suitable growing environment while reducing drainage, weed, and soil-quality problems.
Step 1: Examine and Test the Existing Garden Soil
Before adding new soil, inspect the ground where the raised bed will sit. Check whether the area drains reasonably well, contains thick grass, or has soil that feels hard and compacted.
If you plan to incorporate existing garden soil, consider having it tested through a soil laboratory. Testing can identify nutrient levels, soil pH, and the need for specific amendments.
The University of Maryland Extension’s raised-bed vegetable guidance recommends laboratory testing of existing soil, including lead testing when growing food. Its guidance identifies a pH range of about 6.2 to 6.8 as suitable for many garden vegetables, although productive beds can also have somewhat higher pH levels.
Testing is particularly important when gardening on older residential lots, previously developed land, or locations where soil contamination is possible.
If contamination is suspected, avoid mixing the native soil into the raised bed until its suitability has been established.
Step 2: Remove Grass, Weeds, and Unwanted Materials
Clear the area before installing the raised bed frame. Remove perennial weed roots, large stones, construction debris, and other materials that could interfere with drainage or root development.
For an existing lawn, two practical approaches are available:
- Physical removal: Cut away the grass and its root mat with a spade or sod cutter.
- Smothering: Cover vegetation with overlapping plain cardboard or another suitable temporary covering until the grass dies.
When using cardboard, remove plastic tape and labels. Cardboard eventually decomposes, but it can temporarily slow water movement into the underlying soil.
Deep-rooted perennial weeds may require more thorough removal because they can return through the new growing medium.
Avoid placing a permanent, impermeable plastic sheet beneath an ordinary open-bottom raised bed. It can interfere with drainage and prevent roots from growing into the soil below.
Step 3: Loosen Compacted Soil Beneath the Raised Bed
An open-bottom raised bed allows plant roots to extend beyond the depth of its frame. However, tightly packed ground underneath may restrict root growth and water movement.
Use a garden fork or broadfork to loosen the surface of compacted soil.
Insert the fork into the ground, gently rock it backward, and repeat across the growing area. The objective is to open up the compacted soil rather than completely turn it over.
Work only when the soil is moist enough to crumble. Digging wet clay can compress it into dense clumps that become difficult to break apart.
If the existing ground already has good structure and drainage, extensive digging may be unnecessary.
Step 4: Choose Quality Topsoil and Finished Compost
The materials selected for the raised bed determine its texture, moisture retention, and long-term performance.
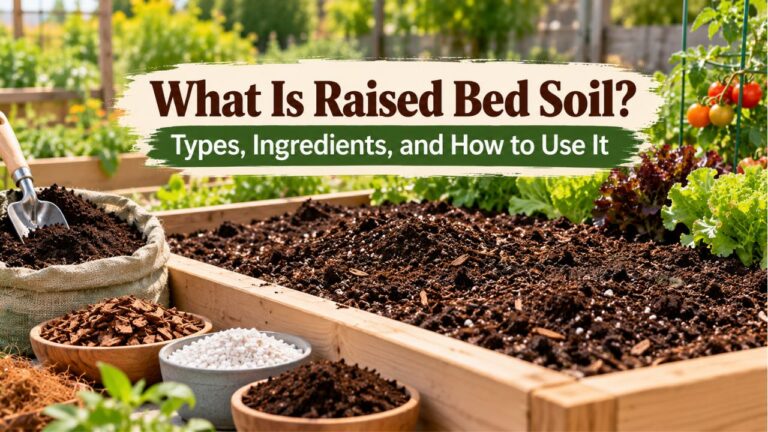
Look for loamy topsoil with a balanced mixture of sand, silt, and clay. It should feel crumbly rather than extremely sticky or gritty.
Choose compost that is fully decomposed, reasonably uniform, and has an earthy smell.
Avoid soil containing excessive stones, trash, large undecomposed wood pieces, or persistent weed roots.
If buying bulk topsoil, ask the supplier about its source and whether it contains compost or other amendments. A product sold as topsoil is not necessarily suitable for vegetable gardening.
Step 5: Combine Topsoil and Compost in the Right Proportion
For a typical open-bottom vegetable bed, start with approximately:
- Two parts quality topsoil
- One part finished, plant-based compost
This creates a blend containing about 67% topsoil and 33% compost by volume.
The University of Minnesota Extension’s raised-bed gardening recommendations describe an appropriate mixture as approximately one-half to two-thirds topsoil and one-third to one-half plant-based compost.
The exact proportion can change according to the quality of the materials and existing growing conditions.
Mix the components thoroughly before filling the bed, or add them in manageable batches and blend them with a garden fork.
Avoid leaving thick, sharply separated layers of compost and topsoil. A reasonably uniform growing medium makes moisture and root development easier to manage.
Step 6: Fill the Raised Bed Without Compacting the Soil
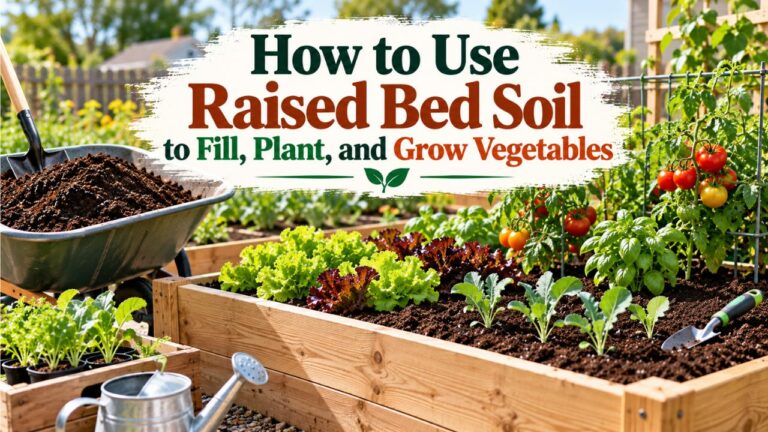
Shovel the prepared mixture into the bed in manageable amounts.
Spread it across the growing area and gently break apart large clumps. The finished surface should be reasonably level without being firmly compressed.
Leave a small gap below the upper edge of the frame, typically around 1–2 inches, to provide room for watering and mulch.
Do not walk on the filled soil. Foot traffic compresses pore spaces that normally hold the air and water plant roots need.
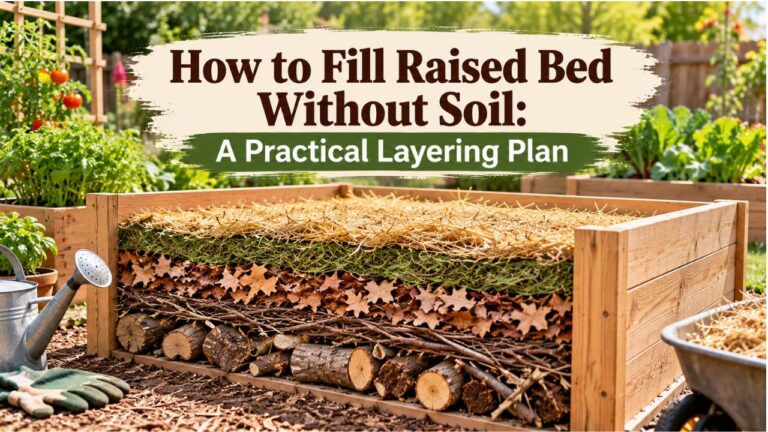
There is also no need to create a thick gravel or rock layer beneath the soil. Rocks take up potential rooting space and do not replace proper drainage.
Step 7: Water the Soil and Allow It to Settle
Once the raised bed is filled, water the soil slowly and evenly.
The goal is to moisten the growing medium throughout its depth without leaving it waterlogged.
As water moves through the mixture, loose material settles and large air gaps close. The surface may drop slightly after the first thorough watering.
Add more prepared soil if the level becomes too low.
Before planting, check the moisture a few inches beneath the surface. The soil should feel slightly damp and crumble when handled rather than forming a wet, sticky mass.
Seeds and transplants can usually be planted once the soil is properly mixed, moistened, and at a suitable temperature for the crop. There is no need to wait several weeks when using finished compost and clean, ready-to-use soil.
What Makes a Good Soil Mix for Raised Beds?
A productive raised bed needs soil with a suitable balance of mineral particles, organic matter, moisture, and air.
No single mixture is perfect for every location. However, understanding what each ingredient contributes makes it easier to adjust the growing medium.
Topsoil Provides Structure and Mineral Content
Topsoil forms the main body of a traditional raised-bed soil mixture.
It contains mineral particles that influence drainage, water retention, and nutrient storage.
A loam or sandy loam is generally a good choice because it balances moisture retention with drainage.
Very sandy soil loses water quickly and may require more frequent irrigation. Heavy clay can hold nutrients and moisture effectively but becomes difficult for roots when compacted or poorly drained.
Adding organic matter helps improve the structure of many mineral soils, but it cannot automatically correct every drainage problem.
Finished Compost Adds Organic Matter
Compost contributes decomposed organic material and supports the organisms involved in nutrient cycling.
When combined with topsoil, finished compost can improve soil aggregation, making the growing medium easier for roots to penetrate.
Compost also contributes plant nutrients, although its nutrient content varies with the materials used and how it was produced.
More compost is not always better.
An excessively compost-rich growing medium can become difficult to rewet when very dry, and some composts contain high levels of soluble salts or nutrients.
Use compost as part of a balanced soil mixture rather than assuming that filling the bed entirely with compost will produce better results.
Are Perlite, Vermiculite, or Peat Moss Necessary?
Perlite, vermiculite, and peat moss are not essential ingredients for most ground-based raised beds containing suitable topsoil and compost.
These materials are more commonly used in container growing media.
Perlite increases the amount of air space in many potting mixes. Vermiculite retains moisture, while peat moss contributes water-holding organic material.
Their usefulness depends on the existing mixture.
If a purchased raised-bed soil already has good texture and drainage, adding extra components may provide little practical benefit.
Avoid relying on large amounts of lightweight potting mix to fill a traditional open-bottom bed. Some potting mixes dry considerably faster than mineral-soil-based blends.
An elevated planter with a closed or manufactured bottom is different and may require a container-style growing medium.
Should Fertilizer Be Mixed Into Raised Bed Soil?
Fertilizer may be helpful, but it should not be added automatically.
New topsoil and compost mixtures can already contain substantial nutrients, particularly phosphorus and potassium.
A soil test helps determine whether additional fertilizer is needed and which nutrients are lacking.
For many vegetable crops, nitrogen may need replenishment as plants grow, but the amount depends on the crop and the existing soil fertility.
Avoid adding lime, sulfur, or large quantities of fertilizer without a reason supported by soil conditions.
Important: Fresh manure should not be used as a substitute for finished compost in a bed intended for immediate vegetable production. It can create food-safety concerns and may contain excessive readily available nutrients.
How Much Soil Do You Need for a Raised Bed?
Calculating the required soil volume before purchasing materials helps prevent wasted money and unfinished filling.
For a rectangular raised bed, use this formula:
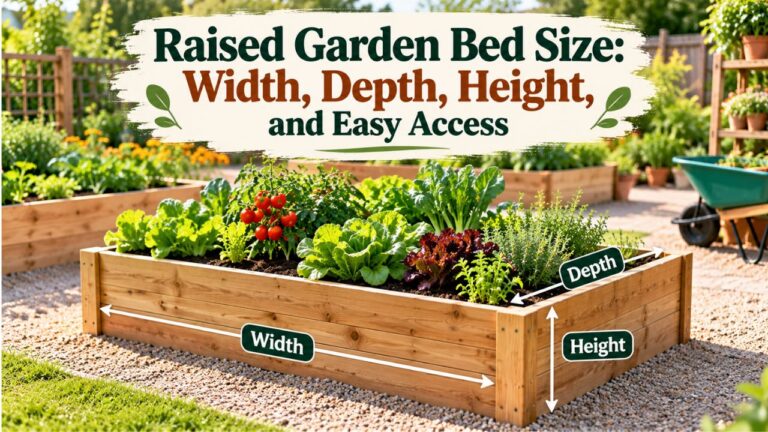
Soil Volume (Cubic Feet) = Length (Feet) × Width (Feet) × Fill Depth (Feet)
For example, consider a raised bed measuring:
- Length: 8 feet
- Width: 4 feet
- Soil depth: 12 inches, or 1 foot
The calculation is:
8 × 4 × 1 = 32 cubic feet
Since one cubic yard contains 27 cubic feet, the required amount is approximately 1.19 cubic yards.
If using the two-parts-topsoil-to-one-part-compost mixture, the approximate amounts would be:
| Material | Approximate Volume |
| Topsoil | 21.3 cubic feet |
| Finished compost | 10.7 cubic feet |
| Total prepared mix | 32 cubic feet |
This example assumes the full 12-inch depth is filled. Leaving space for mulch and watering reduces the amount needed.
Allow for modest settling, particularly when the mixture contains substantial organic material.
How Deep Should Prepared Raised Bed Soil Be?
The required soil depth depends on the plants and whether roots can enter the ground beneath the raised bed.
For open-bottom beds resting on suitable native soil, many vegetables can grow through the prepared soil into the ground below.
A prepared layer around 8–12 inches deep is useful for many vegetable gardens, provided the underlying soil is accessible and suitable for root growth.
Deep-rooted crops, larger plants, and beds installed on hard surfaces may require substantially more depth.
For raised beds on concrete or other impermeable surfaces, the University of Maryland Extension recommends at least 8 inches for crops such as leafy greens and 12–24 inches for crops such as tomatoes, peppers, and squash.
The frame’s height alone does not establish the available rooting depth. The soil and surface beneath it matter.
How to Adjust Raised Bed Soil for Different Ground Conditions
The same prepared mixture can behave differently depending on what lies beneath the raised bed.
Making small adjustments based on the site often produces better results than following a rigid recipe.
Preparing Raised Bed Soil Over Heavy Clay
Clay soil contains very small mineral particles that can hold considerable moisture.
When compacted, however, it may drain slowly and restrict root growth.
Before filling an open-bottom bed over heavy clay:
- Remove vegetation and persistent weed roots.
- Loosen the underlying soil with a garden fork.
- Check for areas where water collects after rain.
- Add a well-draining topsoil and compost mixture above the prepared ground.
Avoid adding a small amount of sand directly to heavy clay as a quick fix. Changing clay texture substantially requires careful consideration of proportions and soil structure.
Also remember that a raised bed cannot eliminate severe drainage problems in the surrounding ground.
If water consistently stands in the area, improving site drainage or choosing another location may be necessary.
Preparing Raised Bed Soil Over Sandy Ground
Sandy soil drains rapidly because its larger particles leave relatively large spaces for water movement.
The main concern is usually moisture retention rather than excessive wetness.
Use quality loamy topsoil and finished compost to provide a more balanced growing medium.
After planting, a suitable organic mulch can help limit evaporation from the surface.
Check soil moisture beneath the mulch rather than assuming the bed needs watering whenever the top looks dry.
Preparing Soil for Raised Beds on Concrete
A raised bed installed on concrete behaves more like a large container than an ordinary in-ground garden.
Plant roots cannot grow into native soil beneath the structure, so all rooting space must be provided inside the bed.
The growing medium must also drain through suitable openings or outlets without holding stagnant water at its base.
For this situation, a mixture of finished compost and soilless growing media can be more suitable than a heavy mineral-soil blend.
The depth of the bed, its drainage design, local temperatures, and crop selection become especially important.
Avoid blocking drainage outlets or placing soil directly against building materials that could be damaged by constant moisture.
Preparing Soil When Native Ground May Be Contaminated
In some urban and previously developed areas, native soil may contain unwanted contaminants.
A raised bed filled with clean, verified materials can reduce contact with unsuitable native soil, but the design must prevent accidental mixing.
Have suspicious soil tested and avoid using unknown excavated material as raised-bed fill.
Depending on the contamination and site conditions, a properly designed separation barrier may be appropriate.
Drainage must still be considered so that water does not become trapped inside the bed.
How to Tell When Raised Bed Soil Is Ready for Planting
Before sowing seeds or installing transplants, check the finished growing medium.
The soil should have a loose, workable texture, suitable moisture, and no obvious signs of poor-quality materials.
Check the Soil Texture by Hand
Take a handful of soil from several inches below the surface.
Gently squeeze it, then open your hand.
Properly moistened loamy soil will often hold together loosely before breaking apart when disturbed.
If it forms a sticky, dense mass, the soil may be too wet to work, especially if it contains substantial clay.
If the material falls apart as dry dust, it likely needs moisture before planting.
This simple test does not replace laboratory analysis, but it can help assess immediate working conditions.
Check Whether Water Moves Through the Soil
Water a small area and observe how the moisture enters the growing medium.
Water should gradually soak into the soil without remaining pooled on the surface for an extended period.
If water runs off immediately, the soil may be excessively dry, compacted, or difficult to rewet.
If water remains standing, investigate compaction, blocked outlets, or poor drainage beneath the bed.
Do not respond to every drainage issue by adding more compost. The underlying cause determines the appropriate correction.
Check for Unfinished Organic Materials
Finished compost should not contain large quantities of recognizable food scraps or strongly unpleasant, ammonia-like odors.
A newly prepared raised bed should also be free of large pockets of fresh wood chips or uncomposted manure mixed into the root zone.
These materials may continue decomposing and change nutrient availability or other growing conditions.
If the mixture contains substantial unfinished organic material, replace or properly compost that portion before planting sensitive crops.
Raised Bed Soil Preparation Errors That Can Affect Plant Growth
Several avoidable decisions can reduce soil quality, even when the raised bed itself is well constructed.
Using Only Heavy Garden Soil
Filling a bed entirely with dense, compacted garden soil may recreate the same growing problems that the raised bed was meant to address.
If existing soil is heavy, combine suitable mineral soil with finished compost and address any underlying compaction.
Filling the Bed Entirely With Compost
Pure compost is not an ideal universal growing medium.
Its physical properties and nutrient content vary widely, and some composts become difficult to manage when they dry out.
A balanced soil mixture generally provides more predictable growing conditions for ordinary open-bottom vegetable beds.
Adding Rocks to the Bottom for Drainage
A thick layer of gravel or stones does not solve poor drainage in the soil above it.
It also reduces the space available for roots.
For open-bottom raised beds, prioritize suitable soil, accessible underlying ground, and effective site drainage.
For bottomed planters, ensure that excess water can leave through properly designed drainage openings.
Mixing Soil While It Is Waterlogged
Working very wet soil can damage its structure and create compacted clumps.
Allow saturated soil to drain until it becomes workable.
This is particularly important when using clay-rich topsoil.
Ignoring Existing Nutrient Levels
Excessive fertilizer, composted manure, or other nutrient-rich amendments can create imbalanced fertility.
Use soil testing and crop requirements to guide amendments rather than adding multiple products automatically.
How to Maintain Prepared Raised Bed Soil After Planting
Soil preparation continues to affect the bed long after its first planting.
Managing moisture, organic matter, and compaction helps the growing medium remain productive over multiple seasons.
Protect the Surface With Organic Mulch
After seedlings become established or transplants are installed, apply an appropriate layer of organic mulch where suitable.
Clean straw, shredded leaves, and other appropriate plant-based materials can reduce evaporation and limit weed growth.
Keep mulch away from direct contact with plant stems, especially where excessive moisture could encourage decay.
Mulch thickness should suit the crop and growing conditions. Small seedlings may need open soil around their growing points until they become established.
Avoid Walking on the Growing Area
One advantage of a raised bed is the ability to maintain permanent pathways around the planting area.
Keep feet, heavy equipment, and unnecessary traffic out of the bed.
This helps preserve the loose structure created during soil preparation.
If the bed is too wide to reach comfortably from the sides, consider adjusting access rather than stepping onto the soil.
Replace Organic Matter as Needed
Organic materials gradually decompose, and the soil level may decline over time.
A thin application of finished compost can help replenish organic matter, but repeated heavy additions are not always necessary.
Use soil-test results to avoid nutrient buildup, particularly when applying nutrient-rich composts.
Top up with suitable soil mix if the bed loses substantial volume.
Protect Raised Bed Soil Between Growing Seasons
Do not leave soil unnecessarily disturbed between crops.
Depending on local climate and planting schedules, mulch or a suitable cover crop can protect the surface from erosion and help maintain soil structure.
Remove weeds before they set seed, and avoid repeatedly turning the entire bed unless a specific problem makes it necessary.
Conclusion
Knowing how to prepare soil for raised beds begins with evaluating the existing ground, managing weeds, and choosing suitable materials for the growing medium.
For most open-bottom vegetable beds, a mixture of approximately two parts loamy topsoil and one part finished compost provides a practical starting point. Loosening compacted ground, checking drainage, and watering the mixture before planting help create a suitable root environment.
Adjust the mixture according to the site’s conditions rather than relying on one recipe for every raised bed. Quality soil, appropriate moisture, and thoughtful maintenance are more useful than adding unnecessary amendments.
FAQs About How to Prepare Soil for Raised Beds
Can I Use Regular Garden Soil in a Raised Bed?
Yes, regular garden soil can be used if it has suitable texture, fertility, drainage, and a safe source. Combining it with finished compost may improve its structure and organic matter content. Avoid using potentially contaminated or heavily compacted soil without checking its suitability.
Do I Need to Remove Grass Before Filling a Raised Bed?
Grass should be removed or effectively smothered before planting. Persistent grass can grow through shallow soil layers and compete with vegetable crops. Plain cardboard may be used as a temporary smothering material, while aggressive perennial weeds may require physical root removal.
Should I Mix Raised Bed Soil Before Filling the Frame?
Yes. Mixing topsoil and compost before filling helps distribute the materials evenly and prevents large, separate layers. You can also mix them in small batches inside the bed using a garden fork.
Can I Plant Immediately After Preparing Raised Bed Soil?
Yes, when the mixture contains finished compost and clean, suitable soil, planting can usually begin after the soil is moistened and settled. Check that the temperature and moisture conditions are appropriate for the seeds or transplants.
Does Raised Bed Soil Need Sand for Better Drainage?
Not necessarily. Quality loamy topsoil and compost often provide suitable drainage without additional sand. Adding small amounts of sand to heavy clay is generally not an effective solution for serious compaction or drainage problems.
How Often Should I Replace Soil in a Raised Bed?
Most raised beds do not need complete soil replacement every year. Maintain the existing soil by managing compaction, replenishing organic matter when appropriate, and correcting nutrient problems based on testing. Replace substantial amounts only when the soil is contaminated, severely degraded, or otherwise unsuitable for growing.

I’m Maya L. Greenwood, a lifelong plant lover who believes anyone can grow something beautiful with the right guidance. After years of testing soil mixes, pruning methods, irrigation tricks, and pest-safe solutions, I started EasyGardenTips.com to turn hard-won lessons into step-by-step advice. From seed starting and container gardens to composting and seasonal checklists, my goal is to make gardening simple, sustainable, and fun.