
How to Use Less Potting Soil in Large Containers and Save Money
You can use less potting soil in a large container by choosing a smaller planter, adding a stable false bottom, or using an inner pot, while keeping enough soil for your plant’s roots. The key is to save space without blocking drainage or leaving roots short of room.
Have you filled a big planter once, only to realize the bag count—and the cost—kept climbing? Or are you trying to make a deep container lighter without setting your plants up to struggle?
I once tried to lighten a patio planter by adding a loose filler beneath the soil. It shifted when I moved the pot, and I had to empty the whole thing and rebuild it; it’s a common mistake, not a dumb one.
I wrote this to help you choose a method that fits the planter, the plant, and how often you want to move it. You don’t need a fancy setup, but you do need a clear idea of where the roots will grow and where extra water will go.
Get the balance right and you can spend less on mix, avoid a planter that’s a bear to move, and give roots a healthier home. Get it wrong and you may end up with soggy soil, cramped roots, or a wobbly pot.
This takes about 9 minutes to read. By the end, you’ll know how to:
- Estimate how much mix your container really needs.
- Pick a safe way to reduce the soil-filled space.
- Match soil depth to your plant’s roots.
- Avoid common drainage and stability problems.
How to Use Less Potting Soil in Large Containers
To use less potting soil in large containers, first choose a pot that suits the plant, then reduce unused space with a secure inner container or a stable false bottom. Keep the soil deep enough for the roots, and leave the drainage holes clear.
A tall decorative planter often holds far more mix than its plants need. If a plant’s roots need 12 inches of soil and the planter is 24 inches deep, the extra depth may be usable space to reduce—but only if the remaining soil stays stable and drains freely.
Start with these steps:
- Check the plant’s root needs. Look at the plant tag or reliable growing guidance for the plant’s mature size and root depth. A compact herb and a full-size tomato shouldn’t be treated as if they need the same amount of soil.
- Measure the usable soil area. Measure the planter’s inside width and the depth you plan to fill. Tapered or rounded pots hold less than their widest dimensions suggest.
- Pick a reduction method. A smaller pot nested inside a decorative planter is often easiest to remove and inspect. A false bottom works when it’s stable, supports the soil, and doesn’t cover drainage.
- Test the setup before adding mix. Put the planter where it’ll live, add the filler, and check that the pot doesn’t rock or tip. Then add soil and water slowly to confirm excess water can escape.
- Fill to the plant’s needs. Don’t bury stems or leave roots near the surface just to save mix. Leave a little headroom so watering doesn’t wash soil over the rim.
A false bottom is a raised platform or insert that creates a gap below the soil. It can cut the amount of mix used, but the gap itself doesn’t improve drainage. Water still needs a clear path out through the planter’s drainage holes.
An inner pot gives you another option. You can set a plant in a smaller pot inside a decorative outer container, then lift the inner pot out to check drainage or move the plant. Just don’t let runoff collect unnoticed in the outer pot, where roots can sit in standing water.
Estimate the soil volume before you shop
Potting-mix bags are often marked in cubic feet or quarts, so a rough volume estimate can help you avoid buying more than you need. For a rectangular planter, multiply its inside length, width, and intended soil depth in inches, then divide by 1,728 to estimate cubic feet.
For a round planter, use the inside radius squared, multiply by 3.14 and the intended soil depth, then divide by 1,728. Measurements are only an estimate: tapered sides, a rounded base, and settled mix all change the actual amount.
If you’re using a false bottom, estimate the volume of the space it takes up and subtract that from the planter’s approximate capacity. Don’t plan to fill right to the rim; watering needs headroom, and loose mix can settle after the first few thorough waterings.
Choose a Filler That Won’T Cause New Problems
The safest soil saver is a stable, removable insert that leaves drainage open and doesn’t take away the root space your plant needs. Don’t fill the bottom with a layer of gravel or rocks just because that’s a common container-gardening tip.
A layer of coarse material doesn’t make water drain better from fine potting mix. Instead, the change in texture can leave a saturated zone above the gravel, where roots are more likely to stay too wet. Keep one consistent soil mix through the root zone, and solve drainage with open holes and a suitable potting mix.
A few ways to reduce the soil-filled space are more useful than others:
| Method | Best fit | Watch out for |
|---|---|---|
| Smaller pot inside a decorative planter | A plant that can grow in a standard nursery pot | Empty runoff from the outer planter |
| Rigid false bottom or insert | A planter with extra depth below the root zone | A shifting insert or blocked drainage |
| Clean, sturdy empty containers used as a void | A large planter where the containers can’t move | Gaps, sharp edges, or insufficient root depth |
| Gravel or rocks under potting mix | Rarely a good soil-saving choice | A saturated layer above the coarse material |
Clean, sturdy plastic nursery pots can serve as void fillers when they’re secure and won’t crush under the soil’s weight. Turn them upside down or arrange them so they can’t roll, then cover them with a rigid support layer that won’t sag into the gap.
Don’t use materials that break down, compress, or turn into a wet, compacted mess. Loose organic scraps can decompose, while soft packaging may shift under weight and make the soil surface uneven. If a filler can move when you press on the soil, it needs a better support plan.
Pro Tip: Before filling the planter, press on the insert from several spots and give the pot a gentle nudge. If the platform flexes or the filler slides, fix that now; a buried wobble is much harder to deal with later.
The drainage hole is the opening that lets excess water leave the container. Keep it uncovered, and don’t set the pot flat against a surface that seals the opening; small pot feet or a raised stand can help water escape.
Match Soil Depth to the Plant
A planter’s outside size doesn’t tell you how much soil the plant needs. The useful measurement is the depth and width of the root zone, plus enough mix to support steady moisture and a stable plant.
Use plant tags and growing instructions as your first check, since root needs vary by variety and growing conditions. The ranges below are rough planning guides, not a promise that every plant in a group will thrive at the same depth.
| Plant type | Rough soil-depth planning range | What to consider |
|---|---|---|
| Small herbs and leafy greens | 6–8 inches | Wider containers can give roots room to spread |
| Peppers and many compact vegetables | 12–18 inches | Mature plant size and watering needs matter |
| Full-size tomatoes | 18–24 inches | Choose a sturdy container with room for roots and support |
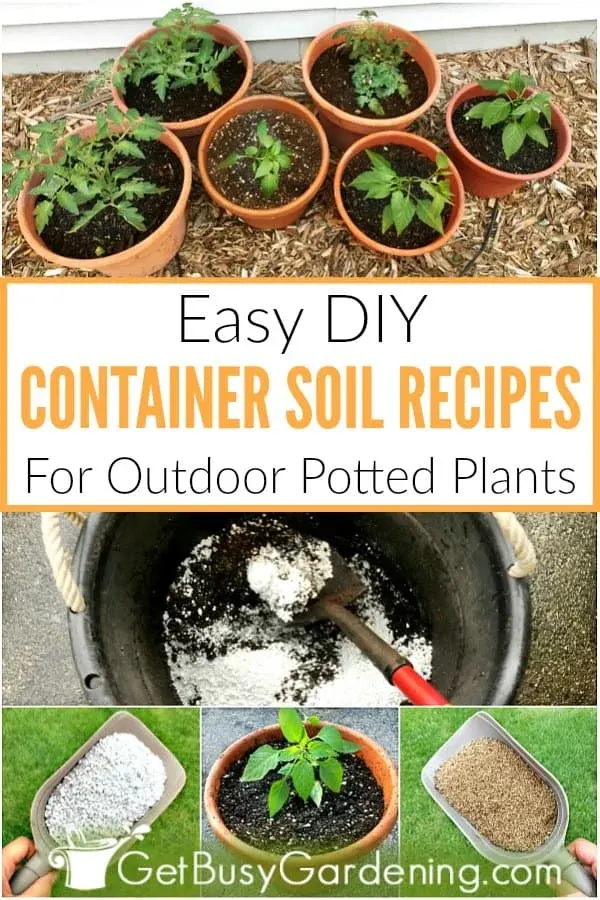
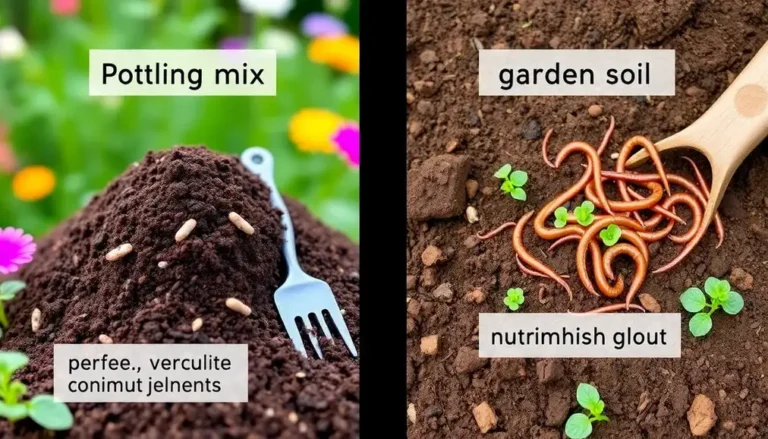
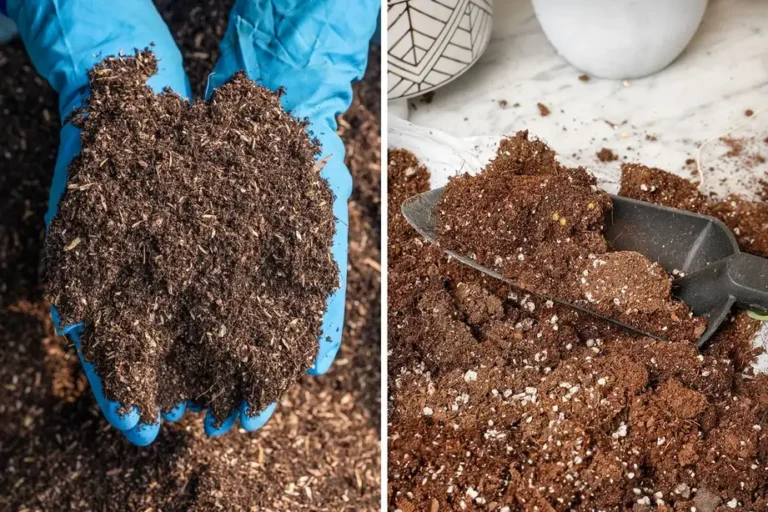
The planting mix also matters. Potting mix is a lightweight growing medium made for containers; it’s different from dense garden soil, which can hold too much water and pack tightly in a pot. A suitable mix helps roots get air while holding enough moisture between waterings.
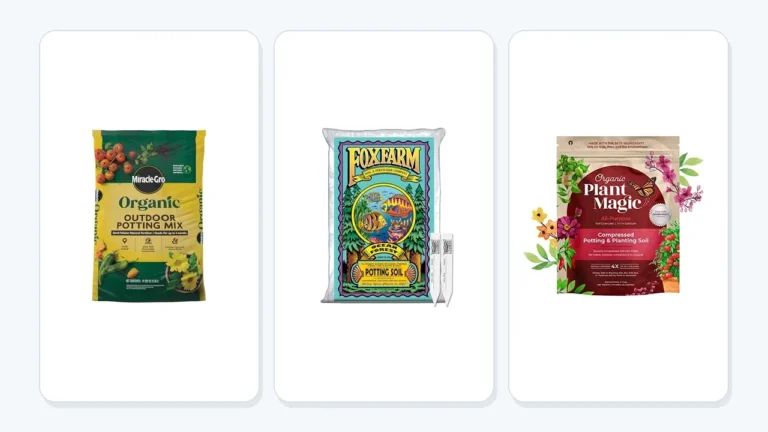
If you’re choosing a mix, compare its ingredients and intended plants rather than chasing the biggest bag or the cheapest label. Advice on soil for potted plants can help you match the mix to container growing, while container gardening mixes can help narrow choices for an outdoor setup. To get the most from the material you buy, follow proper potting soil use for filling and planting.
A tomato can outgrow a shallow pocket of soil even if the planter looks enormous from the outside. In that case, reduce unused space only below the root zone, and leave enough soil depth for roots to spread and for the plant to stay upright as it grows.
Important Tip: Don’t use a false bottom to make a too-small pot seem big enough. A plant with crowded roots may dry out quickly, need constant watering, or become top-heavy.
Avoid Drainage, Weight, and Stability Problems
A soil-saving setup works only if water drains, the pot stays upright, and the plant has enough room to grow. Check the filled planter after watering, not just while it’s empty on the patio.
Drainage problems often show up as soil that stays wet, leaves that yellow, or a sour smell from the container. Those signs can have more than one cause, so check the mix, the drain holes, and whether water is trapped in an outer pot before changing anything.
If a planter is meant to hold water in a built-in reservoir, follow its design rather than improvising a false bottom. A self-watering planter uses a reservoir and a way for water to move up into the mix; blocking or changing that pathway can stop the system from working as intended.
A low, wide planter is usually more stable than a tall, narrow one with the same soil depth. If a planter will hold a large tomato or another top-heavy plant, account for the mature plant and its support before you fill it.
I once had a tall planter shift slightly when I moved it after filling. The soil and plant made the top heavier than I’d expected, so I learned to decide on the planter’s final spot before adding the mix.
If the container is already too heavy, don’t try to lift it alone or tip it while the soil is wet. Ask for help, or remove the plant and soil in manageable portions; a full planter can be awkward even when the pot itself seems light.
When a plant’s soil has compacted or drains poorly, adding a filler won’t fix the root-zone problem. You may need to refresh the mix or repot instead; these steps for changing soil in potted plants can help you decide how to handle a worn-out container.
A few regular habits can keep the reduced soil volume working well. Water when the plant and mix need it rather than following a rigid calendar, and check for roots circling the pot or pushing through the drainage holes. Guidance on keeping potting soil healthy can help you maintain the mix as the plant grows.
Adapt the Setup for Food Crops and Seasonal Changes
For edible plants, use a clean container and a potting mix intended for growing plants in containers. Don’t use mystery filler that can leave sharp edges, crumble into the mix, or create an unstable base.
Tomatoes need enough soil volume for steady root growth, and the right amount varies with plant size, variety, and container shape. A soil-saving insert can work if it sits below the tomato’s root zone and doesn’t make the planter top-heavy; advice on soil for potted tomatoes can help you choose a mix suited to that crop.
A planter used for annual flowers may be easier to downsize than a large container holding a shrub or perennial. For a long-term plant, leave room for root growth and future repotting instead of filling the bottom with a permanent structure you can’t remove.
If you plan to change plants each season, removable inserts make cleanup easier. You can lift out the plant and root ball without dismantling a fixed platform, then adjust the soil depth for the next crop.
- Reduce unused depth, not the root zone.
- Keep drainage holes open and the filler stable.
- A smaller inner pot is often the easiest setup to inspect and adjust.
- Don’t use gravel as a drainage layer beneath potting mix.
FAQs About How to Use Less Potting Soil in Large Containers
Can I put plastic bottles in the bottom of a large planter?
Yes, clean, sturdy bottles can reduce the soil-filled space if they’re capped, arranged securely, and covered by a firm support that won’t sag. Leave the drainage holes open, and make sure the remaining soil is deep and wide enough for the plant’s roots.
Does putting rocks under potting soil improve drainage?
No, a rock layer under potting mix doesn’t reliably improve drainage. Water can collect in the finer mix above the coarse layer, leaving roots too wet. Use a container with open drainage holes and a potting mix suited to containers instead.
Can I use less soil if my planter has a water reservoir?
Yes, but only if the insert keeps the planter’s reservoir and wicking parts working as designed. Don’t cover the water openings or change the space that lets moisture move into the soil. Follow the planter’s instructions and leave enough mix for the plant’s roots.
How do I know if a plant has enough soil depth?
Check the plant tag or growing guidance, then compare the recommended root depth with the actual soil depth above your insert. Watch for roots circling the pot, frequent wilting, or water running through very quickly; those signs can point to a root zone that’s too small.
Can I add more potting mix later?
Yes, if the plant’s roots still have room and the mix level has settled. Add suitable potting mix around the root ball without burying the stem or covering leaves. If the plant is already root-bound, repotting into a larger container may be a better fix.
Save Soil Without Shortchanging the Roots
Using less mix makes sense when a planter has unused depth, but the savings aren’t worth a plant that can’t root well or a setup that stays waterlogged. I’d start with a smaller removable inner pot when it fits, since it’s simple to inspect, move, and adjust.
Before buying another bag, measure the soil depth your plant needs and check the planter’s drainage. Then choose a stable way to fill only the space the roots can use. That one small bit of planning can save you money, spare your back, and give the plant a much better start.

I’m Maya L. Greenwood, a lifelong plant lover who believes anyone can grow something beautiful with the right guidance. After years of testing soil mixes, pruning methods, irrigation tricks, and pest-safe solutions, I started EasyGardenTips.com to turn hard-won lessons into step-by-step advice. From seed starting and container gardens to composting and seasonal checklists, my goal is to make gardening simple, sustainable, and fun.
One Comment