How to Make Potting Soil for Succulents: A Gritty Mix That Drains
A reliable homemade succulent mix uses equal parts potting mix, pumice or perlite, and coarse horticultural grit by volume. The blend holds enough moisture for roots to take up water, while the added mineral material helps excess water drain away.
Have you watched a plant stay wet for days after watering, even though the pot has a drainage hole? Or found that a bag labeled for succulents still feels dense and soggy?
I once repotted a small succulent in a mix that looked loose on top but packed down like a damp sponge after watering. I had to repot it again, and the plant lost a few leaves along the way; it’s a common mistake, not a dumb one.
I wrote this to help you mix a practical batch with easy-to-find ingredients, adjust it for your home, and spot problems before a healthy plant turns mushy. You don’t need a fancy recipe or a shelf full of specialty supplies.
Getting the mix right can mean fewer soggy roots, less guesswork between waterings, and a plant that settles into its pot instead of wobbling in a hard crust. Skip the drainage part, though, and roots can sit wet long after the surface looks dry.
This takes about 9 minutes to read. You’ll come away knowing how to:
- Measure a dependable all-purpose mix by volume.
- Choose safe, useful substitutes for pumice and grit.
- Adjust the recipe for small pots and humid rooms.
- Fix a mix that drains too slowly or dries too fast.
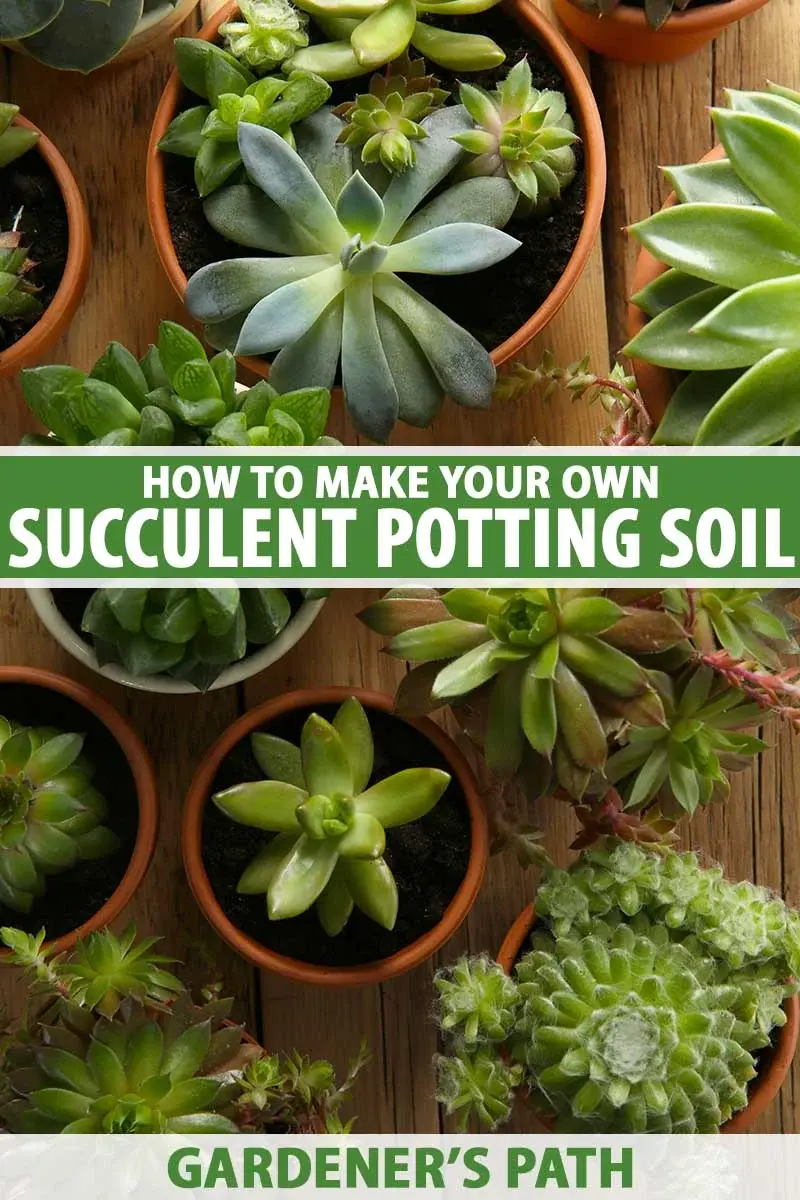
How to Make Potting Soil for Succulents: A Reliable Mix
The easiest starting recipe is one part potting mix, one part pumice or perlite, and one part coarse horticultural grit, measured by volume. Mix the ingredients evenly, fill a pot with drainage holes, and water only after the soil has dried to a depth suited to the plant.
A fast-draining mix is soil that lets extra water move out while leaving some moisture around the roots. The goal isn’t to make the pot bone-dry the moment water touches it; a mix that can’t hold any moisture may leave roots thirsty and make watering a daily chore.
Use a scoop, cup, or small container as your measuring “part.” If you use one cup of potting mix, add one cup of pumice or perlite and one cup of grit. Scale up the same way for a larger batch.
- Break up the potting mix and remove large sticks or clumps.
- Add the pumice or perlite and coarse grit.
- Stir until the texture looks consistent, with mineral pieces spread through the mix.
- Moisten a small handful and squeeze it gently. It should fall apart when you open your hand, not hold a tight, sticky ball.
- Test the mix in a pot with drainage holes before filling several containers.
The 1:1:1 ratio is a starting point, not a rule carved in stone. If your plant sits in a humid room or you tend to water often, add more mineral material; if the mix dries very quickly in a warm, sunny spot, add a little more potting mix.
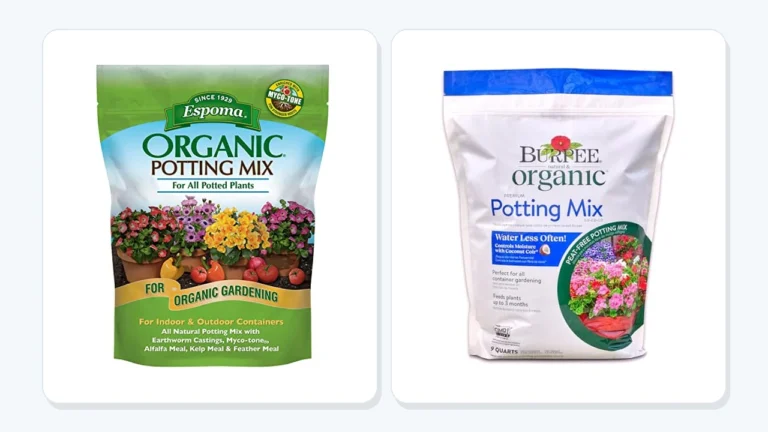
If you’d rather skip measuring separate ingredients, commercial succulent mixes can save time, but check the texture instead of trusting the bag name alone. Some mixes are light and gritty straight from the package, while others need extra pumice or perlite to drain well in your particular pot.
Choose Ingredients That Won’T Turn to Mud
Good ingredients each do a different job: the organic base holds some water and nutrients, while mineral pieces open up space for air and water to move. A bag labeled “succulent soil” isn’t a guarantee of the right texture for your plant or growing conditions.
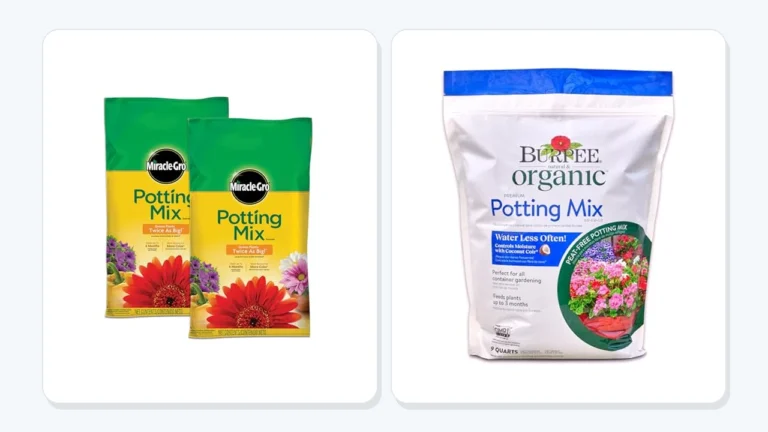
Potting mix is a blend of organic materials, such as peat or coir, often combined with other ingredients. It gives roots a source of moisture and may contain a starter fertilizer, but it can become dense when used alone in a small succulent pot.
Pumice is a lightweight, porous volcanic rock that helps create air spaces in the soil. It’s a strong choice for a gritty mix because it doesn’t break down quickly, though the size and availability of pumice can vary by store.
Perlite is a lightweight, expanded mineral used to loosen potting mix. It can float toward the surface during watering, and very fine perlite can create dust, so wet it lightly before mixing and avoid breathing airborne particles.
Coarse horticultural grit adds weight and open space around roots. Look for a clean, sharp-edged product sold for gardening, rather than fine sand that can fill the gaps you’re trying to keep open.
| Ingredient | What it adds | Handy substitute | What to avoid |
|---|---|---|---|
| Potting mix | Some moisture and organic matter | Cactus mix as part of the base | Dense garden soil |
| Pumice | Porous, lasting air spaces | Perlite or small lava rock | Powdery mineral dust |
| Coarse horticultural grit | Weight and large pore spaces | Small, clean aquarium gravel | Fine play sand |
| Perlite | Lightens and loosens the blend | Pumice or small lava rock | Letting dry dust blow around |
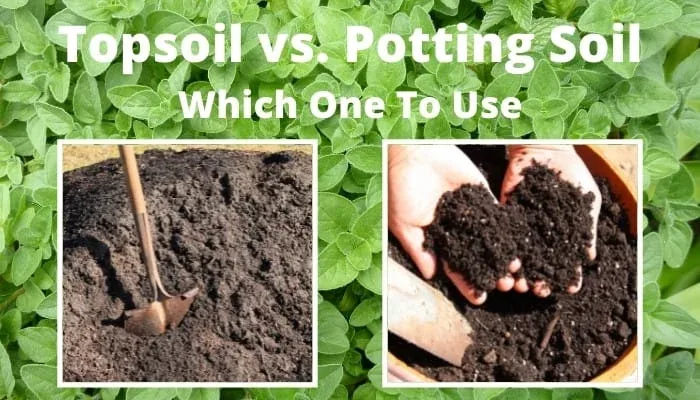
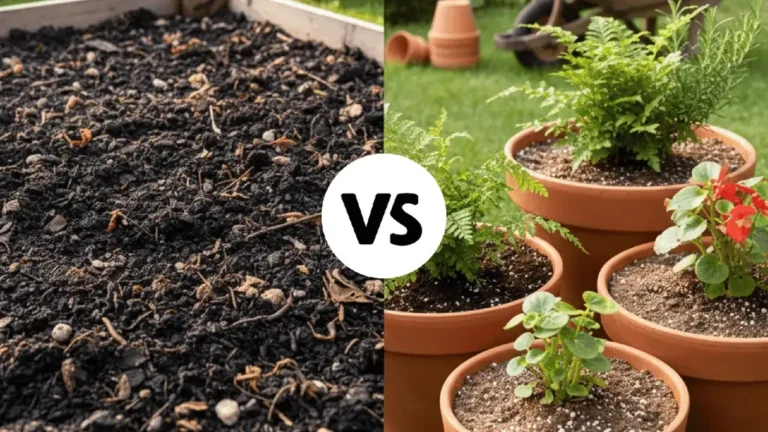
If you have regular indoor potting soil already, use it as the organic portion and add mineral material rather than planting a succulent in it straight from the bag. The difference in succulent soil vs potting soil is mostly the balance of moisture-holding ingredients and drainage material, not a magical label or a special color.
I also keep the texture in mind when making a batch: a handful should feel crumbly, not like damp brownie batter. If the mix sticks together after a gentle squeeze, add mineral grit a little at a time until it breaks apart easily.
Pro Tip: Use similar-sized mineral pieces throughout the batch. A mix with a few chunky rocks and lots of fine dust can still pack tightly, because the small particles settle into the gaps.
What Not to Add
Don’t use ordinary yard soil as the main ingredient for an indoor pot. It can compact in a container, hold too much water, and bring unwanted weed seeds or pests inside.
Skip beach sand, fine play sand, and powdery construction sand. Fine grains can clog open spaces and leave the pot slower to drain, which is the opposite of what you want.
Compost and worm castings can add nutrients, but more isn’t better in a small succulent pot. Keep rich organic additions modest, especially if the base mix already has fertilizer.
Adjust the Recipe for the Plant and Your Home
The equal-parts recipe works as a starting point for many common succulents, but the right mix depends on how quickly your home dries, how much light the plant gets, and how large the pot is. A sunny windowsill and a cool, dim corner don’t dry soil at the same pace.
For a typical indoor plant, start with the base recipe and watch how it behaves after watering. If the mix stays damp for several days, increase the mineral portion at the next repot; if it dries very quickly and roots look shriveled despite correct watering, add a little more organic mix.
Pot size matters. A large pot holds more mix around a small root ball, so it can stay wet longer than a snug container. Choose a pot only a little wider than the roots, and don’t bury the stem to make a short plant look taller.
A pot’s drainage hole matters more than a decorative outer cover. Water should be able to leave the inner pot freely; if you use a cachepot without a hole, lift out the planted pot to water and empty the outer container afterward.
For a plant like aloe, a little extra airflow around roots can help avoid a soggy center, especially in a cool room. The same basic mix can suit aloe in containers, though aloe’s thick leaves don’t mean its roots should sit in wet soil.
If you’re mixing soil for outdoor plants, factor in rainfall and local temperatures. A container exposed to repeated rain may need a grittier blend than one under cover, while a pot in a hot, dry spot may need a bit more moisture-holding material.
Do hens and chicks grow outdoors in your garden bed or in a pot? In a container, use a gritty blend and a drainage hole; in the ground, check that the site drains well before planting, since even a well-made potting mix can’t fix a waterlogged garden spot. That’s a useful distinction for hens and chicks, which are often grown in both settings.
String-like or trailing plants can need a slightly different balance from thick-leaved rosette succulents. A mix with enough grit to drain but some moisture-holding base can work for string of hearts, especially when its pot is small and the room is warm.
Important Tip: Change one part of the recipe at a time. If you add more pumice and switch to a smaller pot in the same repotting, you won’t know which change fixed slow drying.
Mix, Pot, and Water Without Guessing
A careful potting routine protects delicate roots and makes it easier to tell whether your mix drains well. You can use the same steps for a small houseplant pot or a larger container, with a clean work area and a pot that has a drainage hole.
- Check the roots. Gently remove loose old soil and look for roots that are firm rather than dark and mushy. If you find rotten sections, trim them with clean scissors and let the plant rest in a dry, shaded place before planting.
- Prepare the mix. Combine the ingredients in a bucket or tray. Lightly dampen dusty perlite first, and work where loose particles won’t blow into your face.
- Fill the pot partway. Add enough mix to raise the plant to its old soil line. Keep leaves and the base of the stem above the soil.
- Set the plant in place. Hold it steady and add mix around the roots. Tap the pot gently to settle the mix, but don’t press it down hard.
- Give the plant time before watering. Freshly disturbed roots can have small breaks, and dry conditions give those spots time to settle. The wait depends on the plant, root condition, and season, so follow the plant’s needs rather than watering on a fixed calendar.
- Water thoroughly when ready. Pour water over the soil until it runs from the drainage hole, then let the pot drain fully. Don’t leave it sitting in runoff.
What if water pours through the pot almost immediately? A quick exit alone doesn’t prove the mix is perfect, but it can mean the soil has become hydrophobic, or too dry to absorb water evenly; soak the pot briefly, drain it fully, and check whether the soil wets throughout.
For a practical test, water a sample of the mix in a small pot and watch how the water moves. It should pass through without forming a puddle on top, while the mix itself should still feel slightly moist below the surface after watering.
I once tucked a plant into fresh mix and pressed the soil down hard so the stem wouldn’t wobble. The surface looked tidy, but the compacted center stayed wet much longer than the loose edges; a gentle tap around the pot would’ve settled it without squeezing out the air spaces.
Pro Tip: Keep a small batch of your preferred mix in a covered, dry container. Then a fallen leaf or a sudden repotting won’t send you hunting through half a dozen open bags.
Fix Drainage and Moisture Problems
Slow drainage usually comes from compacted or overly fine material, a blocked hole, or a pot that’s too large for the root ball. Check those basics before changing the whole recipe, because one simple fix may be enough.
| What you notice | Likely cause | A sensible fix |
|---|---|---|
| Water pools on the surface | Mix is compacted or contains fine particles | Loosen or replace the mix; add coarse mineral material |
| Soil stays damp for a long time | Too much organic material, low light, cool conditions, or a large pot | Check light and pot size; use a grittier blend next time |
| Water rushes through dry mix | Mix has dried too far and may repel water | Rewet slowly, then let the pot drain fully |
| Perlite floats to the top | Lightweight particles shift during watering | Use pumice or heavier grit in the next batch |
| Plant wobbles after potting | Loose soil or shallow root placement | Add mix around roots and tap the pot gently |
Don’t add a layer of gravel at the bottom to “improve drainage.” The change in material doesn’t make water leave the pot more effectively; fill the container with the same well-mixed soil from top to bottom and keep the drainage hole clear.
A plant that stays wet can show root rot, a breakdown of roots caused by prolonged moisture and poor airflow. Dark, soft roots and a sour smell call for action: remove the plant, cut away rotten tissue with clean scissors, and replant in fresh, dry mix.
A shriveled succulent doesn’t always need more water. Check the soil and roots first; if the mix is wet and the roots are damaged, adding water can make the trouble worse.
Not sure if the batch needs more grit or more potting mix? Test a handful in a small pot and check moisture again after watering; a small trial is easier to correct than a full repot of every plant on the shelf.
FAQs About How to Make Potting Soil for Succulents
Can I use regular potting soil for succulents?
Yes, regular potting soil can serve as the organic base, but it’s usually better mixed with pumice, perlite, or coarse horticultural grit. Used alone, dense potting soil may hold moisture too long in a small indoor pot, especially in a cool room with low light.
Is sand good for succulent soil?
Coarse horticultural sand can add grit, but fine play sand and beach sand aren’t good substitutes. Fine particles can fill air spaces and slow drainage, while beach sand may contain salts. Choose a clean, coarse product sold for gardening, or use pumice or perlite instead.
Can I make succulent soil without perlite?
Yes, pumice, small lava rock, or coarse horticultural grit can loosen the mix without perlite. Pick a material that’s easy for you to find and handle, then test the finished soil in a pot. A crumbly texture and an open drainage hole matter more than one specific ingredient.
Should I water a succulent after repotting?
Wait until disturbed roots have had time to settle before watering, particularly if you removed damaged roots. The wait varies by plant and conditions, so don’t rely on one fixed number of days. When you do water, soak the mix thoroughly and let the pot drain completely.
Can I reuse old succulent soil?
Sometimes, but don’t reuse soil from a plant with rot, pests, or an unknown disease problem. Old mix can also become compacted or depleted. If it’s clean and still loose, you can refresh it with new mineral material, though fresh mix is the safer choice for a troubled plant.
Make a Small Batch and Let the Plant Tell You
A balanced succulent mix doesn’t need a complicated formula: begin with equal parts potting mix, pumice or perlite, and coarse grit, then adjust after watching how the soil behaves in your home. That gives you a clear starting point without turning repotting into a shopping project.
In my view, drainage holes and a loose mix matter more than chasing a perfect ratio. A plant in an appropriately sized pot with soil that dries between waterings has a better shot than one in a beautifully named blend that stays wet.
Start with one small batch and test it in one pot. If the soil stays wet too long, add mineral material next time; if it dries before the plant can use the moisture, add a little more potting mix. That’s a simple way to protect the roots and build confidence, one pot at a time.

I’m Maya L. Greenwood, a lifelong plant lover who believes anyone can grow something beautiful with the right guidance. After years of testing soil mixes, pruning methods, irrigation tricks, and pest-safe solutions, I started EasyGardenTips.com to turn hard-won lessons into step-by-step advice. From seed starting and container gardens to composting and seasonal checklists, my goal is to make gardening simple, sustainable, and fun.