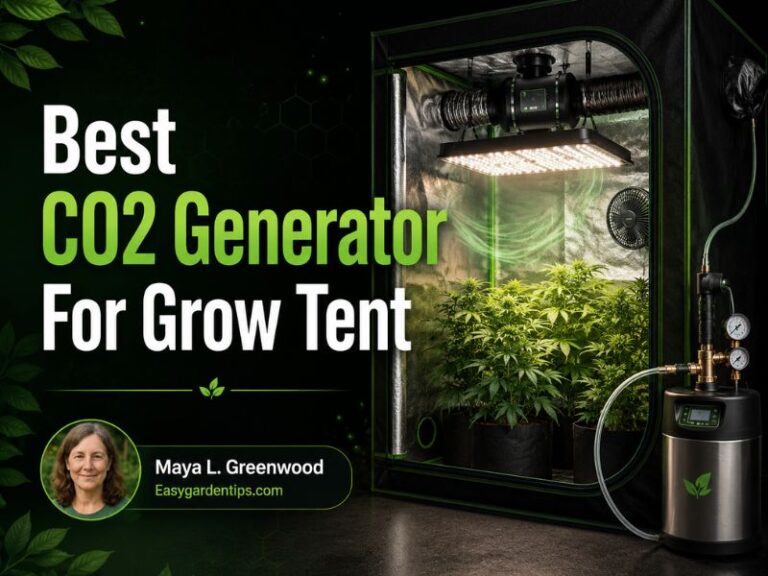
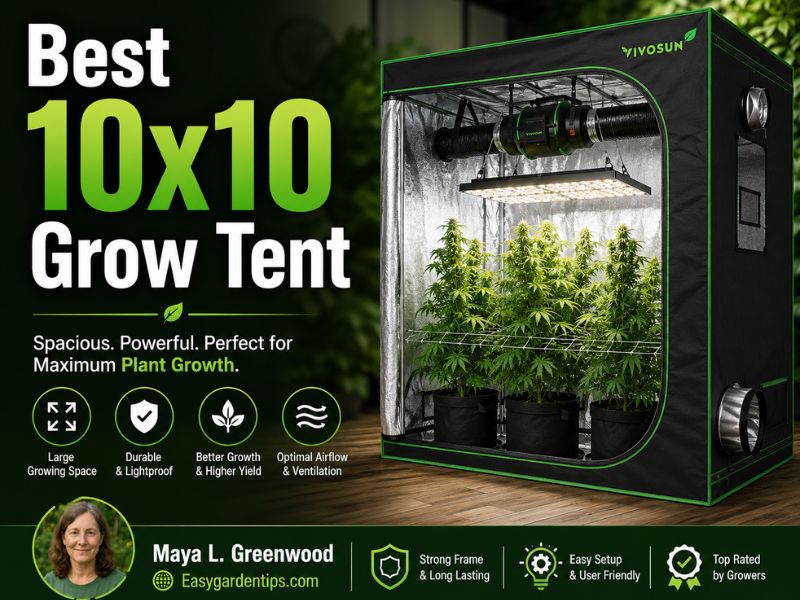
5 Best 10×10 Grow Tent: Heavy-Duty Rooms for Serious Growers
A 10×10 grow tent provides 100 square feet of controlled indoor space. At this scale, the enclosure is closer to a portable grow room than a conventional hobby tent. It must support several grow lights, high-capacity ventilation, circulation fans, filters, sensors, irrigation equipment, and safe access to every section of the canopy.
My primary recommendation is the AC Infinity CLOUDLAB 811 10×10 Grow Tent. Its 2000D canvas, 22 mm steel poles, large equipment capacity, extra hanging bars, controller plates, and extensive duct-port layout make it the strongest overall system for a permanent installation.
The VIVOSUN P108 PRO 10×10 Grow Tent provides similarly heavy construction with a high-CFM support system. The VIVOSUN S108 10×10 Grow Tent is a simpler and more established alternative for moderate equipment loads.
Buyers prioritizing a straightforward structure can consider the VEVOR 10×10 Grow Tent. The TopoLite 10×10 Grow Tent provides another standard 600D option with multiple doors and ventilation openings.
The best 10×10 grow tent should not be chosen by canvas density alone. Exterior room clearance, roof capacity, door placement, intake area, duct sizes, zipper construction, floor protection, and equipment layout determine whether the enclosure remains practical after it is fully installed.
5 Best 10×10 Grow Tents
| Image | Product Name | Check Price |
|---|---|---|
Best Choice | AC Infinity CLOUDLAB 811 10×10 Grow Tent | Check Price |
Second Best | VIVOSUN P108 PRO 10×10 Grow Tent | Check Price |
Third Choice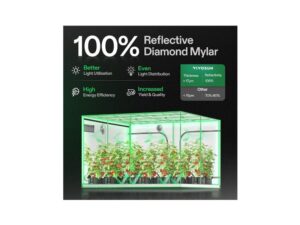 | VIVOSUN S108 10×10 Grow Tent | Check Price |
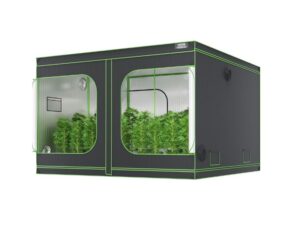 | VEVOR 10×10 Grow Tent | Check Price |
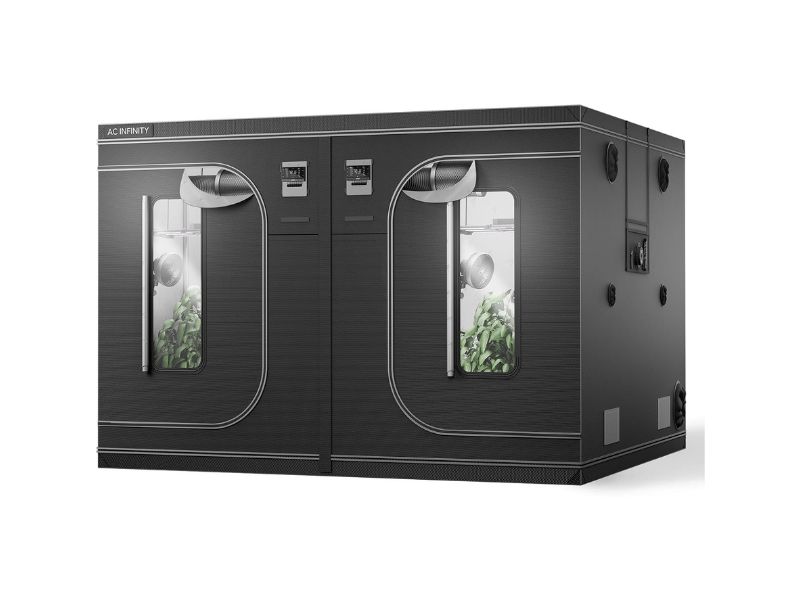
1. AC Infinity CLOUDLAB 811 10×10 Grow Tent
Key Features
- Approximately 120 × 120 × 80-inch dimensions
- 2000D Oxford canvas
- 22 mm steel poles
- Approximately 250-pound beam capacity
- Eight standard and eight additional hanging bars
- Large SBS zippered viewing windows
- Two side-access doors
- Eight 4-inch duct ports
- Four 8-inch duct ports
- Six 10-inch duct ports
- Controller mounting plates
- Light-resistant cable passthrough
- Heavy-duty removable catch tray
The CLOUDLAB 811 is designed around large equipment loads and organized environmental control. Its 22 mm frame and sixteen total hanging bars provide numerous mounting positions for several LED fixtures, filters, ducting, sensors, and lightweight circulation equipment.
The 2000D canvas offers greater density than standard 600D tents. It improves structural stability, light containment, and resistance to tearing while the exhaust system maintains negative pressure.
The controller plates are especially useful in a 10×10 system. Fan, lighting, humidity, or environmental controllers can remain outside the tent while sensor cables enter through protected passthroughs.
Its extensive duct-port layout supports several exhaust and intake configurations. Large systems can use separate routes for primary exhaust, air conditioning, dehumidification, humidification, or filtered intake rather than forcing every device through one opening.
The frame is strong, but the complete roof load must still be distributed. Several fixtures and filters should be spread across multiple bars instead of suspended from one central beam.
AC Infinity lists the CLOUDLAB 811 with 2000D canvas, 22 mm poles, multiple hanging bars, six 10-inch duct openings, and dedicated controller mounting features.
What I Like
- Strong frame for multi-light installations
- Thick canvas resists excessive wall movement
- Excellent duct-port selection
- Additional hanging bars
- Dedicated controller mounting
- Large viewing windows
- Multiple access points
- Heavy-duty floor protection
What I Do Not Like
- Heavy cover is difficult to install
- Requires substantial assembly clearance
- Large number of ports increases setup planning
- Full roof capacity still requires balanced loading
- Standard 80-inch height may restrict tall systems
The CLOUDLAB 811 is my first choice for a permanent 10×10 grow room. It offers the strongest combination of structural capacity, equipment organization, access, and environmental-control compatibility.
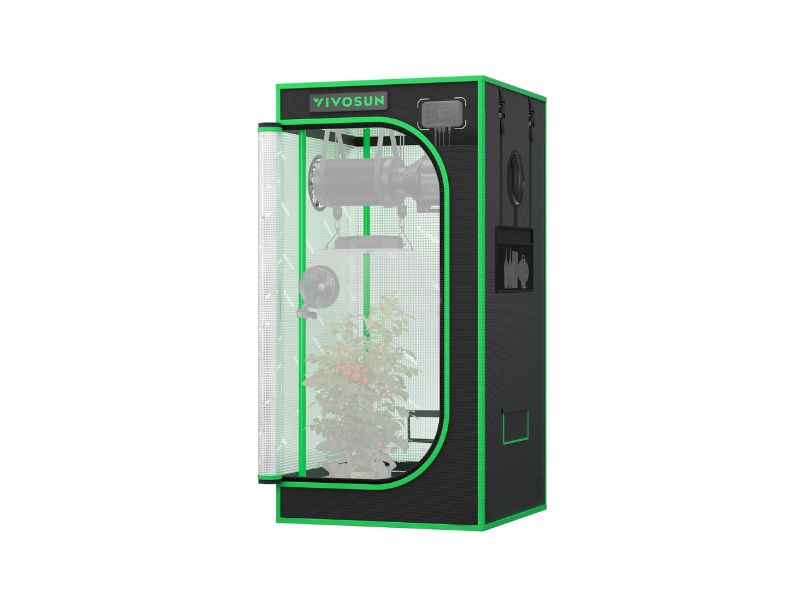
2. VIVOSUN P108 PRO 10×10 Grow Tent
Key Features
- 120 × 120 × 80-inch dimensions
- Heavy 2000D Oxford canvas
- 22 mm steel poles
- Three-layer light-resistant fabric
- High-reflectivity Mylar lining
- Extra roof-support bars
- Included high-CFM support system
- Large front observation window
- SBS zippered doors
- Removable floor trays
- Controller cable-management slots
- Multiple duct and intake openings
The VIVOSUN P108 PRO is the premium alternative to the brand’s standard S108. Its 2000D fabric, one-inch-class poles, additional hanging bars, and high-CFM supports make it more suitable for powerful ventilation and multiple heavy LED fixtures.
High-CFM support bars help prevent the sidewalls from pulling deeply into the growing area. This matters in a 10×10 enclosure because strong negative pressure can remove several inches from every side and reduce the usable canopy footprint.
The large viewing window makes it possible to inspect lighting, circulation, and general plant condition without opening a full door. Its external cable-management area is useful for controllers and environmental monitors.
The additional roof bars provide more fixture-placement flexibility. A 10×10 lighting plan rarely aligns perfectly with a few fixed central supports, so movable or additional bars simplify multi-zone positioning.
VIVOSUN specifies 2000D canvas, 22 mm poles, high-CFM reinforcement, extra hanging supports, and a 120-by-120-by-80-inch footprint for the P108 PRO.
What I Like
- Premium 2000D material
- Thick steel-pole structure
- High-CFM wall support included
- Extra roof bars
- Useful controller-cable routing
- Large observation area
- Strong multi-light compatibility
- Removable floor protection
What I Do Not Like
- Large and heavy cover
- More assembly components
- Requires at least two people for practical setup
- High-CFM bars consume a small amount of perimeter space
- Large door panels require careful zipper handling
The P108 PRO is the better VIVOSUN option for growers planning a high-output permanent installation. It provides greater structural confidence than the standard S108 while retaining a familiar large-tent layout.
3. VIVOSUN S108 10×10 Grow Tent
Key Features
- 120 × 120 × 80-inch dimensions
- 600D Oxford-fabric construction
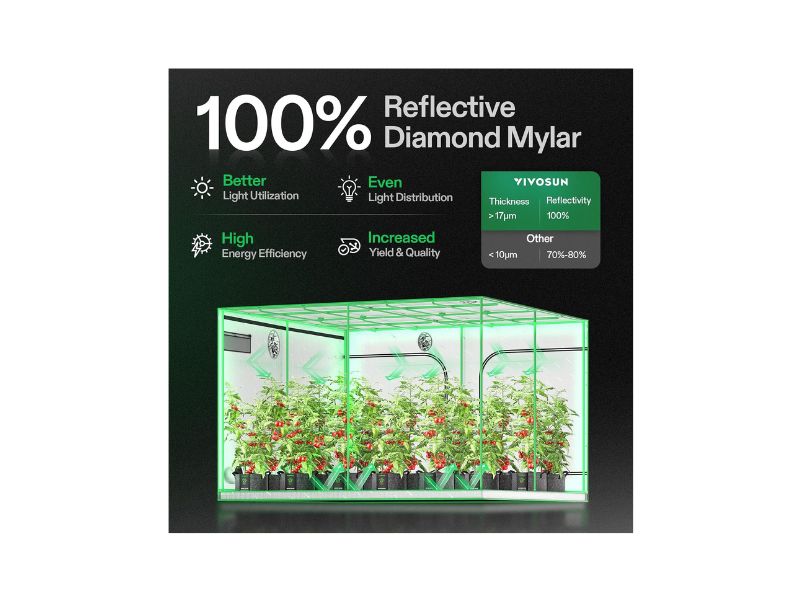
- Reflective Mylar interior
- Metal support frame
- Multiple large access doors
- Observation windows
- Mesh intake openings
- Duct and electrical ports
- Removable floor trays
- Internal tool organizer
- Filter-hanging straps
- Tool-free frame connectors
The VIVOSUN S108 is a more conventional 10×10 enclosure. Its 600D fabric is lighter than the P108 PRO and CLOUDLAB 811, but it can still provide a practical controlled room when the roof load and exhaust pressure remain moderate.
The main advantage is its straightforward layout. Multiple doors provide access from different sides, observation windows simplify quick inspections, and several duct openings allow flexible exhaust and intake positioning.
Its reflective interior helps redirect sideward light into the canopy. However, no reflective surface can correct an undersized lighting system. A 10×10 tent normally needs multiple fixtures arranged in clearly defined zones.
The lighter fabric makes the shell somewhat easier to handle than 2000D alternatives. It may also move inward more noticeably when connected to a high-capacity exhaust fan.
Supplemental high-CFM bars can help preserve the interior footprint. Intake openings must also provide enough replacement air so the fan does not create unnecessary suction.
The S108 uses a 120-by-120-by-80-inch layout with reflective Mylar, a metal frame, observation access, equipment ports, and removable floor protection.
What I Like
- Established and uncomplicated design
- Full 100-square-foot footprint
- Multiple access doors
- Observation windows
- Numerous ventilation openings
- Removable floor trays
- Lower shell weight than premium tents
- Useful tool storage
What I Do Not Like
- 600D fabric is lighter
- Strong exhaust may pull walls inward
- Frame requires conservative load distribution
- Additional support bars may be useful
- Large canopy still requires careful access planning
The S108 is appropriate for growers who need the full 10×10 footprint without the weight and complexity of a premium reinforced system. It works best when lighting and filtration loads are distributed carefully.
4. VEVOR 10×10 Grow Tent
Key Features
- 120 × 120 × 80-inch dimensions
- 600D Oxford-fabric exterior
- Reflective Mylar interior
- 19 mm steel frame
- Metal corner connectors
- Approximately 132-pound structural capacity
- Observation window
- SBS zipper
- Multiple ventilation openings
- Removable floor tray
- Internal tool bag
- Reinforced triangular corners
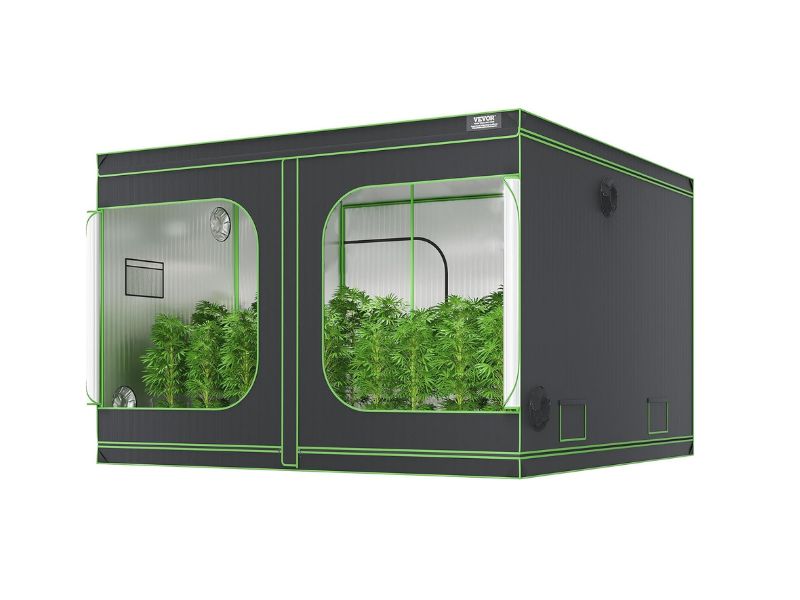
The VEVOR 10×10 is designed as a straightforward large enclosure with a standard 600D cover and 19 mm steel frame. It is most suitable for buyers who need substantial floor area but do not intend to place the heaviest possible equipment package on the roof.
The metal connectors and reinforced corner areas improve stability. The structure can support several fixtures when their weight remains within the stated limits and is distributed across the roof.
Its observation window allows basic inspections without opening the enclosure. The removable tray protects the room floor from ordinary irrigation runoff and simplifies cleaning between cycles.
The standard fabric and frame make equipment planning particularly important. Large carbon filters, several heavy drivers, and numerous fixtures may require independent support or a more substantial tent structure.
VEVOR specifies a 120-by-120-by-80-inch enclosure with 600D Oxford fabric, a 19 mm steel frame, reflective lining, an observation window, and removable floor protection.
What I Like
- Exact 10×10 footprint
- Metal frame and connectors
- Reinforced corner construction
- Observation window
- Practical ventilation ports
- Tool organizer included
- Removable tray
- Straightforward assembly system
What I Do Not Like
- Lower roof capacity than premium models
- Standard 600D canvas
- Less suitable for very heavy filters and lights
- Strong exhaust may require extra wall support
- Large one-piece cover is difficult to position
The VEVOR tent is a practical option for moderate multi-light setups. It provides the required floor area and essential enclosure features, but roof loading should remain more conservative than with the AC Infinity or VIVOSUN PRO tents.
5. TopoLite 10×10 Grow Tent
Key Features
- Approximately 120 × 120 × 80-inch dimensions
- 600D Oxford fabric
- Diamond-pattern reflective Mylar
- 22 mm coated steel poles
- Metal frame connectors
- Multiple large access doors
- Green observation windows
- Mesh ventilation panels
- Duct openings
- Removable floor tray
- Large zipper system
- Tool-free frame assembly
The TopoLite 10×10 uses a conventional large-tent design with 600D canvas, reflective Mylar, multiple doors, and coated steel poles.
Its multi-door construction is important because a ten-foot-deep canopy cannot be serviced comfortably from one side. Access from several directions makes it easier to inspect irrigation, drainage, and plants near the center.
The green observation windows provide a way to view the interior without fully opening a door. They remain additional seams in the enclosure, so their covers should be secured during sensitive dark periods.
Its 22 mm pole diameter is substantial for a standard tent, although the final equipment capacity depends on the complete frame design, connectors, and placement of roof bars—not pole thickness alone.
Product references for this TopoLite size describe a 120-by-120-by-80-inch enclosure with 600D fabric, reflective Mylar, coated metal poles, multiple access doors, viewing windows, and a removable tray.
What I Like
- Large exact-size footprint
- Multiple doors
- Substantial pole diameter
- Reflective diamond interior
- Observation windows
- Removable tray
- Useful intake and duct openings
- Straightforward construction
What I Do Not Like
- Standard 600D material
- Limited specialized controller integration
- Roof-load documentation is less comprehensive
- Large zipper system needs careful handling
- Extra wall support may be needed under strong suction
The TopoLite is most relevant for a moderate equipment layout where broad access and a standard frame are more important than smart-controller mounting or maximum roof capacity.
10×10 Grow Tent Comparison Table
| Product | Canvas | Pole Size | Support System | Controller Mounting | Main Strength | Main Limitation |
| AC Infinity CLOUDLAB 811 | 2000D | 22 mm | Sixteen hanging bars | Dedicated plates and passthroughs | Strongest integrated structure | Heavy and complex |
| VIVOSUN P108 PRO | 2000D | 22 mm | Extra bars and high-CFM kit | Cable-management slots | Premium reinforcement | Difficult assembly |
| VIVOSUN S108 | 600D | Standard metal frame | Basic roof bars | Basic mounting | Established practical layout | Lighter fabric |
| VEVOR 10×10 | 600D | 19 mm | Reinforced corners | No specialized plate | Straightforward value-focused design | Lower equipment capacity |
| TopoLite 10×10 | 600D | 22 mm | Standard roof bars | No specialized plate | Multiple doors and strong poles | Less detailed load support |
The CLOUDLAB 811 and P108 PRO are the strongest choices for heavy equipment. The S108, VEVOR, and TopoLite are more appropriate for moderate loads and simpler installations.
How Large Is a 10×10 Grow Tent?
A 10×10 tent contains:
10 feet × 10 feet = 100 square feet
With an 80-inch height, the approximate empty internal volume is:
10 × 10 × 6.67 = 667 cubic feet
The enclosure itself occupies 100 square feet, but the room must be larger.
Additional clearance is required for:
- Pulling the cover over the frame
- Opening side and rear doors
- Routing exhaust ducting
- Installing intake ducts
- Connecting power
- Servicing external controllers
- Reaching wall-side equipment
- Removing filters and fans
- Cleaning around the tent
A room measuring exactly 10 by 10 feet is not suitable for assembling a nominal 10×10 tent.
Measuring the Installation Room
Measure more than the floor.
Check:
- Wall-to-wall dimensions
- Ceiling height
- Doorway dimensions
- Baseboards
- Support columns
- Windows
- HVAC vents
- Electrical outlets
- Floor slope
- Stairway access
- Hallway turns
- Space for exterior ducting
The tent package may arrive in more than one large box. Confirm that all frame and cover components can reach the installation room before ordering.
Lighting a 100-Square-Foot Canopy
One central grow light cannot provide uniform coverage across ten feet in both directions.
A practical layout divides the tent into four 5×5 lighting zones:
[ Zone 1 ][ Zone 2 ]
[ Zone 3 ][ Zone 4 ]
Each zone can use a fixture intended for approximately 5×5 coverage.
This arrangement provides:
- Better corner intensity
- Independent dimming
- Separate hanging-height adjustment
- Easier maintenance
- Reduced central hotspots
- Partial operation during early growth
- Lighting redundancy
Another option is a grid of smaller fixtures. The final arrangement should be evaluated using a canopy-level PPFD map rather than wattage alone.
Estimating Total Lighting Power
A broad high-efficiency LED range for 100 square feet may begin around:
- 2,400 watts for moderate output
- 3,000 watts for higher-intensity operation
- 3,200 watts or more for substantial reserve
Actual requirements depend on:
- Fixture efficacy
- Canopy distribution
- Plant species
- Growth stage
- Hanging height
- Photoperiod
- Carbon-dioxide conditions
- Temperature control
- Desired PPFD
Four 650- to 800-watt fixtures create a common multi-zone configuration.
High maximum power should remain dimmable. Early plants may use only a fraction of the installed capacity.
Heat Produced by the Lighting System
Electrical energy eventually becomes heat in the tent or surrounding room.
Use:
BTU per hour = watts × 3.412
Examples:
| Total Lighting Power | Approximate Heat Output |
| 2,400W | 8,189 BTU/h |
| 2,800W | 9,554 BTU/h |
| 3,000W | 10,236 BTU/h |
| 3,200W | 10,918 BTU/h |
Fans, pumps, dehumidifiers, humidifiers, and drivers add further heat.
Moving LED drivers outside the tent can reduce internal heat, but the surrounding room still receives that energy.
Ventilation Requirements
A 10×10×6.67-foot enclosure contains approximately 667 cubic feet.
For one theoretical air exchange per minute:
667 cubic feet ÷ 1 minute = 667 CFM
Installed airflow will be lower than the fan’s unrestricted rating because of:
- Carbon-filter resistance
- Duct length
- Sharp bends
- Silencers
- Reduced intake area
- Dirty prefilters
- Backpressure
- Exhaust termination
A large tent commonly requires a high-capacity exhaust system or multiple ventilation zones.
Room-level cooling may still be necessary. Exhaust cannot cool the tent below the temperature of the incoming room air.
One Large Exhaust System vs. Multiple Zones
One large exhaust system
Advantages include:
- One primary controller
- One carbon filter
- Simpler duct route
- Fewer electrical connections
Limitations include:
- Strong negative pressure
- Uneven airflow
- Greater dependence on one fan
- Potentially stagnant distant corners
Two ventilation zones
Advantages include:
- Better airflow distribution
- Lower fan speed per zone
- Redundancy
- Flexible duct placement
- Easier corner ventilation
Limitations include:
- More equipment
- Additional roof load
- Two filters
- More controller settings
- Greater maintenance
The correct approach depends on lighting heat, filter resistance, room shape, and available exhaust routes.
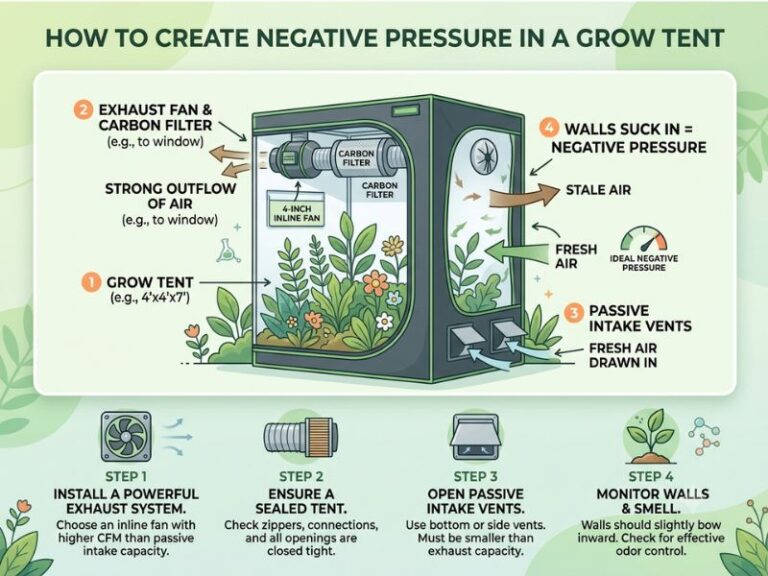
Controlling Negative Pressure
A slightly inward tent wall indicates negative pressure and helps prevent uncontrolled air from escaping.
Excessive negative pressure can:
- Pull walls deeply inward
- Reduce usable canopy area
- Press fabric against plants
- Restrict passive intake
- Stress zippers
- Distort frame components
- Reduce effective exhaust flow
Increase intake area before simply reducing environmental control.
High-CFM support bars can preserve the tent’s shape but do not correct an undersized intake system.
Planning Interior Walkways
A full 100-square-foot fixed canopy is difficult to maintain.
Consider reserving part of the floor for access.
Central aisle
A walkway divides the canopy into two long sides.
This sacrifices growing area but creates straightforward access.
Cross-shaped aisle
Two paths divide the tent into four lighting zones.
This works well with four 5×5 fixtures and modular irrigation.
Perimeter access
The center remains filled while several exterior doors provide access.
This requires open space around multiple sides of the tent.
Movable trays
Plant trays roll or slide to create temporary paths.
Irrigation hoses and electrical cables need enough flexibility to move safely.
Door Placement and External Clearance
Multiple doors are valuable only when the room allows them to open.
Before positioning the tent, determine:
- Which door will be the primary entrance
- Whether side doors can open fully
- Whether rear access is possible
- Where irrigation equipment will enter
- Where electrical cables will exit
- Which walls must remain accessible
- Where ducting will travel
Placing a multi-door tent tightly between room walls can eliminate one of its main advantages.
Frame Capacity and Load Distribution
The roof may carry:
- Four large LED fixtures
- LED drivers
- Carbon filters
- Inline fans
- Ducting
- Circulation fans
- Environmental sensors
- Plant-support netting
- Supplemental bars
Create an equipment-weight list before installation.
Do not use one central bar for several heavy components. Spread the load across multiple primary supports and use rated straps or hangers.
A tent’s beam rating is not necessarily the same as the safe capacity of the entire roof when weight is unevenly distributed.
Water reservoirs should never hang from the tent frame.
Electrical Planning
A 10×10 installation may require several circuits.
Potential electrical loads include:
- 2,400–3,200 watts of lighting
- Inline exhaust fans
- Circulation fans
- Dehumidifier
- Humidifier
- Air conditioner
- Heater
- Water pumps
- Air pumps
- Controllers
- Automatic irrigation
- Supplemental lighting
At 120 volts, 3,000 watts of lighting alone theoretically draws:
3,000 ÷ 120 = 25 amps
That exceeds the capacity of a typical single household branch circuit before fans or environmental equipment are added.
Circuit planning should be completed before equipment installation. High-load electrical work should follow local requirements and may require a qualified electrician.
Water and Floor Protection
A large grow room can contain a significant volume of water.
Use several protective layers:
- Included removable floor tray
- Waterproof secondary liner
- Raised drainage tables
- Individual saucers
- Drain-to-waste plumbing
- Reservoir shutoff valves
- Leak alarms
- Elevated power connections
- Accessible wet vacuum
The included tray is useful for runoff and small spills. It should not be expected to contain an entire large reservoir.
Humidity Management
A dense 10×10 canopy can release substantial moisture through transpiration.
Humidity may rise rapidly:
- After irrigation
- During the dark period
- When exhaust slows
- As plant mass increases
- When the surrounding room is humid
- When runoff remains inside the tent
Use several canopy-level sensors rather than depending on one reading near the entrance.
A room-level dehumidifier is often more practical than a small unit placed inside the tent. Heat from the dehumidifier must also be considered.
How Many Environmental Sensors Are Needed?
Use at least two sensors in a large enclosure.
Possible locations include:
- Front canopy
- Rear canopy
- Intake side
- Exhaust side
- Upper canopy
- Lower canopy
Four sensors—one in each lighting zone—provide a clearer environmental map.
Sensors should remain:
- Shaded from direct grow-light radiation
- Away from humidifier mist
- Away from exhaust suction
- Away from wet growing media
- Near representative canopy height
Common 10×10 Grow-Tent Mistakes
Installing the tent in a room that is too small
The frame may fit, but the cover, doors, and ducting cannot be installed properly.
Using one central grow light
The middle becomes intense while the perimeter remains weak.
Filling the complete floor with fixed containers
The center plants and irrigation lines become inaccessible.
Overloading roof bars
Equipment weight must be distributed across the structure.
Ignoring circuit capacity
Several large fixtures can exceed one household circuit.
Using excessive exhaust pressure
The walls collapse inward and usable space decreases.
Depending only on the included floor tray
Large irrigation leaks need secondary containment.
Monitoring one location
Temperature and humidity can vary between lighting zones.
Exhausting heat into the intake room
The same warm air returns to the tent.
Assembling the enclosure alone
A heavy 10×10 cover can damage poles, seams, and zippers when handled improperly.
Assembly Guidelines
A 10×10 tent should normally be assembled by at least two people.
Use this sequence:
- Clear and clean the room.
- Confirm the orientation of every door and port.
- Lay out the frame components.
- Assemble the bottom structure.
- Add vertical poles.
- Assemble the upper frame.
- Confirm that every connector is fully seated.
- Position the cover gradually.
- Avoid forcing the zippers.
- Install roof supports.
- Insert the floor trays.
- Square and level the frame.
- Test every door and port.
- Add equipment only after the tent is stable.
Complete the main assembly before placing large reservoirs or fixed equipment around the enclosure.
Maintenance
Weekly
- Inspect all zippers
- Check negative pressure
- Examine roof hangers
- Inspect irrigation lines
- Review temperature and humidity
- Clean standing runoff
- Check intake screens
- Confirm circulation fans operate
Monthly
- Clean filter prefilters
- Inspect duct clamps
- Remove dust from LED fixtures
- Examine support bars
- Clean viewing windows
- Test leak alarms
- Check controller calibration
- Inspect power connections
Between growing cycles
- Remove all plants and containers
- Disconnect electrical equipment
- Vacuum loose material
- Wash floor trays
- Wipe reflective walls
- Inspect seams and corners
- Clean fans
- replace damaged hangers
- Test the complete empty system
Frequently Asked Questions
What is the best 10×10 grow tent?
The AC Infinity CLOUDLAB 811 is my primary recommendation because it combines 2000D canvas, 22 mm poles, additional hanging bars, extensive duct ports, controller mounting, and strong equipment capacity.
The VIVOSUN P108 PRO is a strong alternative with similar heavy-duty construction and an included high-CFM support system.
How many plants fit in a 10×10 grow tent?
The correct number depends on plant size, pot capacity, canopy training, irrigation layout, and required working access.
A large number of small plants or a smaller number of broad trained plants can occupy the same floor area.
How many lights are needed for a 10×10 grow tent?
Four fixtures designed for approximately 5×5 flowering coverage create a practical layout.
More smaller fixtures can also work when they produce a uniform PPFD map.
How many watts does a 10×10 grow tent need?
A broad range of approximately 2,400 to 3,200 efficient LED watts can be considered for a complete high-output canopy.
Actual needs depend on light efficacy, plant type, intensity target, and environmental conditions.
What size exhaust fan is needed?
A 10×10×80-inch tent contains approximately 667 cubic feet.
Installed fan capacity must account for filters, ducting, bends, lighting heat, and room temperature rather than relying only on tent volume.
Is a 10-inch inline fan enough?
It may be sufficient when its installed airflow matches the heat and humidity load.
Some systems perform better with two ventilation zones or separate room-level air conditioning.
Is 600D canvas thick enough?
A properly built 600D tent can work with moderate equipment and exhaust pressure.
A 2000D enclosure generally provides better material density, shape stability, and resistance to repeated handling.
Is 2000D always better than 600D?
It is heavier and generally more durable, but it also makes assembly and movement more difficult.
The frame, zippers, connectors, access, and duct layout remain equally important.
Can a 10×10 grow tent fit in a bedroom?
Only a very large room can accommodate the tent plus assembly, door, ventilation, and maintenance clearance.
A garage, basement, or dedicated room is often more practical.
How tall is a 10×10 grow tent?
Most standard models are approximately 80 inches tall.
The Gorilla 10×10 class is taller and height-adjustable, but common Amazon models generally use an 80-inch height.
How do I reach plants in the center?
Use a central aisle, cross-shaped walkway, movable trays, modular quadrants, or doors on several sides.
Do not create a fixed ten-foot-deep canopy accessible from only one entrance.
Does a 10×10 tent require air conditioning?
It may require room-level cooling when several thousand watts of lighting operate inside it.
The need depends on light output, driver placement, exhaust capacity, room temperature, and climate.
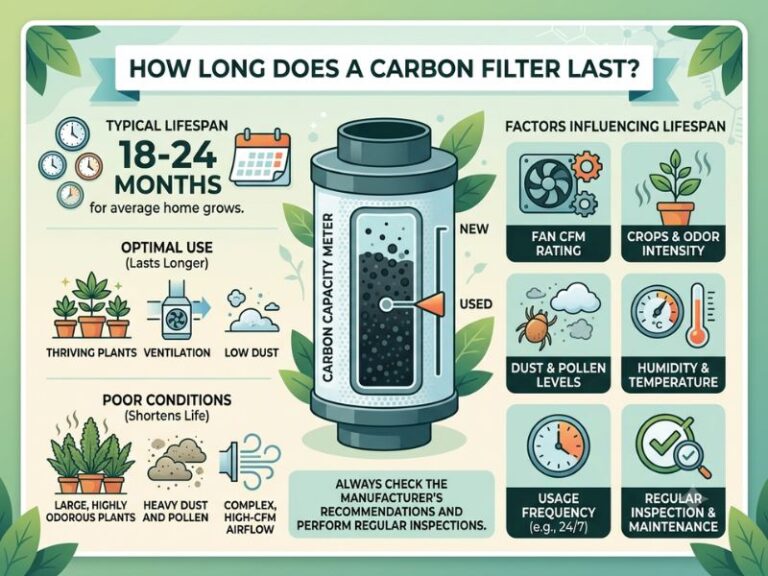
Should the carbon filter stay inside or outside?
Either arrangement can work.
External placement preserves roof space and reduces internal weight, while internal placement can simplify filtered exhaust routing.
How many hygrometers are required?
At least two are useful.
Four canopy-level sensors provide better information when the tent is divided into four lighting zones.
Can one circuit power a 10×10 grow tent?
A complete high-output system will commonly require more than one circuit.
Lighting alone can exceed the capacity of a standard household circuit. Verify all loads before installation.
Conclusion
Choosing the best 10×10 grow tent requires planning the complete indoor room rather than comparing only the outer fabric.
The AC Infinity CLOUDLAB 811 is the strongest overall choice for heavy equipment, controller integration, and permanent multi-zone installations.
The VIVOSUN P108 PRO provides a similarly reinforced structure with high-CFM wall supports and additional hanging bars. The VIVOSUN S108 is more appropriate for growers who want an established standard enclosure with a lighter shell.
The VEVOR 10×10 provides a straightforward design for moderate equipment loads, while the TopoLite 10×10 offers multiple access points and a conventional reflective interior.
Before purchasing, measure the complete room, determine how every door will open, map the lighting zones, calculate electrical demand, plan ventilation losses, and reserve interior access paths. A 10×10 tent can support a substantial indoor garden, but its full potential depends on the infrastructure surrounding it.

I’m Maya L. Greenwood, a lifelong plant lover who believes anyone can grow something beautiful with the right guidance. After years of testing soil mixes, pruning methods, irrigation tricks, and pest-safe solutions, I started EasyGardenTips.com to turn hard-won lessons into step-by-step advice. From seed starting and container gardens to composting and seasonal checklists, my goal is to make gardening simple, sustainable, and fun.